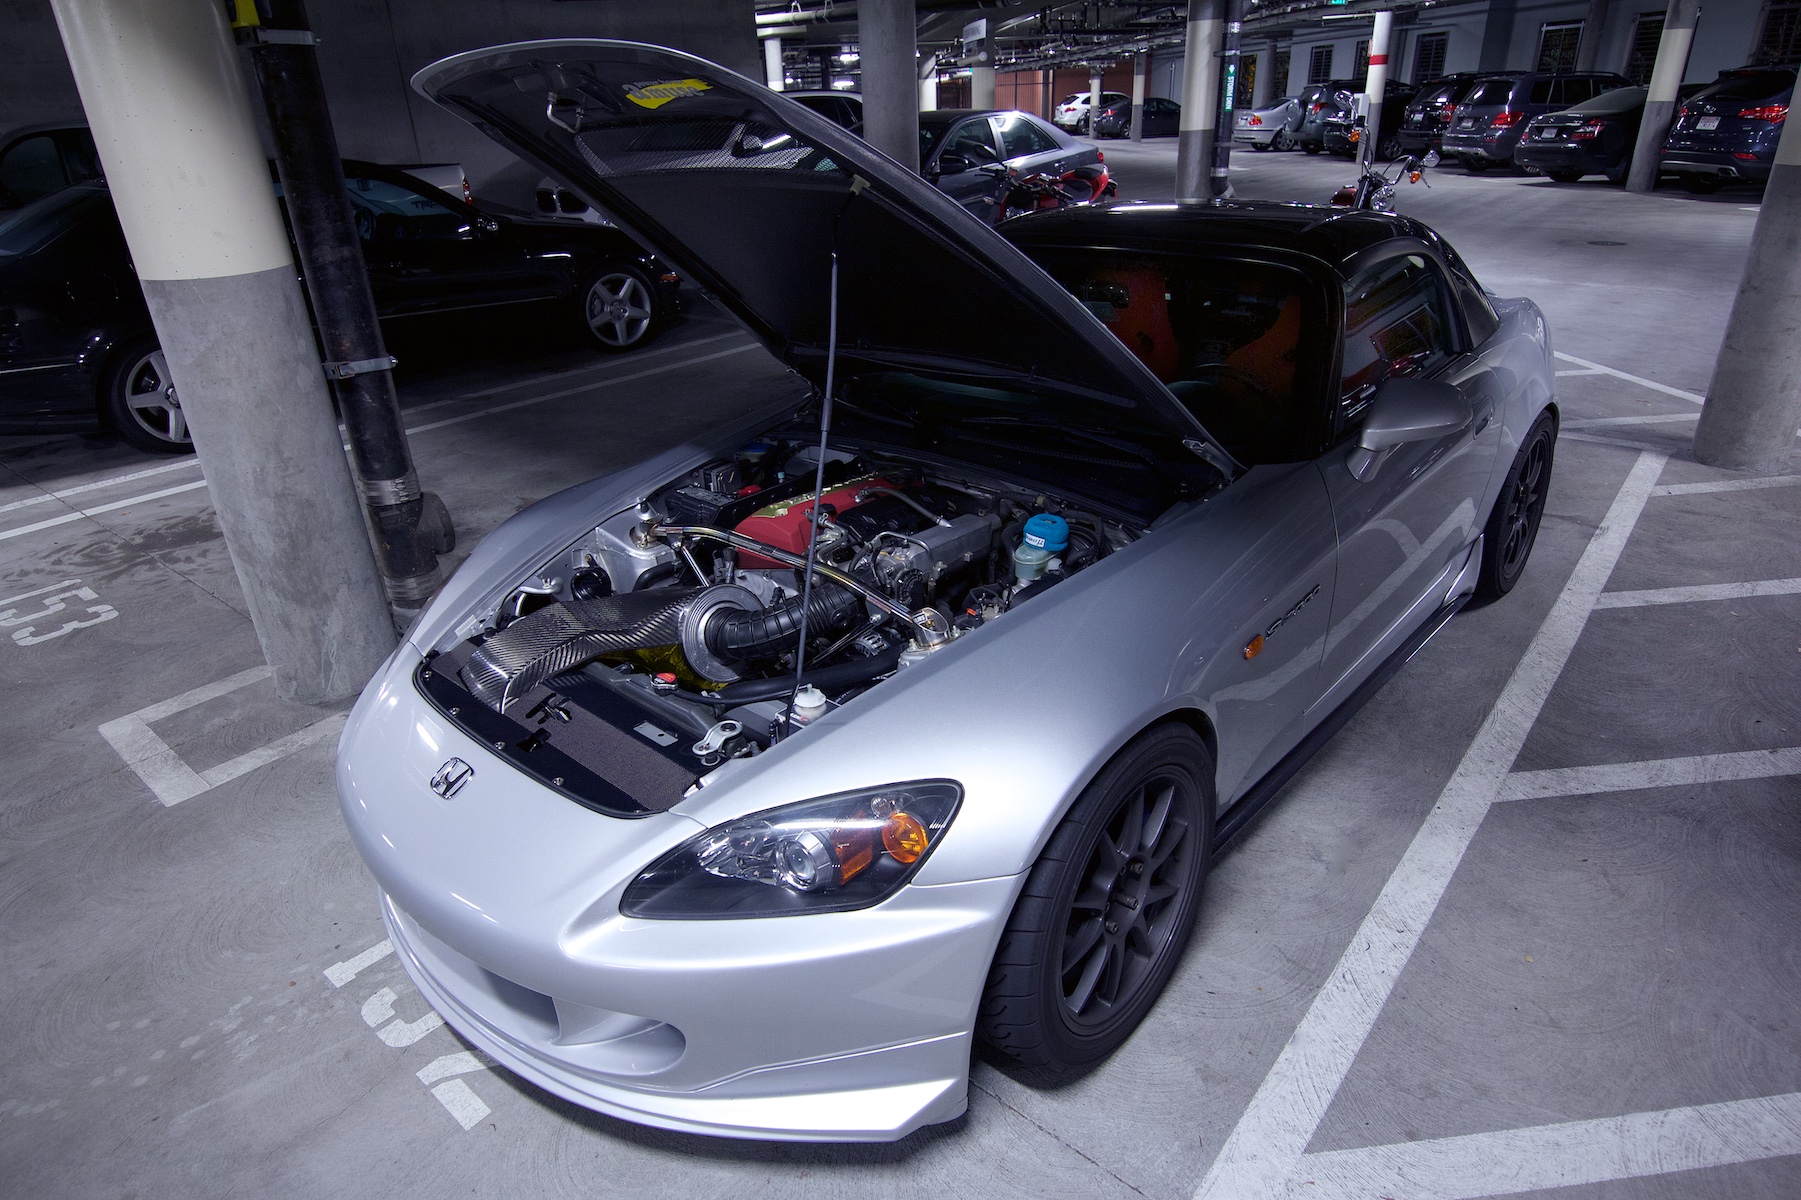
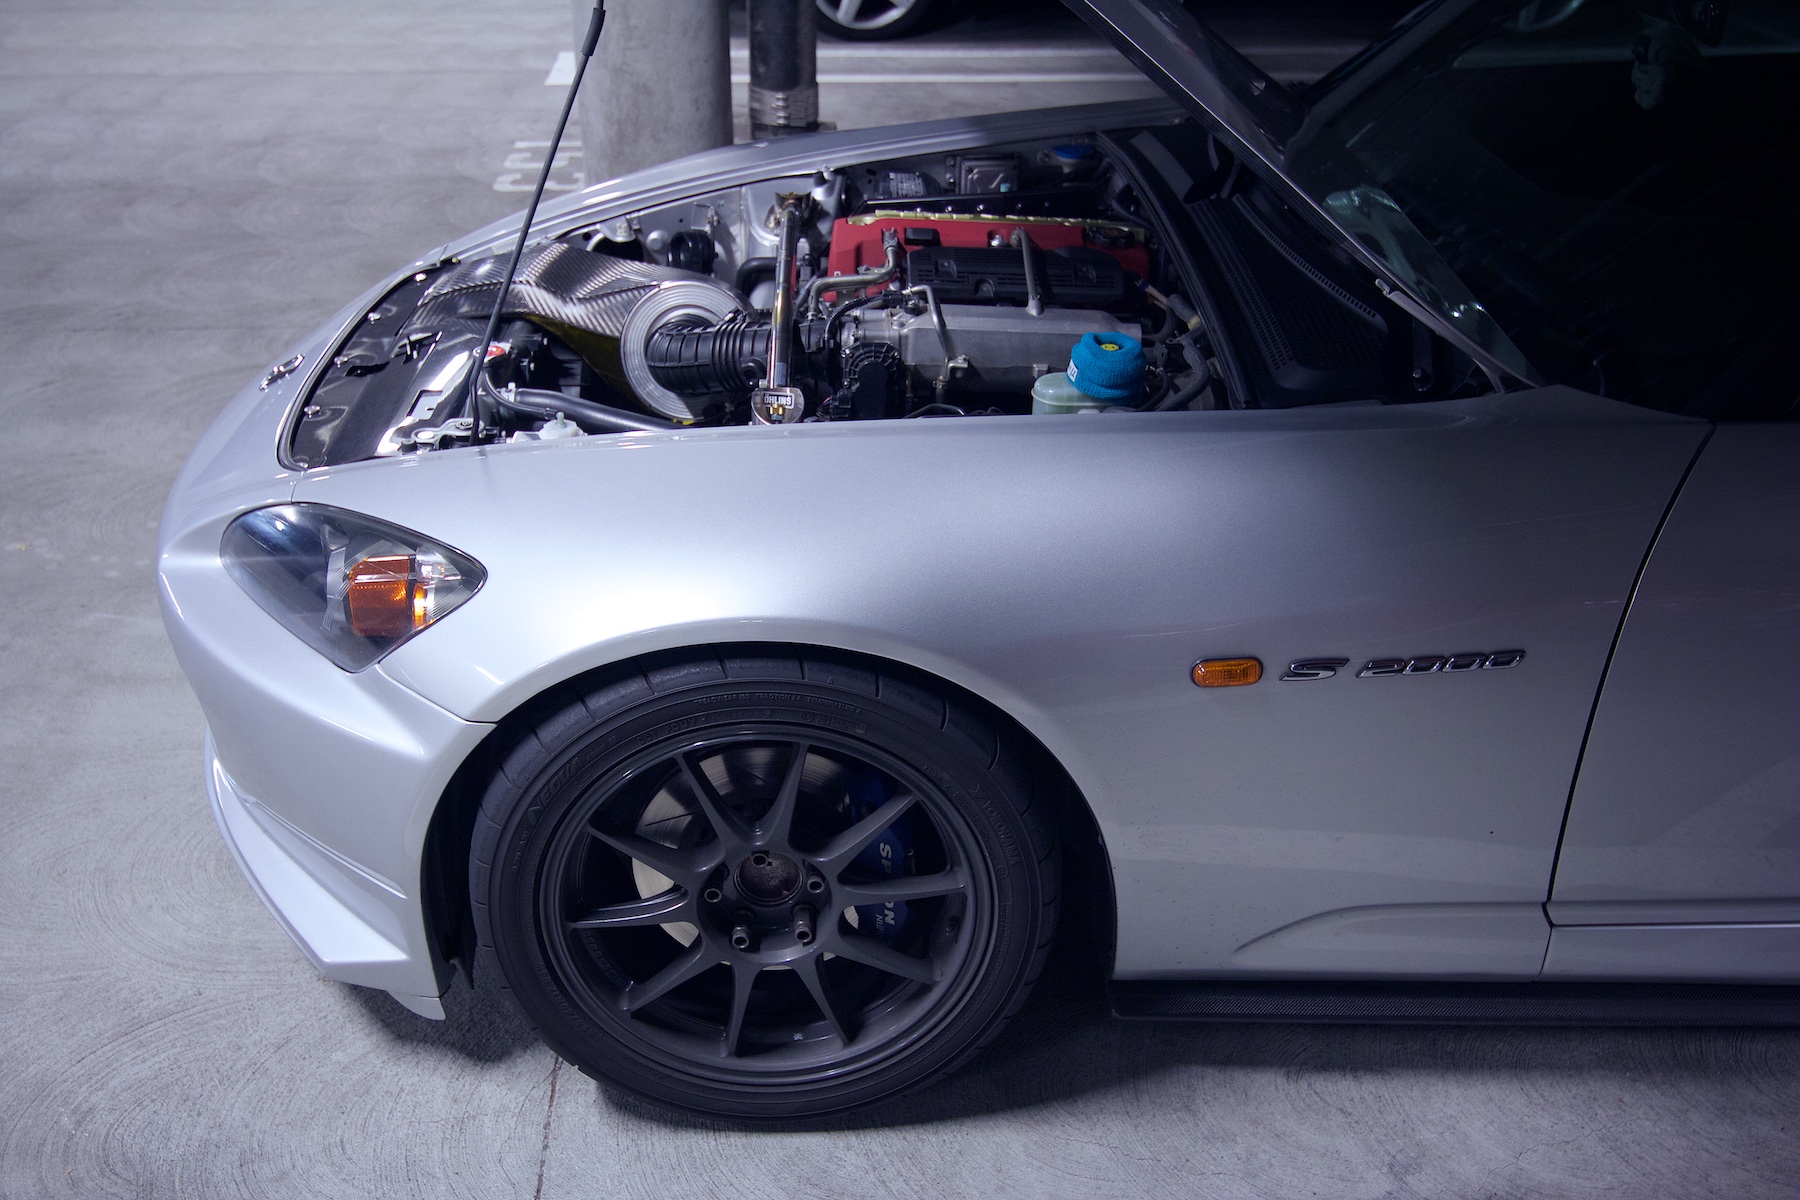
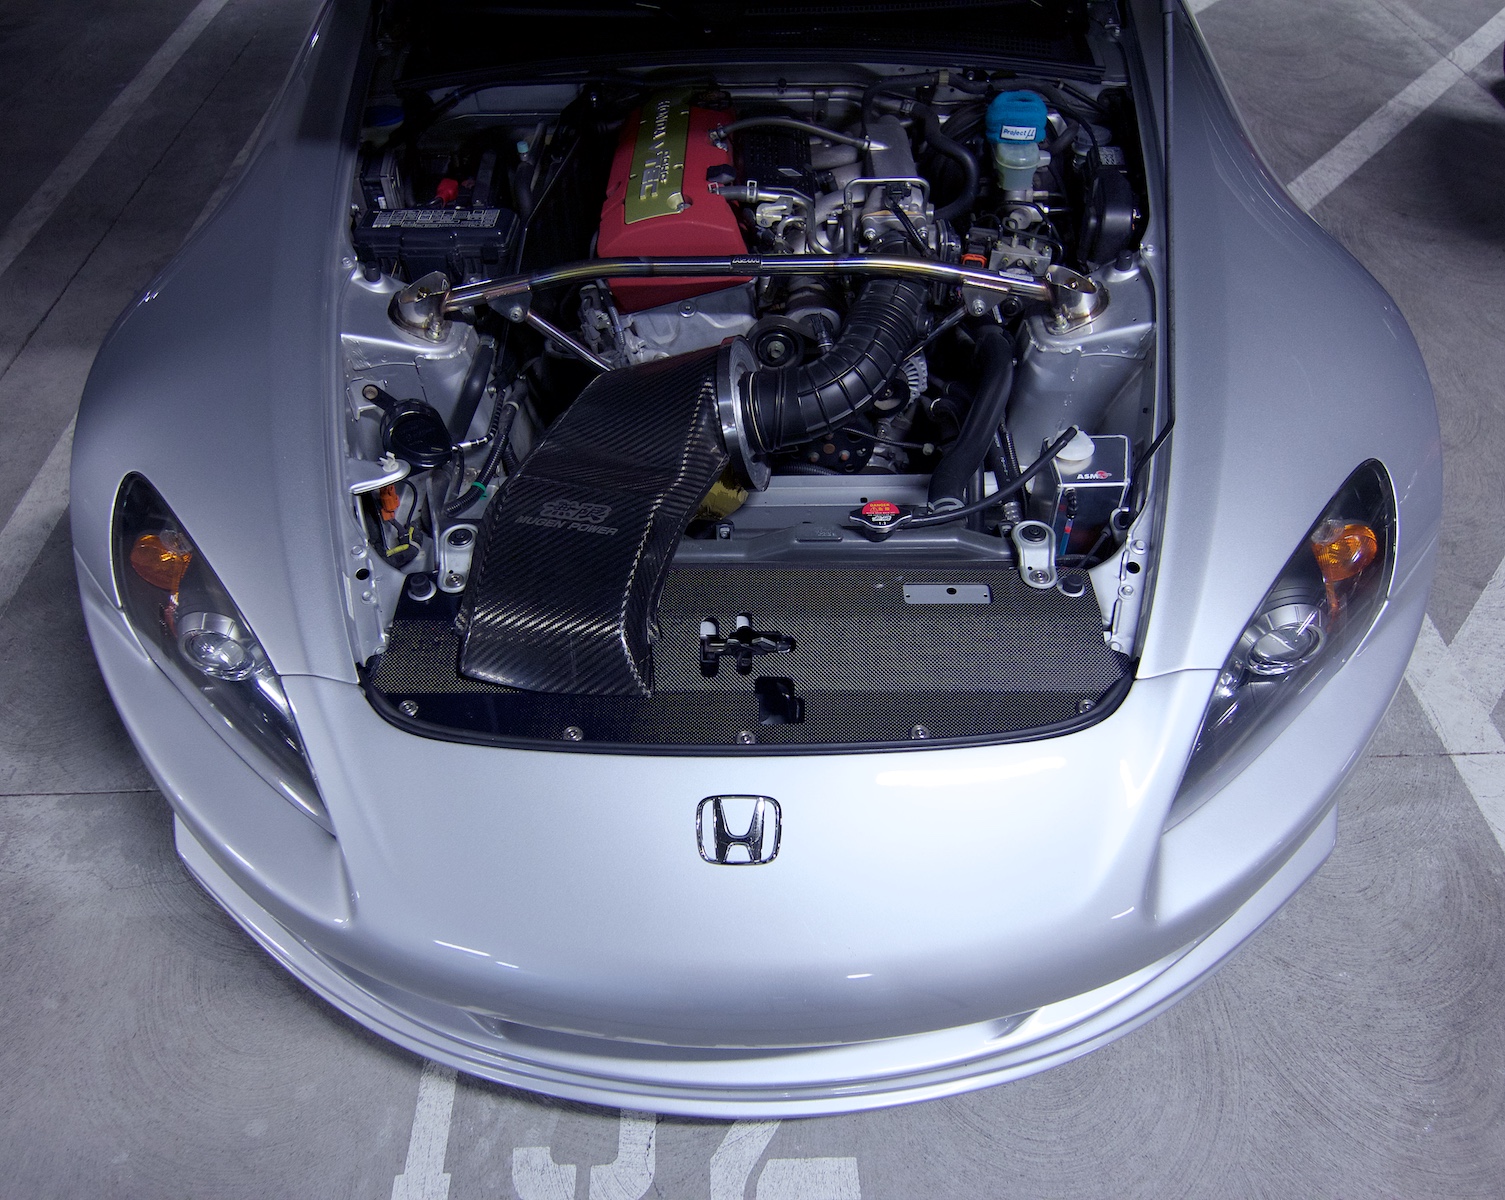
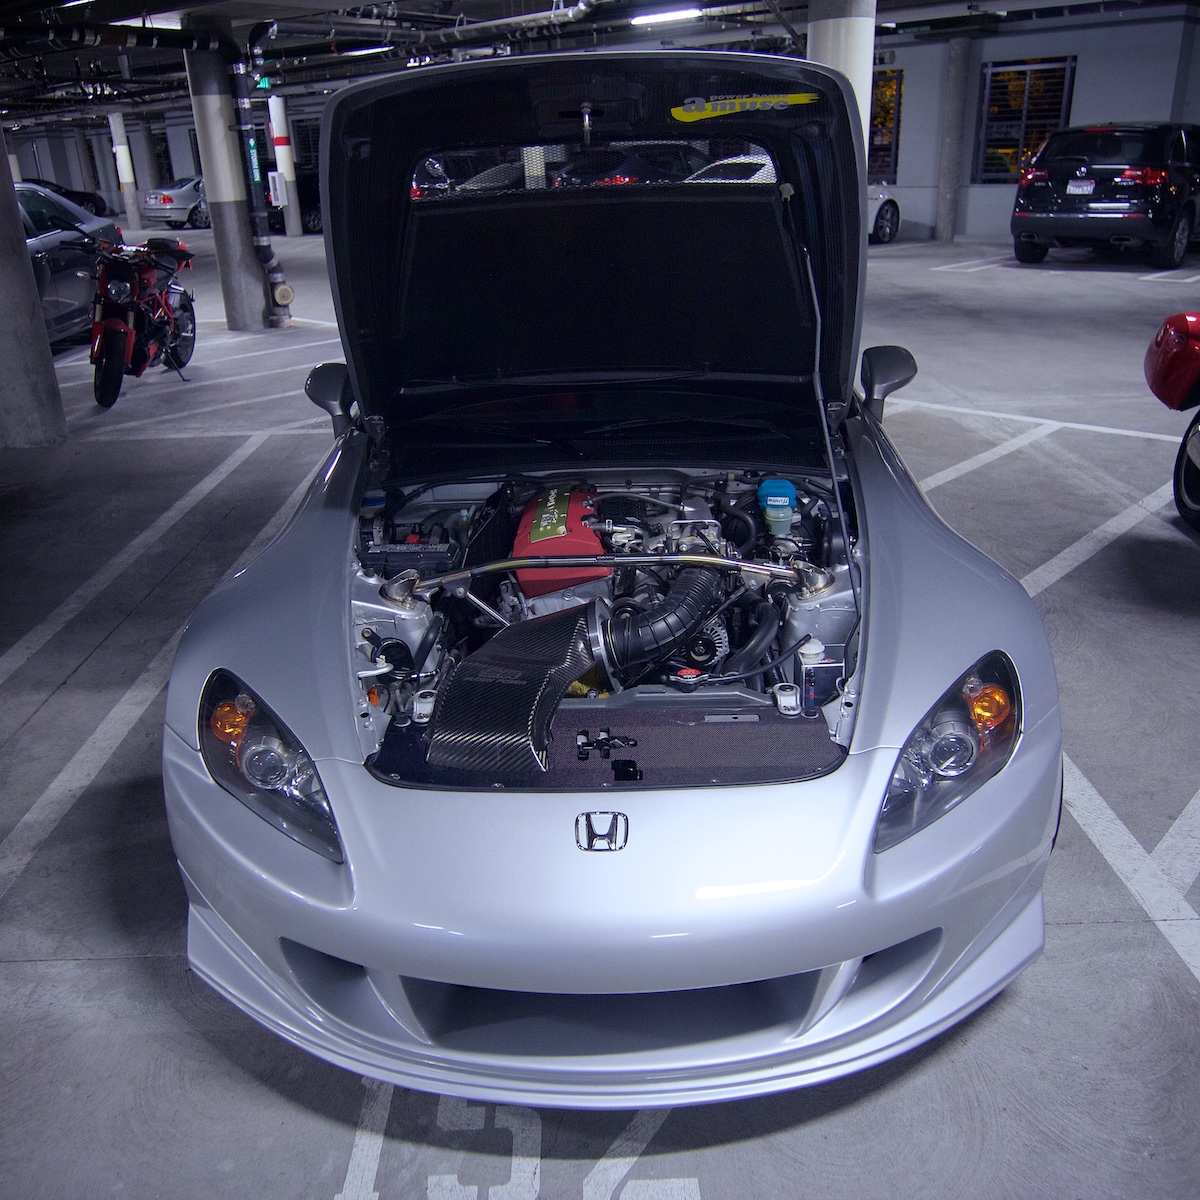
o_O S2000 | Mk I — Stage II

Permission to engage...

User avatar

andrewhake
Admin
Posts: 580
Joined: Oct 2016
Location: Mt. __________
Contact: YouTube IG
United States of America
#166

01-26-2016

Hooooold onto your butts, get ready to get excited party people, because I got some..

Mugen license plate bolts

Image

I actually picked up quite a few of these to use on my radiator cooling plate and radiator upper mounts too. I am going to get the 1x1 carbon ASM plate I since I prefer that look in the engine bay so I will probably wait for that to replace all those bolts.
o_O S2000 | Mark I Stage II...

That’s thirty minutes away. I’ll be there in ten.
User avatar

Topic Author
andrewhake
Admin
Posts: 580
Joined: Oct 2016
Location: Mt. __________
Contact: YouTube IG
United States of America
#167

02-05-2015

Cleaned my car.

Image

Image

Image

Image

HyperRev Vol.202 S2000 #8 on the way as well as some ASM bits and pieces. Should have some interesting stuff to report over the next few months.
o_O S2000 | Mark I Stage II...

That’s thirty minutes away. I’ll be there in ten.
User avatar

Topic Author
andrewhake
Admin
Posts: 580
Joined: Oct 2016
Location: Mt. __________
Contact: YouTube IG
United States of America
#168

02-09-2015

ASM I.S. Design Rear Aero Bumper -04 Type S

Finally got in the rear bumper I have had my eyes on for some time now.

Image

Image

Image

Image

Image

Really looking forward to test fitting and getting this painted. Built quality is as perfect as one would expect from ASM. Awesome to see that the mesh pieces come coated/painted black ready to go, and it also comes with nice hardware, better than what the OEM bumper uses even. The 1x1 carbon lower piece should match the side diffusers perfectly. Hopefully this week I can get it test fitted, get the side mounting tabs relocated, JDM bumper support and license plate frame mounted, and have ready to send off for paint.
o_O S2000 | Mark I Stage II...

That’s thirty minutes away. I’ll be there in ten.
User avatar

Topic Author
andrewhake
Admin
Posts: 580
Joined: Oct 2016
Location: Mt. __________
Contact: YouTube IG
United States of America
#169

02-10-2016

Image

Photo I snapped today after getting out of my car today heading into work. Exhaust was sitting pretty in this sun so decided to snap a photo. I remember someone asking how the coloring of the tip was holding up over time and as I mentioned before it pretty much looks identical to when I got it. The piping color shifts around but because the way the tip color is done it stays pretty much the same.
o_O S2000 | Mark I Stage II...

That’s thirty minutes away. I’ll be there in ten.
User avatar

Topic Author
andrewhake
Admin
Posts: 580
Joined: Oct 2016
Location: Mt. __________
Contact: YouTube IG
United States of America
#170

02-23-2016

Neighbor just got a 991 GT3 and I would very much like to drive it.

Image
o_O S2000 | Mark I Stage II...

That’s thirty minutes away. I’ll be there in ten.
User avatar

Topic Author
andrewhake
Admin
Posts: 580
Joined: Oct 2016
Location: Mt. __________
Contact: YouTube IG
United States of America
#171

02-29-2016

Endless ME20 installed

Image

Popped on the ME20s tonight front and rear. I have become quite the fan of the Winmax W5 over the past year or so. They are a bit aggressive and due go through rotors fairly quickly but they last and last and hold up to abuse well. So far I have just really bed-in the ME20 but they are already feeling good. I think the W5 are definitely more aggressive in terms of initial bite but the ME20 seem to provide a little better feel. They seem like they will be a little more steetable in the sense that the bite is just a little less hardcore. The feel at lower speeds is a bit better too. Pads like the W5 feel great when driving aggressively but can feel a little less smooth under normal day to day driving. ME20 seem to be a good balance of both. I think the ME20s do a little better in colder temps as well, the W5s are really at their best on track in their ideal temperature range.

Side note with the EVS 70mm exhaust. I sort of feel like I am going slower because the car is so damn loud in VTEC now. Definitely a good kind of loud but pretty significantly louder than the Amuse. I can't say I really feel the extra 14lbs that the EVS adds over the Amuse though.

I also popped in a new filter for the Mugen intake, my previous filter was actually still very clean for the 11k miles it has been used, but really easy to swap the filters every 15k or so to make sure the car is breathing well.
o_O S2000 | Mark I Stage II...

That’s thirty minutes away. I’ll be there in ten.
User avatar

Topic Author
andrewhake
Admin
Posts: 580
Joined: Oct 2016
Location: Mt. __________
Contact: YouTube IG
United States of America
#172

03-03-2016

Ohlins DFV (custom valving) + Swift 13kg/mm springs

Image

Tonight I received the new custom valved DFV damper setup. Big thanks to Anish and Matt from http://speedfreaksusa.com and the guys at Ohlins for putting in a lot of work on the valving of this particular setup. Matt and I will be testing these out over the next few months (he will be on 14kg/mm springs F+R) and provide feedback. Can't really discuss the particular details of the valving yet but generally the idea is to provide more compression and an increased comp/rebound range overall. Of course to accommodate the stiffer springs but also to provide a better adjustment range than the normal valving provides. On my current setup with standard valving and 9.8kg/mm springs, the useful adjustment range for me is anywhere from 2 clicks from full stiff to around 12 clicks. Anything beyond that I find overly soft, even though the DFVs can be adjusted out to 32 clicks or so. The new valving should provide a larger range for more fine tuning as well as the possibility for a wider range of usable spring rates.

Decided to run Swift springs instead of HyperCos because they are not only lighter than the normal Ohlins/Eibach springs, they are also a little lighter than the HyperCos. The Ohlins/Eibach 100Nm weigh 3.9lbs. The Swift 13kg weigh 3.5lbs each. 1.6lbs unsprung weight savings in total. I don't have my old measurement photos of the HyperCos to show, but they are a tiny bit lighter. Also they are shiny and orange.

Image

Image

Quite a few things to do on the car at the moment, but looking to get these on along with the Ikeya Formula upper arms sometime this month and start testing. Not really expecting any surprises, I love the current balance of the car, just want it to respond even quicker and to be able to better handle some of the heavy compression areas of local tracks and mountain roads. As I have said before, dialing in the suspension setup is the best part of any car, and it never really ends. Still lots of things to slowly fine tune and adjust for each particular track and condition, and still quite a few parts I am still looking to pick up.
o_O S2000 | Mark I Stage II...

That’s thirty minutes away. I’ll be there in ten.
User avatar

Topic Author
andrewhake
Admin
Posts: 580
Joined: Oct 2016
Location: Mt. __________
Contact: YouTube IG
United States of America
#173

03-21-2016

ASM radiator tank + ASM rear tow hook

Image

A few more ASM parts to add to the collection. Friend of mine is nearly finished testing a radiator setup he has been working on so that will likely be coming soon, so decided to pick up the ASM tank to match. The ASM rear tow hook to work with the JDM rear bumper support and new rear bumper, have been waiting for the towhook to get everything test fit since I will need to trim the mesh on the rear bumper to fit everything.

KYB hydraulic scissor jack

Image

Image

Also picked up this little scissor jack from Japan. Different manufacturer now but the same jack KYB used to offer. Simple little 800kg hydraulic scissor jack that is much easier to fit in the car when going to the track then my normal floor jack. Very well made, for some reason it isn't really possible to find something like this in the U.S. Only about $100 from Japan.
o_O S2000 | Mark I Stage II...

That’s thirty minutes away. I’ll be there in ten.
User avatar

Topic Author
andrewhake
Admin
Posts: 580
Joined: Oct 2016
Location: Mt. __________
Contact: YouTube IG
United States of America
#174

03-22-2016

Toda 60mm to 70mm test pipe + Toda oil pan

Image

Image

Got this to match up to the EVS 70SSP. Nothing at all wrong with the normal 70mm test pipes out there but this type of design with a longer transition from 60 to 70mm makes the most sense to me. When you abruptly change piping diameters it creates turbulence that doesn't need to be there, and easy enough to make a test pipe with a smooth transition. I plan on trying the car out with all the various options I have now with this exhaust. 60mm test pipe, 60mm OEM cat, and 60 to 70mm test pipe and see if I notice any differences in sound.

I have to say this Toda test pipe is extremely well made, even nicer than the J's 60mm, and it comes with a 70mm gasket for the exhaust side.

Image

Image

Also picked up a Toda oil pan. Again nothing wrong with all the great baffled oil pan options out there, just chose this one because it has a sensor hole already so I can get oil temp data in the future. Was planning on just getting the BlackTrax pan but I was able to get the Toda pan for the same price essentially that already included the bung to use for an oil temp sensor. Radiator and oil cooler setup should happen sometime this year so hopefully I will be able to get some coolant and oil temps before switching over to that.
o_O S2000 | Mark I Stage II...

That’s thirty minutes away. I’ll be there in ten.
User avatar

Topic Author
andrewhake
Admin
Posts: 580
Joined: Oct 2016
Location: Mt. __________
Contact: YouTube IG
United States of America
#175

04-02-2016

ASM Throttle Body IS-09 + ASM throttle body spacer

Image

Image

Along with ordering some other Toda/ASM parts I decided to also pick up the throttle body/spacer combo. Inlet is expanded to 70mm (from 68mm) and outlet to 66.5mm (from 64.9mm) with spacer that tapers to match throttle body outlet to the AP2 intake manifold inlet. Spacer comes with larger hardware and all the new gaskets needed. Overall just expanding overall volume in the TB. Doesn't seem to be any major power potential with just a throttle body but as with everything with this car it all comes down to little refinements and improvements. I know there are larger throttle body options available but the intake manifold can only deal with so much air so this is the solution I decided to go with.

I like that ASM designed a tapered spacer to match and I trust Toda to have chosen throttle body sizing that makes sense for a normal F22C. For a larger displacement 2.4L engine there are definitely some clear advantages to a larger volume intake manifold (BlackTrax has tested this on a few cars with good results.) Without making changes to the intake manifold it seems like a small refinement of the stock throttle body should work well with no side effects and maybe some small improvements.

I plan on taking the car into Jei for an updated tune after I get one more part in. I would love to do incremental dynos and tunes on every thing individually but I just don't have the time and I sort of already know what to expect from everything anyway, so I would rather have Jei spend time on optimizing the tune as much as possible for the overall package and get the most out of it and spend time tuning on/off throttle behavior.

Toda test pipe should go on tomorrow and I will get some sound check videos up.
o_O S2000 | Mark I Stage II...

That’s thirty minutes away. I’ll be there in ten.
User avatar

Topic Author
andrewhake
Admin
Posts: 580
Joined: Oct 2016
Location: Mt. __________
Contact: YouTube IG
United States of America
#176

04-03-2016

Toda 60mm to 70mm test tipe installed

Image

Got the test pipe installed. I think it toned down the raspiness of the EVS 70 a little bit. Generally the EVS sounds good but on the over run around the VTEC change over it can get a little raspy for sure. This seems to have minimized that a little. The Toda test pipe really is incredibly well made compared to the J's and that one is nice. This one is perfectly made.

Will get a video made soon of the sound. It's too loud now to do the usual in garage video so outdoors only I think.
o_O S2000 | Mark I Stage II...

That’s thirty minutes away. I’ll be there in ten.
User avatar

Topic Author
andrewhake
Admin
Posts: 580
Joined: Oct 2016
Location: Mt. __________
Contact: YouTube IG
United States of America
#177

04-09-2016

ASM radiator plate (carbon fiber), ASM radiator tanks, Mugen bolts, Mugen radiator cap installed

Just some little engine bay updates. New carbon ASM radiator plate. After seeing my friend Mark's S2000 with black anodized radiator plate I decided I preferred that sort of look to the current red setup so I put in an order for this along with the other ASM parts I have gotten recently. The latch cutout on this version is different than the older red one I had that I had gotten along with my Mugen intake. No problems with this newer design with fitting the Amuse hood latch. I had put a small strip of adhesive foam right under the latch on the hood to protect them both as that area can lightly come in contact with the plate with the vibration of the engine, so that still remains. So far seems to fit without issue, and easy to trim if necessary. Looks like they definitely changed up the design a decent amount because this one generally seems to fit better and tighter to the parts underneath, and noticeably batter around the latch handle.

ASM radiator tank. Just looks better, nothing more nothing less. Easier to see the fluid level in the tank as well I guess. Mugen bolts for radiator plate and radiator stays, and Mugen radiator cap. Just looks better, simple as that. Ohlins stickers in ASM strut bar mount points, to help remember what dampers are in there.

Ended up getting some nice photos while taking shots of the various parts. Enjoy.

Image

Image

Image

Image

Image

Image

Image

Image

Image

Image

Image
o_O S2000 | Mark I Stage II...

That’s thirty minutes away. I’ll be there in ten.
User avatar

Topic Author
andrewhake
Admin
Posts: 580
Joined: Oct 2016
Location: Mt. __________
Contact: YouTube IG
United States of America
#178

05-03-2016

Didn't get the chance to do the sound check video quite yet because I was finishing up doing some little minor things in the interior. Still had a few little rattles and odds and ends I have been meaning to take care of.

1. remove a pillar interior trim and tape up the dome light wiring that was slightly vibrating against the trim on startup. :thumbup:

2. add some 242 loctite to the hardtop striker screws to keep them from vibrating loose over time. :thumbup:

3. replace sun visor screws with new ones (old ones were ugly and galled from being removed by some f@#king amateurs) :thumbup:

4. replace bulbs in dome light and use isopropyl alcohol + q-tips to clean up dome light switch contacts. :thumbup:

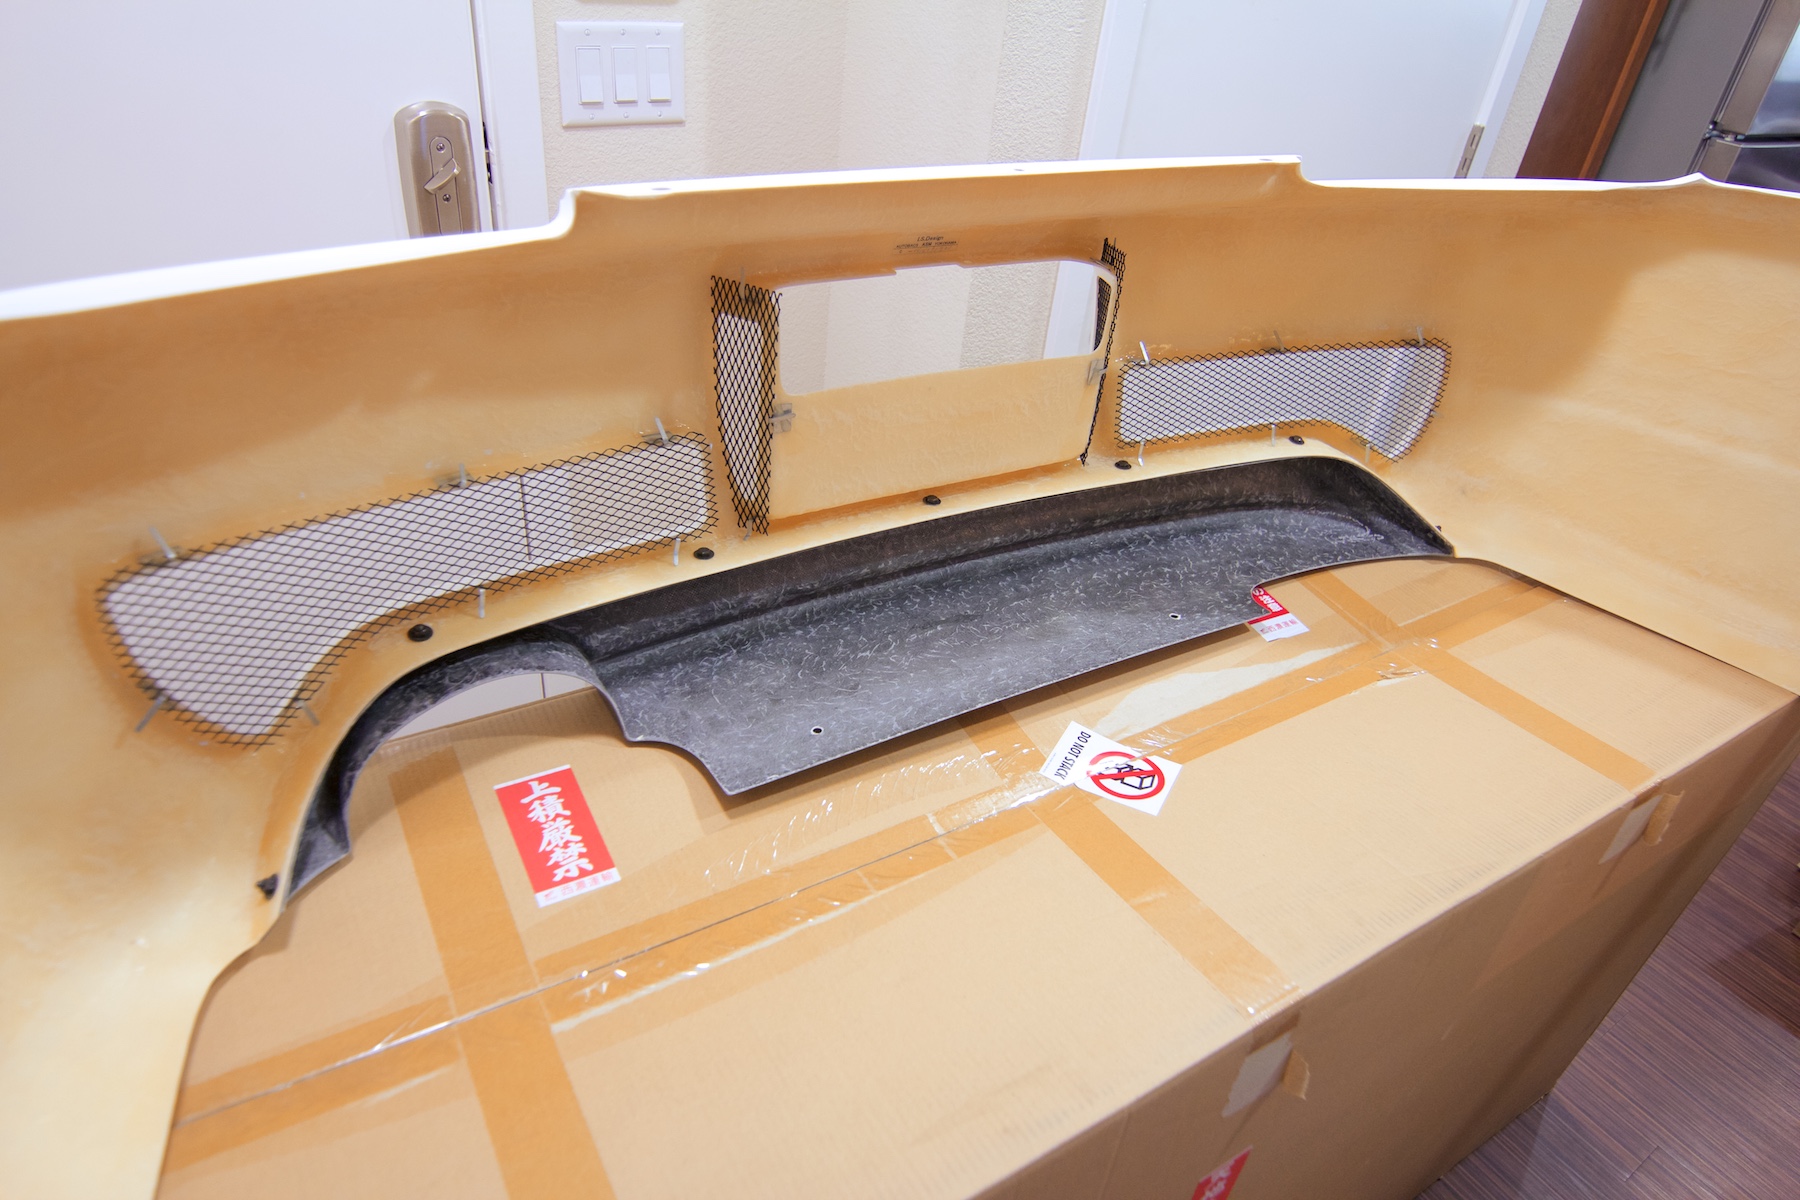
5. use some adhesive weather seal foam to quiet down some of the rattles the camera can pickup when mounted to the top of the secret compartment/glove box. :thumbup:

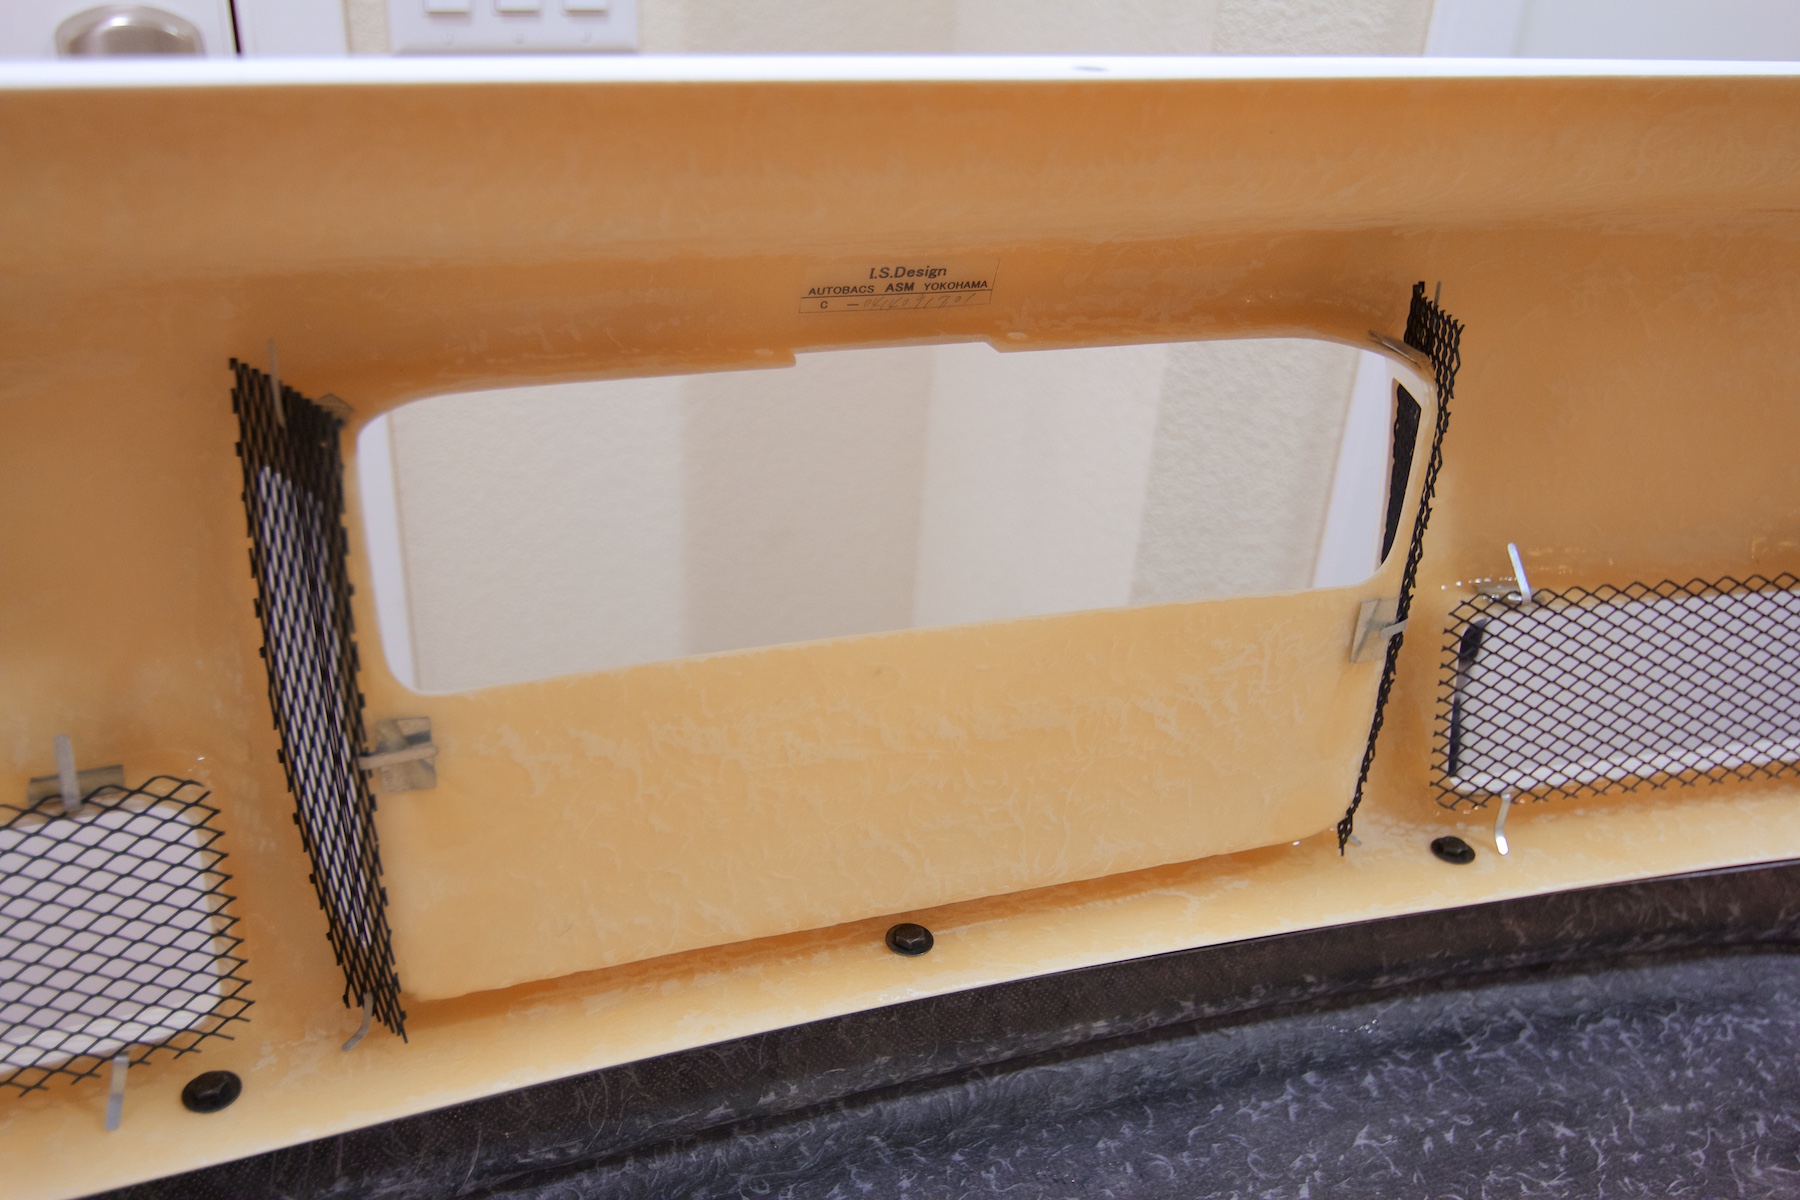
6. find a way to wire one of my microphones to the rear of the car through the interior panels behind the passenger seat. :thumbup:

Image

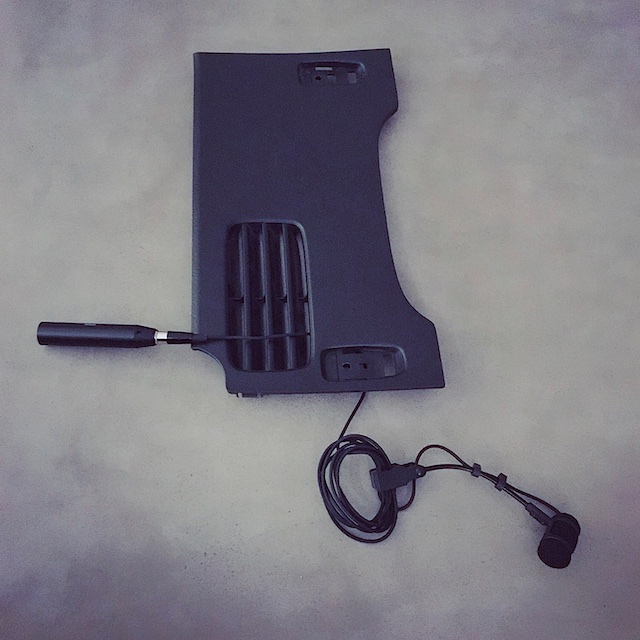
This is an Audio-Technica PRO35 clip on instrument mic which I can easily clip into various places in the trunk. The large section on the XLR connection is detachable so it can easily fit through the little vented section of the panel. I have another one I setup up under the dashboard to get some engine noise from near the firewall. Both run into a Tascam sound recorder via XLR and I can dial in the gain from the driver's seat. Getting good audio from a loud car is a really difficult thing to do, but it has been fun trying out various methods and setups on this car. After a lot of trial and error I have a pretty awesome setup that should work well even with the windows down at the track.

I also picked up a GoPro Hero 4 Session recently to use mounted on the top of the secret compartment. With the Modifry mount I can easily point it forward if I want a secondary angle towards the front of the car, or point it out the rear window if I want a rear view. The foam weather seal I mentioned earlier keeps the sound into that camera much cleaner and makes syncing all the footage later much easier. Also after testing the Hero 4 Session vs. the Hero 3 I normally use as my main camera I can say that the 4 is MUCH better at night. It can manage a much cleaner image with much more accurate color that requires a lot less work in post. I have been trying to hold off on getting a new camera until the Hero 5 comes out but I might just go ahead and pick up the Hero 4 Black after seeing the results from the Session.
o_O S2000 | Mark I Stage II...

That’s thirty minutes away. I’ll be there in ten.
User avatar

Topic Author
andrewhake
Admin
Posts: 580
Joined: Oct 2016
Location: Mt. __________
Contact: YouTube IG
United States of America
#179

05-09-2016

Spoon Radiator stays

Image

Image

Waiting for a new GoPro arrive so using that as en excuse for having not shot the soundcheck video for the exhaust yet, so here is a boring update instead.
o_O S2000 | Mark I Stage II...

That’s thirty minutes away. I’ll be there in ten.
User avatar

Topic Author
andrewhake
Admin
Posts: 580
Joined: Oct 2016
Location: Mt. __________
Contact: YouTube IG
United States of America
#180

05-16-2016

Image

New Ohlins installed this past weekend. New video posted in the usual spot (new mic and recording setup was a success). New parts arrived today and will be posted tonight.

I will have a lot more info on the new Ohlins coming up including ride heights and damper length measurements and all that fun stuff. Generally though the car feels great in normal driving and spirited driving, exactly what I was hoping for with them.
o_O S2000 | Mark I Stage II...

That’s thirty minutes away. I’ll be there in ten.

Return to “Projects”