o_O S2000 | Mk I — Stage II

Permission to engage...

User avatar

andrewhake
Admin
Posts: 580
Joined: Oct 2016
Location: Mt. __________
Contact: YouTube IG
United States of America
#151

08-23-2015

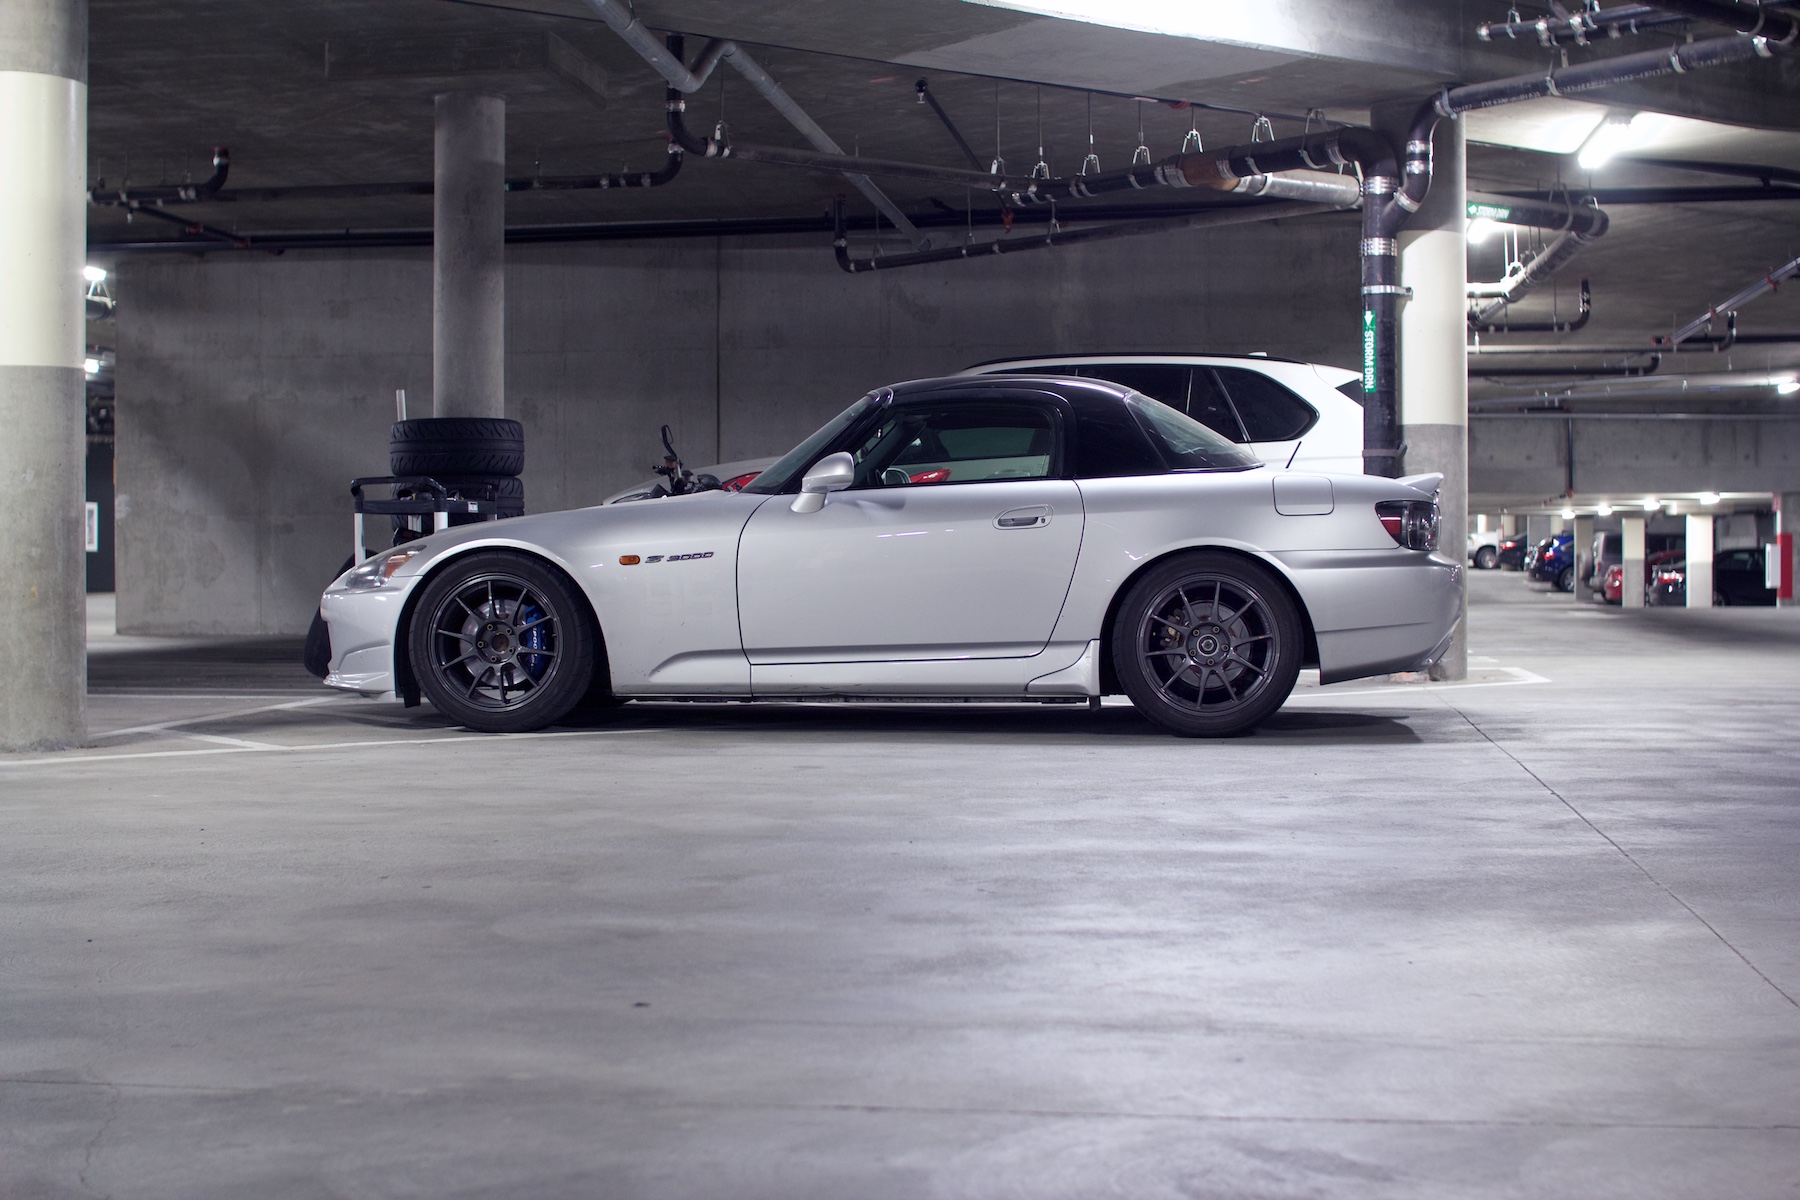
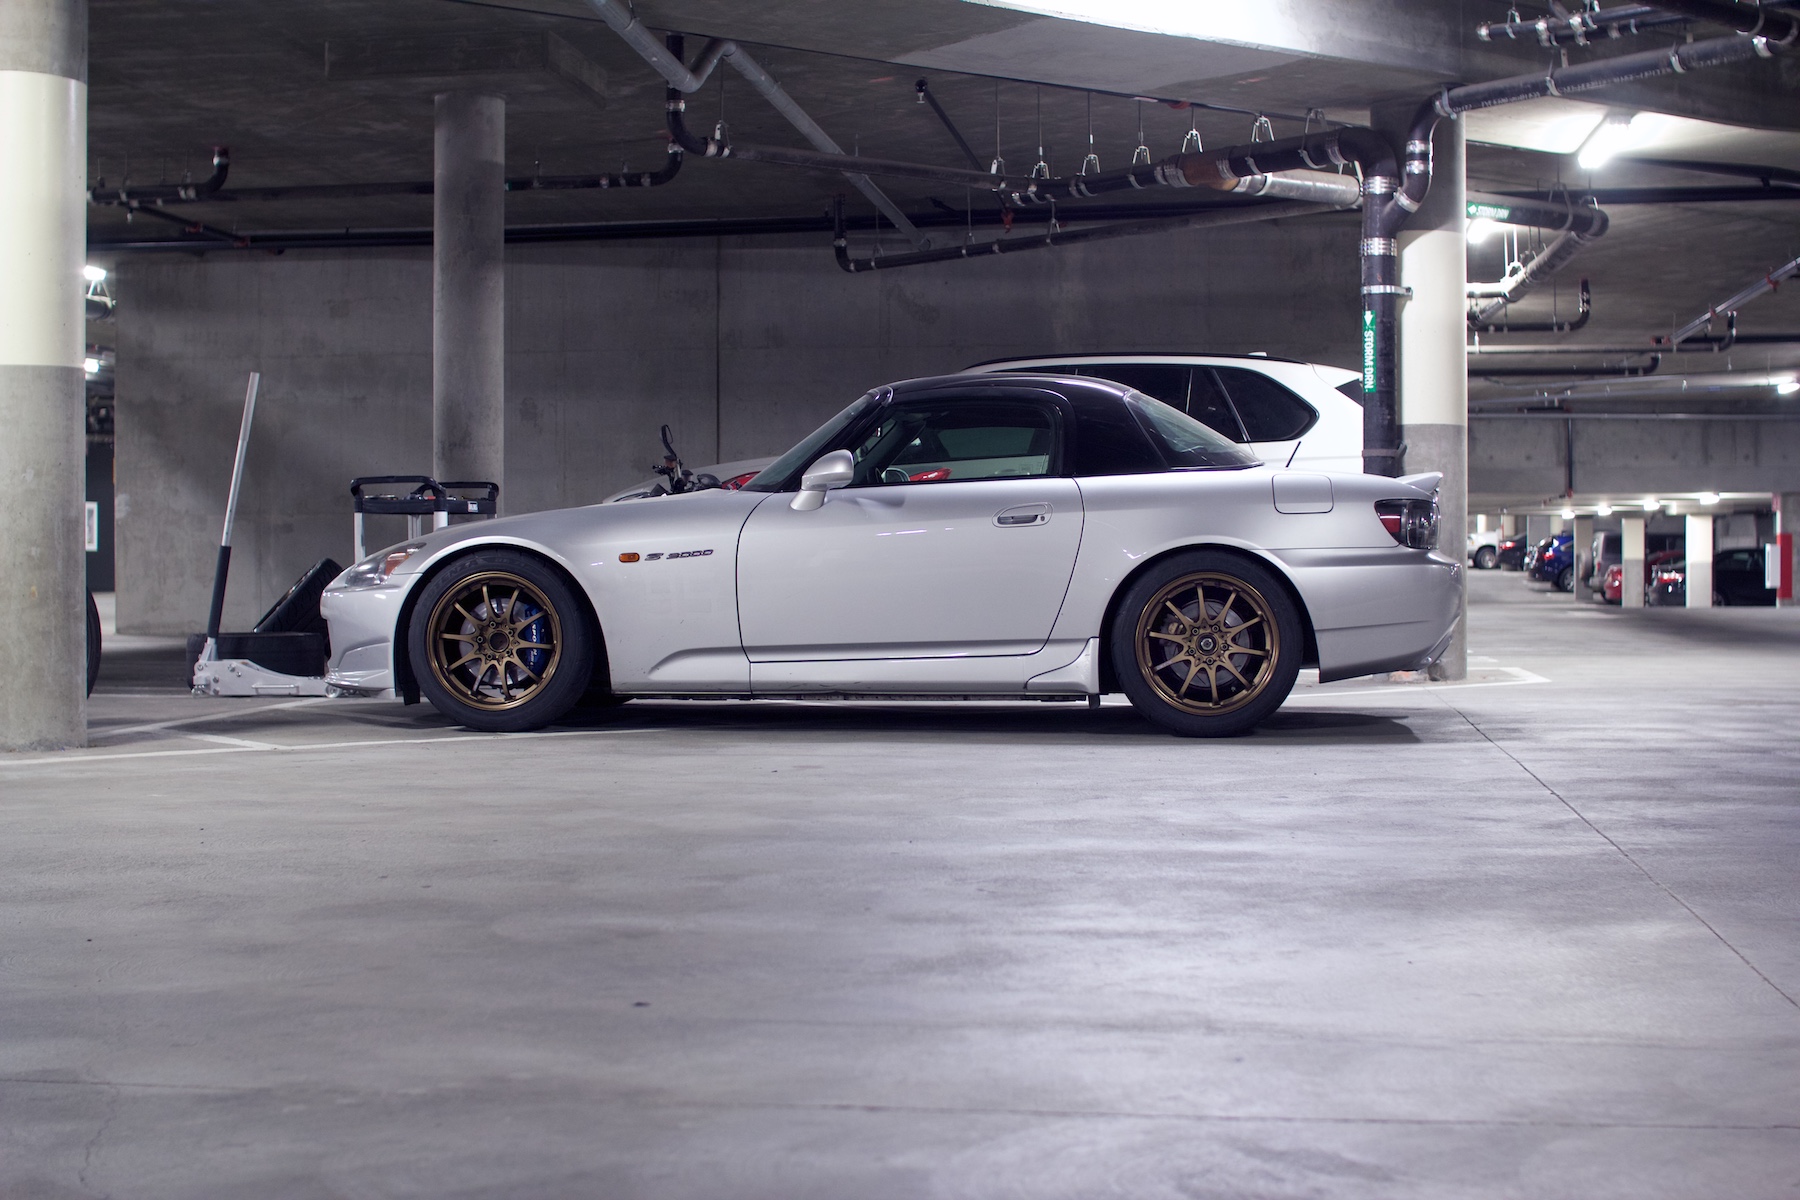
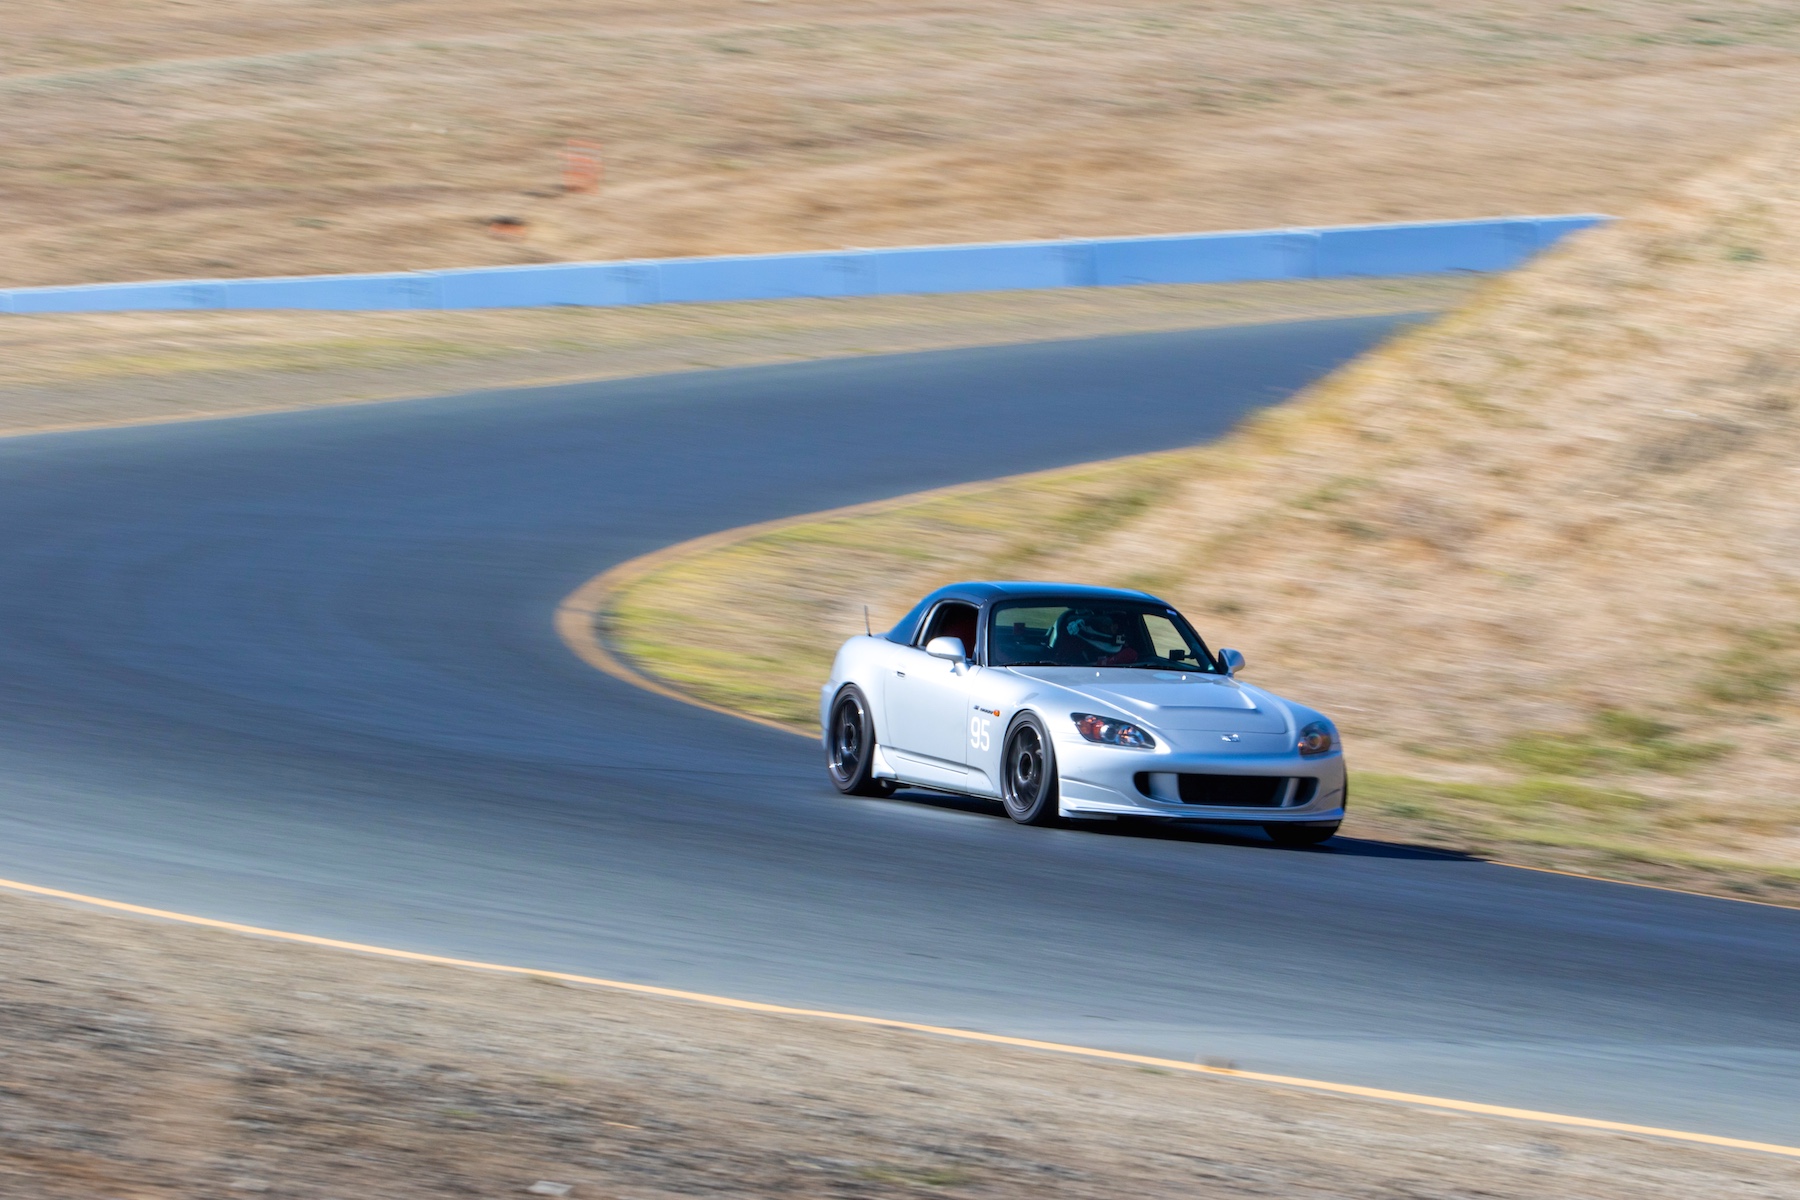
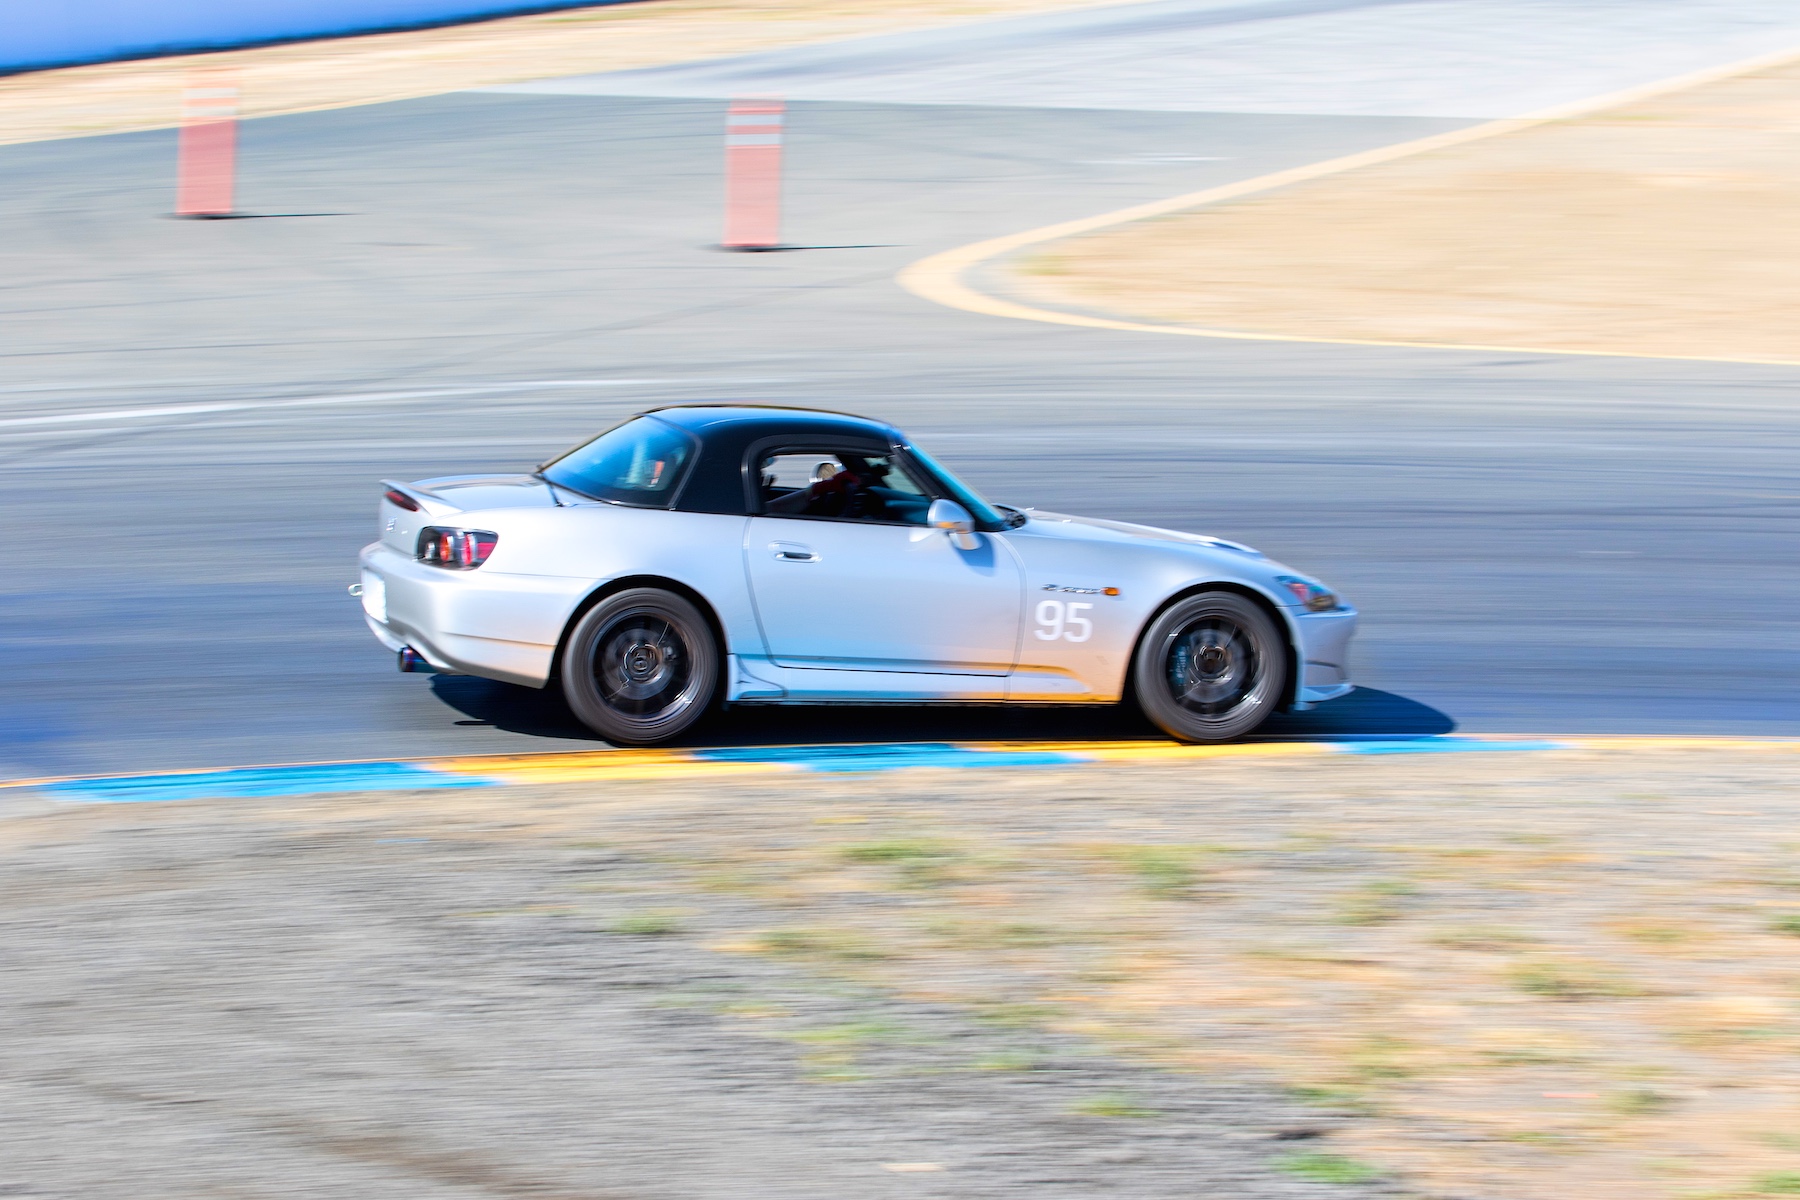
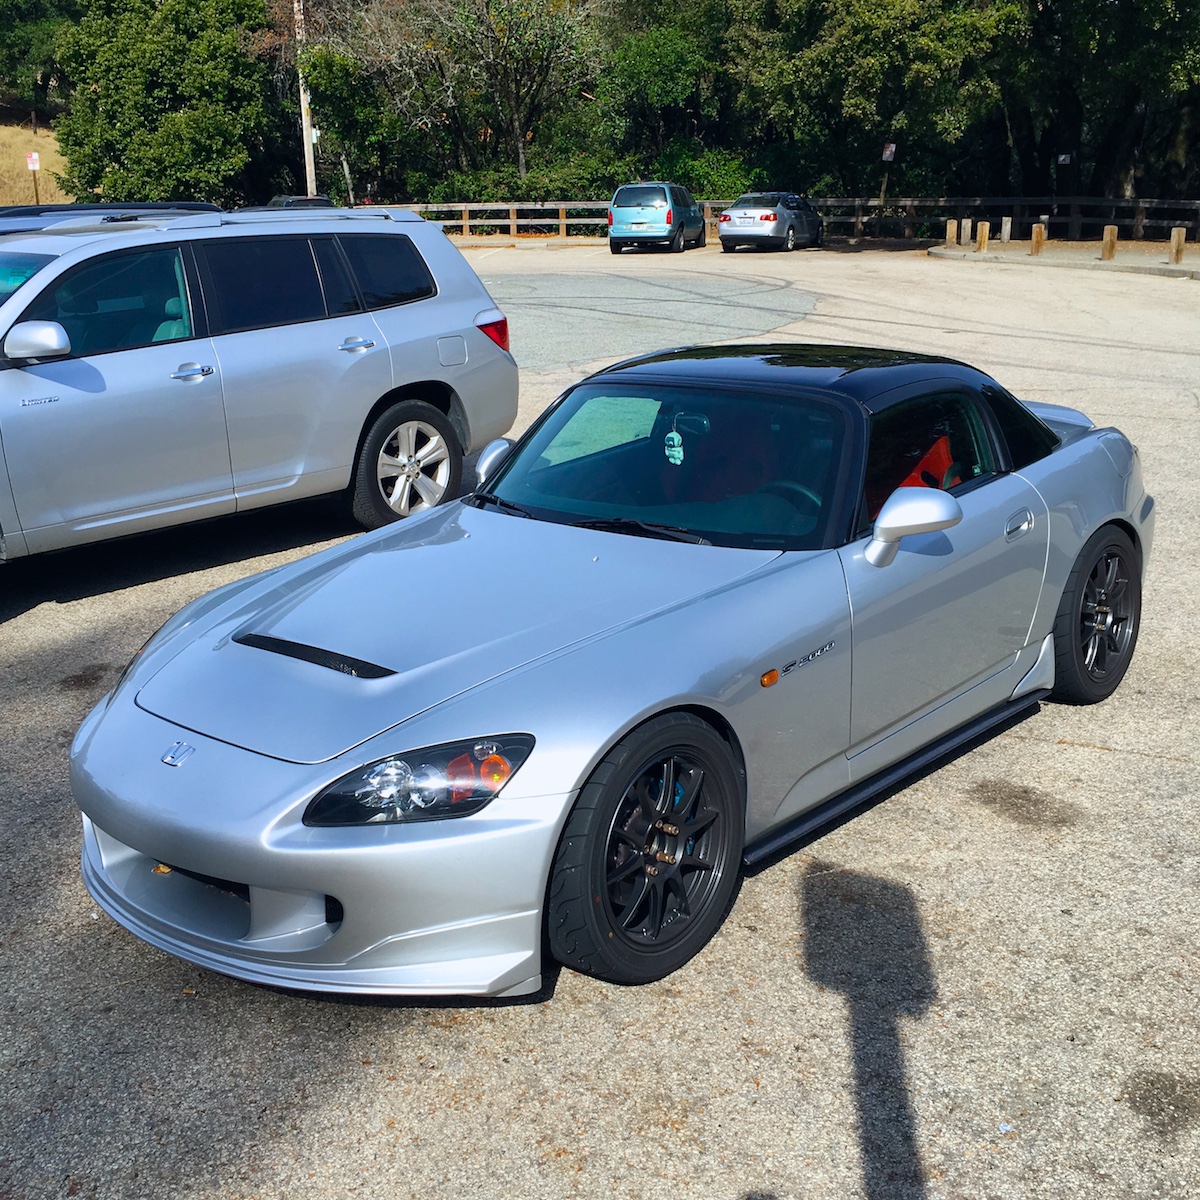
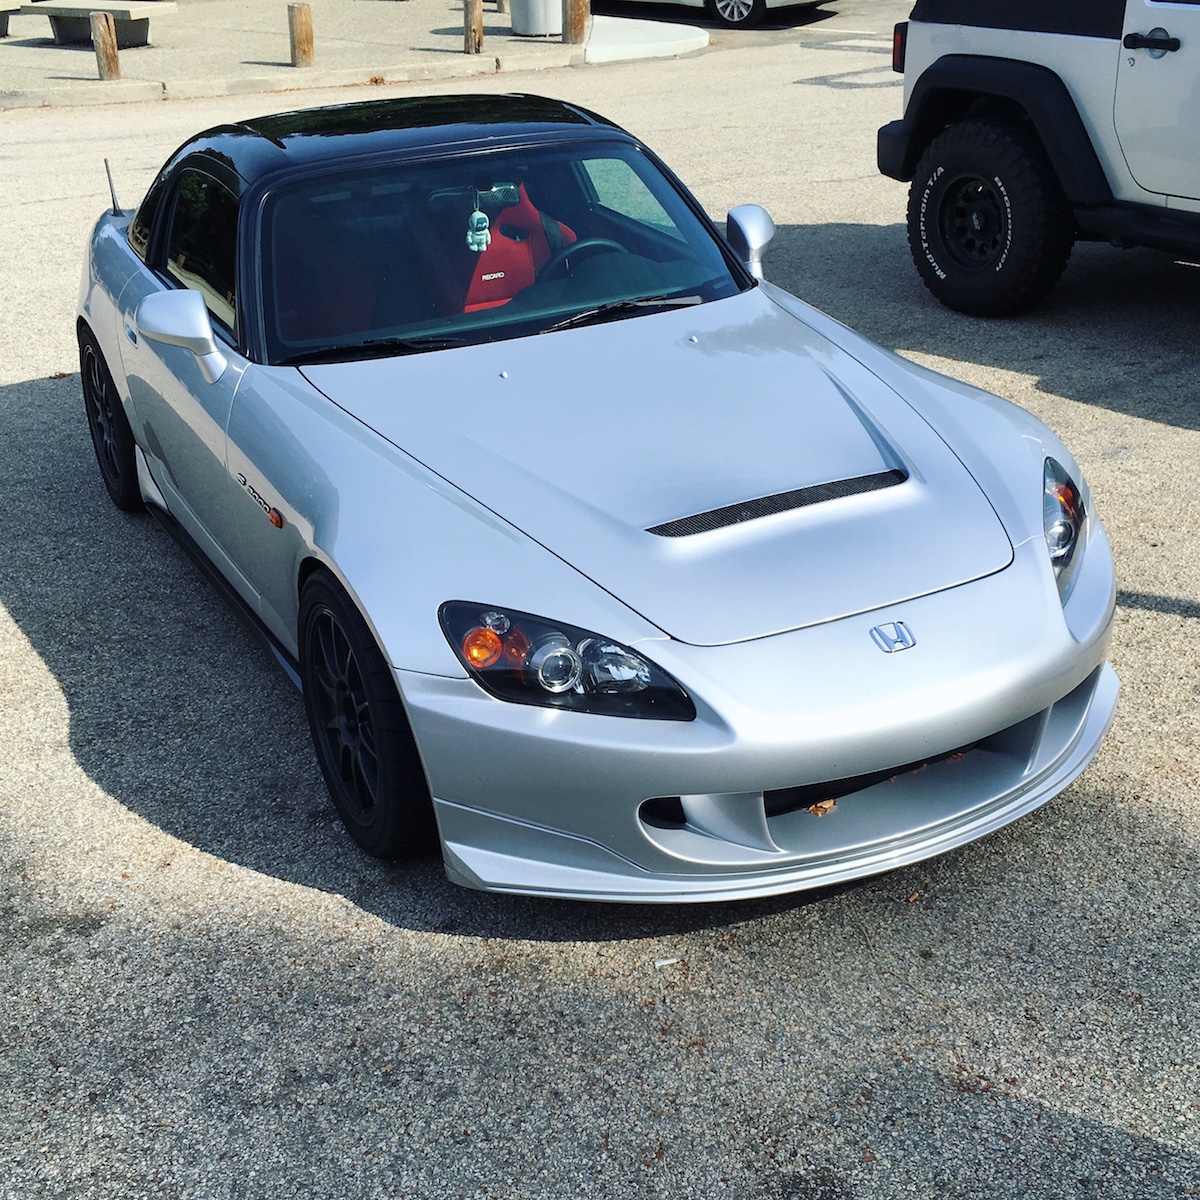
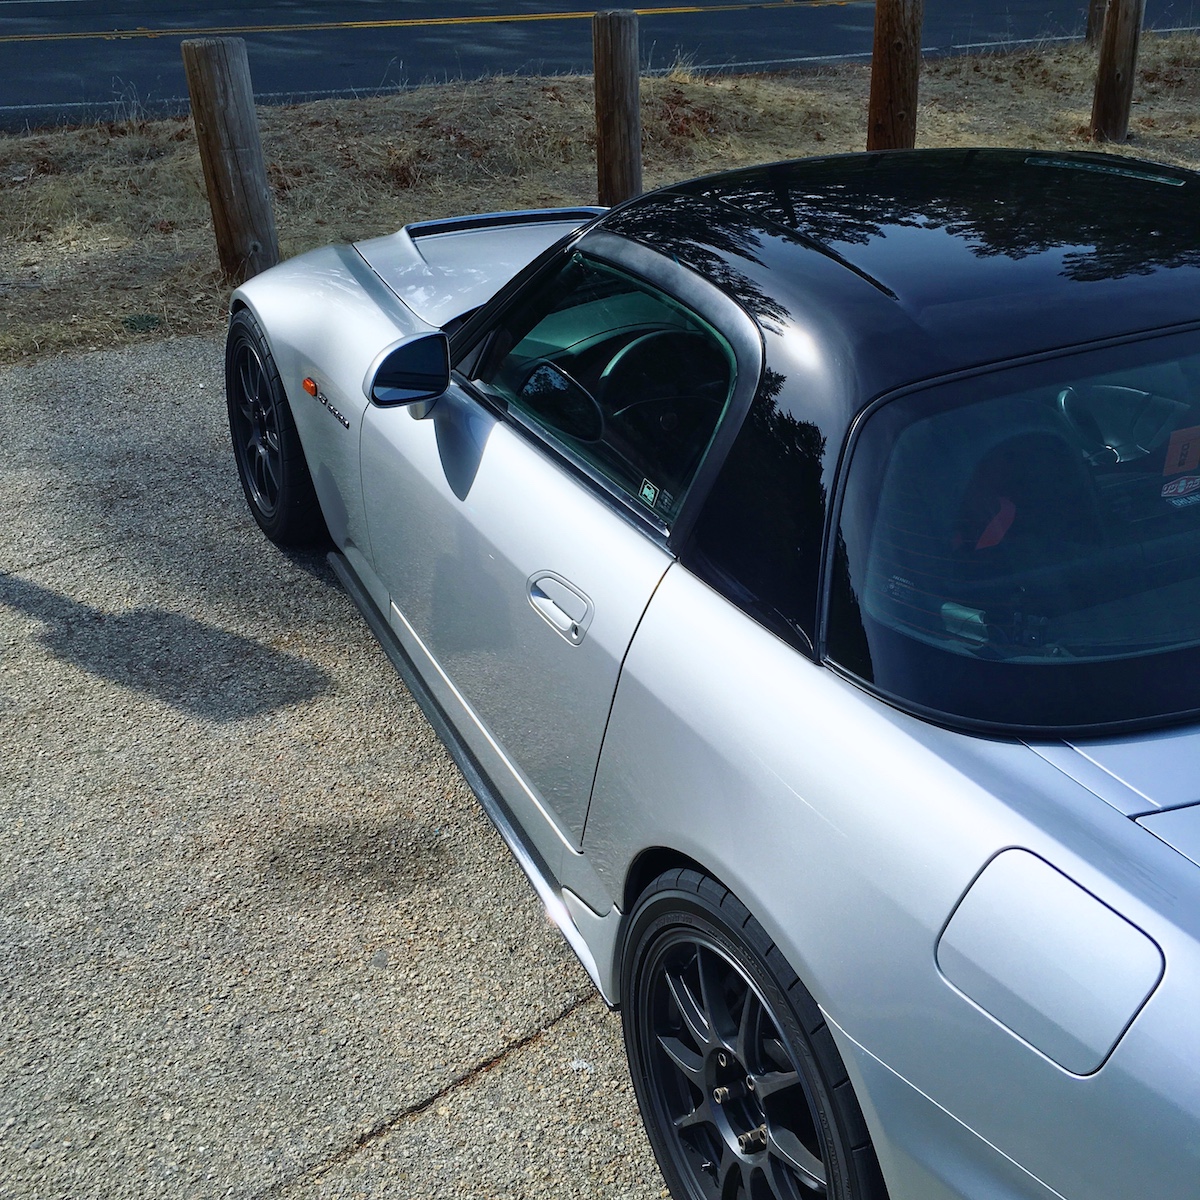
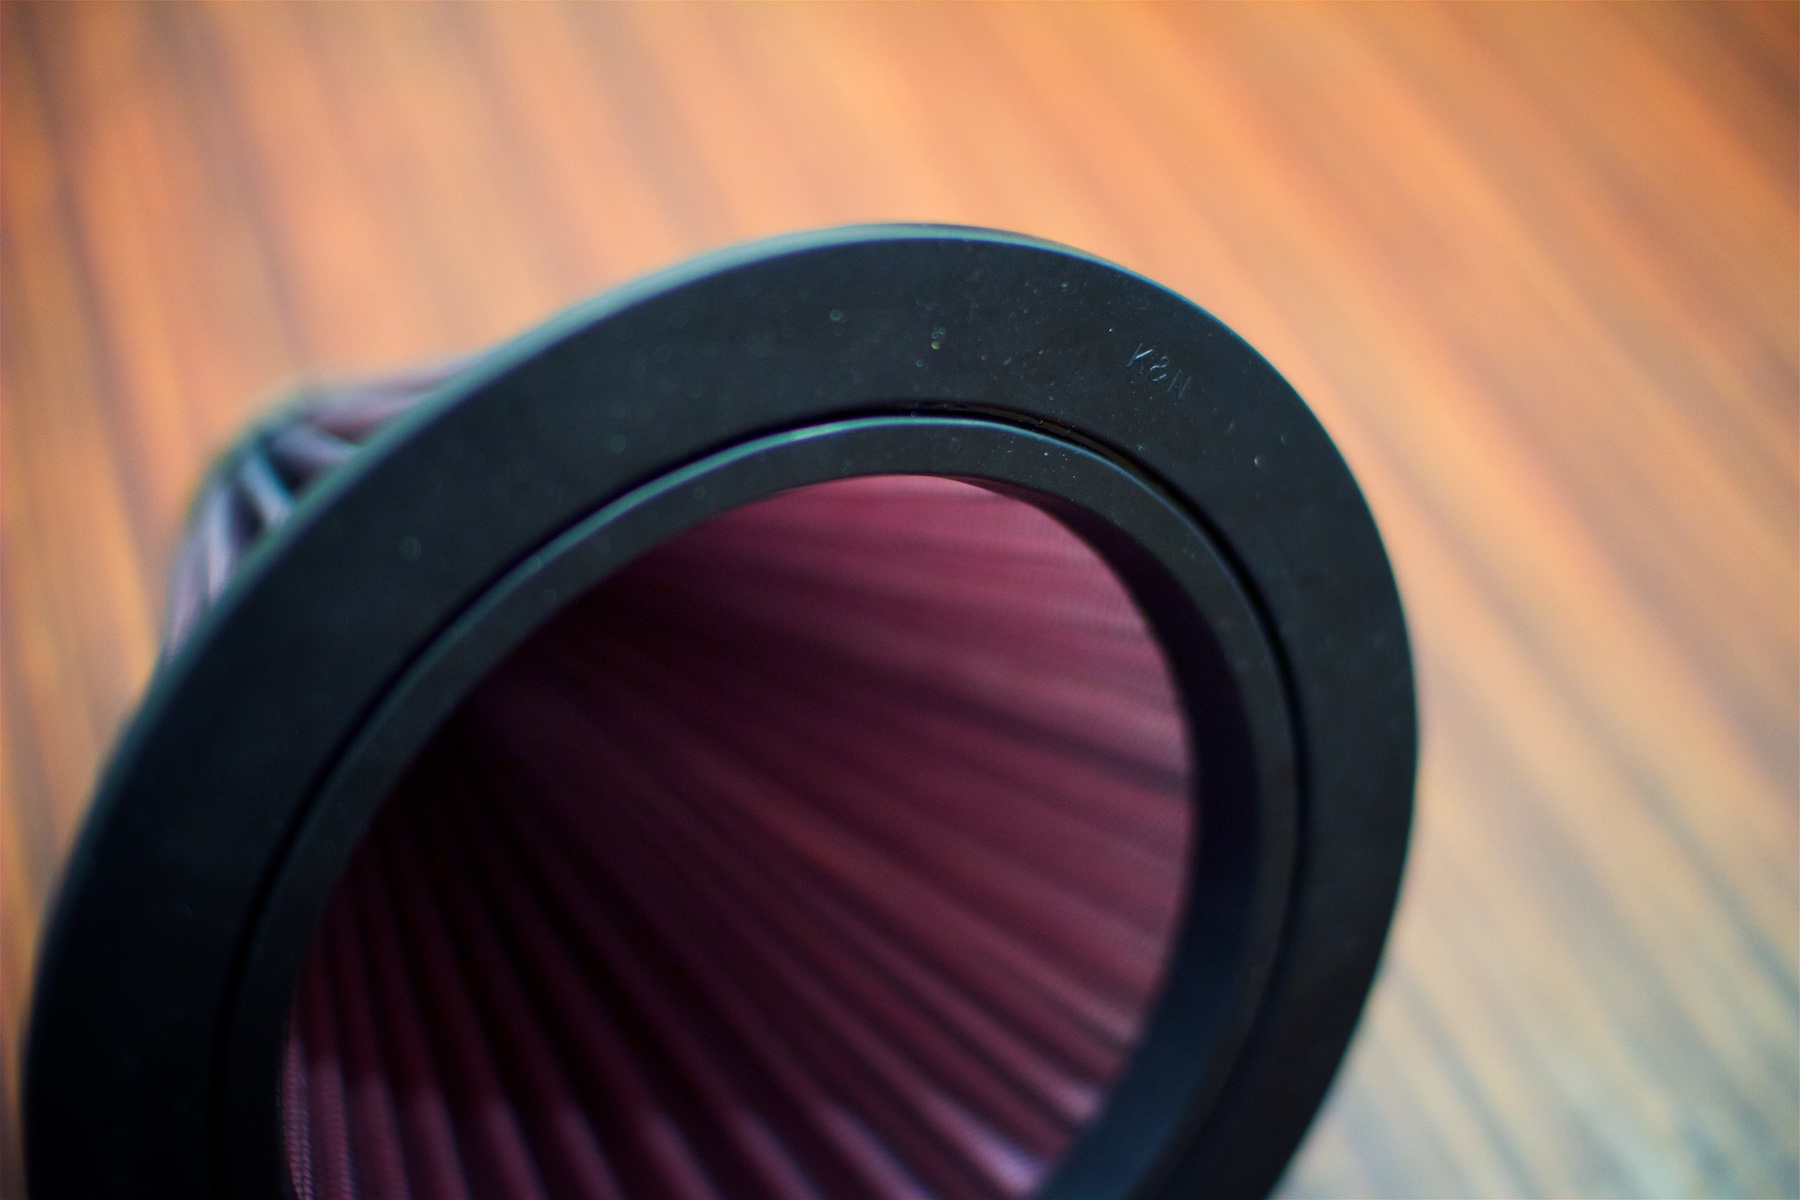
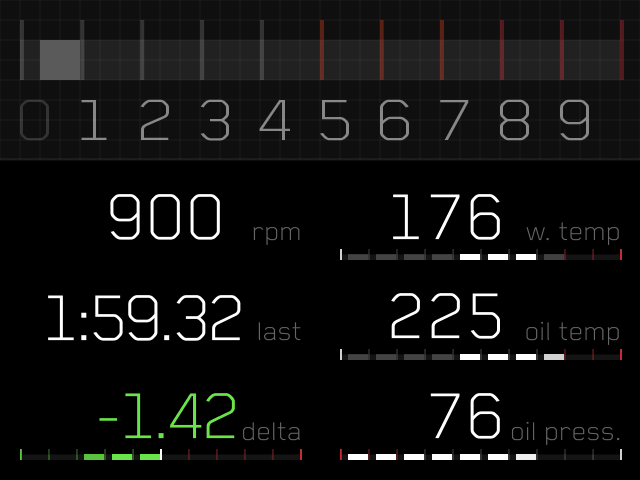
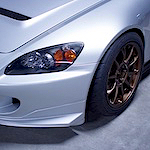
Zoom Engineering TS mirror installed

Image

Image

Image

Love this thing. Improvement in every respect really. Better looking than the generic OEM Honda mirror, way wider field of view which works especially well with the OEM hardtop, much less magnification than the OEM rearview so you get a much better sense of what is actually going on behind you, and much better dealing with bright headlights coming from behind you. The mirror is also much easier to install than the OEM arm, and the tension is easily adjustable and holds it's position well. I have tried add-on mirrors in the past and always found they would vibrate and were overly convex. This thing gets the job done without being too wide or too distorted. You will obviously see a wider field than the OEM mirror so if it bothers you to see more of the passenger area this might not be the mirror for you, but with the wide OEM hardtop window this should be fantastic for keeping an eye on who is behind you on track. I love that the mirror shape sort of frames the arch of the hardtop window perfectly. Big thumbs up to Zoom Engineering.
o_O S2000 | Mark I Stage II...

That’s thirty minutes away. I’ll be there in ten.
User avatar

Topic Author
andrewhake
Admin
Posts: 580
Joined: Oct 2016
Location: Mt. __________
Contact: YouTube IG
United States of America
#152

09-26-2015

Rays CE28N 17x9.5+47 installed!

Got some Bridgestone RE71-R in and got them mounted today on the +47s. Really love them, they fit very well and are a very similar fit to the Weds. Measuring the mounted tire tread width between the AD08R and the RE71-R on the respective wheels they are very similar. Loose, the AD08Rs are definitely a bit wider, but with the slight stretch with the 9.5 wheel the RE71-R is very similar. There is a ridiculous amount of clearance between the wheel and the caliper. If I was able to pick and exact size and offset for this wheel I think I would choose 9.5+50 or even +52, but I am very happy with the +47 I have to say. These CEs have a much deeper mounting area than the standard spec I had before, so these lugs work with them well. After having the Weds for quite awhile now, I can't really say I prefer one over the other. I like that they are similar in some ways and very different in others.

Here are some images of them mounted, the car is very dirty so apologies for that.

Image

Image

Image

Image

Image

Image

Image

I recently did a track day at Sonoma raceway, and will be going back on the 5th, so I will do one larger post once I am back. It was pretty hot for my first time driving Sonoma and I got some good laps in and improved throughout the day, but I now after better learning the track I know I can go back and get some even better laps in. I will be running the Weds again for Sonoma, and will go into more detail on all that once I am back from my second day driving there.

I will be putting on new rotor rings before the next track day as my current ones are very well worn. I got nearly 10,000 miles out of this current pair.

I took a photo with the Weds on, then popped on the CEs, interesting to see the height difference of the body as the springs hadn't fully settled yet when I took the next photo.

Image
o_O S2000 | Mark I Stage II...

That’s thirty minutes away. I’ll be there in ten.
User avatar

Topic Author
andrewhake
Admin
Posts: 580
Joined: Oct 2016
Location: Mt. __________
Contact: YouTube IG
United States of America
#153

09-26-2015

Spoon Engine, Transmission, Differential mounts

Image

Stiffer mounts all around. These will be going on next week.
o_O S2000 | Mark I Stage II...

That’s thirty minutes away. I’ll be there in ten.
User avatar

Topic Author
andrewhake
Admin
Posts: 580
Joined: Oct 2016
Location: Mt. __________
Contact: YouTube IG
United States of America
#154

10-10-2015

Sonoma Raceway — 1:55.1

Image

Recently I took the car to Sonoma for the first time. The first day was September 19th for my first time there driving. The first day at any track really is all spent just building up confidence and learning the track. My best lap of the first day was 1:56.7, after the first two sessions it got up to 95F so the track temp went up dramatically so even as I learned the track and got quicker my quickest times remained in the 1:56 range. I new I was getting faster and learning the track, but there just wasn't enough grip available to put a better time in.

Luckily there was another Sonoma event with SpeedSF right away on October 5th so I signed up and went to that event as well. My first session out I managed a 1:56.1 no problem and continued to get faster throughout the day with much better weather this time around. My fastest lap of the day was a 1:55.1. Unfortunately I forgot the SD card for my GoPro so I didn't get any video for the first half of the day, but I was able to run and grab a new SD card over the lunch break so I got the last two sessions of the day. I still managed some 1:55 laps throughout all of the sessions after that and was still improving how I was attacking certain sections. Particularly the first sector which is a very tricky one. I was actually on new AD08Rs up front after getting an unrepairable puncture on a tire before the track day. I ended up swapping two tires so my alignment wouldn't get thrown off by the uneven tire wear left to right. The rears were probably lacking grip compared to the fresh fronts but the car still felt great on track.

Here is the second to last session I did during the day. Extremely fun session with some good passing and a lot of fun chasing other cars down. Great drivers in my run group. SpeedSF always has good consistent turnout for some consistent competition on track.

http://www.youtube.com/watch?v=5z6c4JQ4Dt0&hd=1

On my final session of the day I decided to drop tire pressures a little more. I had been running 35psi hot all around throughout the day which was working very well. Dropped about 1.5psi just to try it out but I ended up with rear tires that were losing grip pretty quickly. I was pushing pretty hard into turn 1 up the hill and finally found a good way to attack it. With a good line I was able to stay full throttle full longer. There are some bumps that it really helps to avoid heading up the hill, so the line you take can make a big difference in how much grip you have up the hill. I had some very close moments on turn 8a on the final few laps, pushing the track limits a bit. But the car is extremely easy to stay ahead of and predict so no worries.

http://www.youtube.com/watch?v=vhdyOwe22M0&hd=1

Overall the car felt great. The changes I have been wanting to make to the suspension become even more clear on track with a much grippier track surface. Overall the 10kg/mm springs feel good, particularly under braking and acceleration. Lateral change in direction made it clear that the idea to move to stiffer springs would be a good one. The car changes direction very well, but it is clear that direction change could be sped up and the car could settle on each side faster with stiffer springs. I also look forward to trying out stiffer roll bars as well as that will help with lateral change in direction as well. I think the plan to do 12-13kg/mm springs all around is a solid one. It's the type of change that should make turning quick times consistently a little bit easier. Obviously I don't want springs that are so stiff that I begin to sacrifice overall grip and kill the feel of the car on the street, so this should be a good balance.

Here are some photos of the car on track from the SpeedSF events photographer Bill Wang:

Image

Image

Image

Image

Image

Image

Image

Image

Image

Image

Image

Image

Fantastic day all around. I think Sonoma is my new favorite track. It's really the only one I have driven that in anyway gives me the same feeling I get driving in the mountains. Can't wait to get more track time there and see what sort of times I can manage. I think with more track time I can get the time down to the 1:53 range. It's clear to see in some of the photos that there is still a good amount of body roll in places and I think I can dial that out with the suspension changes I mentioned.

Image
o_O S2000 | Mark I Stage II...

That’s thirty minutes away. I’ll be there in ten.
User avatar

Topic Author
andrewhake
Admin
Posts: 580
Joined: Oct 2016
Location: Mt. __________
Contact: YouTube IG
United States of America
#155

10-17-2018

Downforce 1x1 carbon side diffusers

Image

Nothing too complicated with these really. I just like the way the look. There is likely a small aero benefit with the way the sides of the S2000 sort of sweep back in as they go down, and that's great but I just think these compliment the Amuse R1 front really well and will also go well with my rear bumper plans. I like how the side diffusers make more aggressive wheels and tires and alignment look a little more normal too.

I decided to follow s2kichad's lead on mounting these and am using M5 rivet nuts along with some M5 stainless security bolts. Nothing really wrong with the included self tapping screws (which are actually a torx head) but using the rivet nuts makes it feel a bit more like it was meant to be there from the factory. I will be using a bit of 242 Loctite on the bolts and mark them with a paint marker so I can keep an eye on them and make sure they don't loosen up overtime due to vibration. Should be able to install these tomorrow.
o_O S2000 | Mark I Stage II...

That’s thirty minutes away. I’ll be there in ten.
User avatar

Topic Author
andrewhake
Admin
Posts: 580
Joined: Oct 2016
Location: Mt. __________
Contact: YouTube IG
United States of America
#156

10-19-2015

Downforce side diffusers installed

Image

Image

Some quick Instagram photos of the side diffusers. Install was very easy using M5 rivet nuts and security bolts which I found available on Amazon.

Image

I used this PNT110 tool to install the rivet nuts which I highly recommend over the little wedge tools which I also have. The wedge tool often causes the rivet nut to get torqued in the direction that the tightening bolt is being turned. With this lever tool it took about 3 seconds to install each rivet nut.

Image

To install I put the car up on jack stands. Then balanced the diffuser on the middle of the jack to move and hold it roughly in place then aligned the front and rear and held in place with some gorilla tape while I marked and center punched the holes. I trimmed a tiny amount off of the bottom of the fender liner so the diffuser could sit completely flush up against it. Just one small corner. Moved the diffuser away, drilled pilot holes then drilled the ~7mm holes needed for the rivet nuts to fit. If you are using rivet nuts make sure to find a drill bit that is as close to the width of the outer diameter as possible to keep it as secure as possible. Then I used the rivet nut tool to install 5 per side. They have a very small seating area so they don't really stick out from the underbody at all. Then it was just a matter of putting the side diffuser back in place and installing with some security bolts. If there are any small alignment issues the holes and the diffuser can be slightly elongated. A stepped drill bit is good for this and leaves a clean edge on the carbon. I used a small amount of blue 242 Loctite on the bolts to help keep them secure, and then marked them with a gold paint marker so I can keep an eye on them and see if they are getting loose over time.

Thanks again to S2kiChad for the idea to install this way. The included torx tapping screws would work just fine but I just prefer this method more. It feels like you are installing an OEM part.

I love the way they look. I wanted to do this after seeing many cars on the ASM blog with side strakes and side diffusers, to me it makes the side strake look much more considered and they go particularly well with the Amuse R1 front end. Should also go particularly well with the ASM 04 rear bumper which has a 1x1 carbon lower section. Would be kind of interesting to see how the Amuse front would look with matching 1x1 carbon lower diffuser pieces, but I think I prefer them painted body color since it makes the front end look even lower. I do want to see about getting some spares as that piece could very well be a wear item for me. I am going to pick up some new side strakes also since mine are pretty beaten up. You don't really notice it at all from a distance but I figure I might as well get some replacements while they are still available.
o_O S2000 | Mark I Stage II...

That’s thirty minutes away. I’ll be there in ten.
User avatar

Topic Author
andrewhake
Admin
Posts: 580
Joined: Oct 2016
Location: Mt. __________
Contact: YouTube IG
United States of America
#157

10-26-2015

ASM radiator cooling plate installed

Finally got around to modifying the ASM cooling plate to fit with the Amuse hood latch and getting it installed.

Image

Image

The Amuse has a slightly different latch than hoods like the Mugen or ASM, so I needed to widen the center openings so the nuts holding the latch to the hood wouldn't make contact. Since I got the ASM plate second hand along with my Mugen intake it already had some scuffs and things around these openings where the previous owners hood was making light contact. I also discovered the plate I have is one of the earlier versions and at some point ASM revised the design of the openings so I just modified mine to match that design which meant opening up some other areas. This allowed me to get rid of some of the rough scuffed edges though so it worked out. I just used my Dremel and went back and forth test fitting and making changes until everything fit well.

I already modified the OEM plastic air guide when installing the Mugen intake and didn't see any reason to not just leave it in place along with this cooling plate. The plate should definitely help contain a little bit more air as the air guide leaves some fairly large open areas along the side. Ideally I would have some additional vertical mounted plates to keep air from escaping on the sides as well. I might get some carbon plates and take a look at how they would need to be trimmed to fit along the sides. It would be pretty easy to use the ASM plate as a base for mounting and many other areas to help support.
o_O S2000 | Mark I Stage II...

That’s thirty minutes away. I’ll be there in ten.
User avatar

Topic Author
andrewhake
Admin
Posts: 580
Joined: Oct 2016
Location: Mt. __________
Contact: YouTube IG
United States of America
#158

10-27-2015

Last weekend I was able to attend a pre-release screening of 'Steve McQueen: The Man & Le Mans'. A fantastic documentary about McQueen and particularly about his work on his racing film 'Le Mans'. This is by far my favorite film ever made about racing and driving period. It's the only one that has ever really captured the feeling of racing and driving without anything else taking the focus off of that. If you like driving I highly recommend you watch the 1971 film, and then check out the documentary when it is released.

What was interesting about this particular screening is that the people who organized it have friends with some very appropriate cars for the occasion. This wasn't really a car meet, it was more of just an interesting collection of cars in the parking lot before the film started. :)

Image

Image

Image

Image

Image

Image

Image

Image

Image

Image

Image

Image

Image

After the screening in the morning the mountains were calling so I headed up and had a drive and grabbed some lunch from some of the food vendors who are out and about on the mountains on a Sunday. The car was looking lovely with it's new side diffusers so I snapped a few photos before heading back down.

Image

Image

Image

Image
o_O S2000 | Mark I Stage II...

That’s thirty minutes away. I’ll be there in ten.
User avatar

Topic Author
andrewhake
Admin
Posts: 580
Joined: Oct 2016
Location: Mt. __________
Contact: YouTube IG
United States of America
#159

11-10-2015

Endless ME20 brake pads

Image

I picked up a set of Endless ME20 brake pads (listed as CC40 in Japan) which is a popular competition pad for various types of racing and is popular among GT-R, E90 M3, and other common track car owners. For whatever reason Endless pads aren't readily available in the U.S. (particularly the competition pads) so I ordered these direct from Japan at a much better cost than I was able to get from any of the distributors. I go through front pads at about twice the rate of rear pads so I ordered two front sets and a single rear set.

Looking forward to testing these out. I have nearly finished off my current set of front Winmax W5s so I will be swapping to the ME20s after that. I absolutely loved the W5s at Sonoma with the Spoon calipers, so it will be interesting to see how I like these. I have learned that I definitely prefer pads with high friction coefficients. According to the manufacture data the ME20 sits in between the Club Racer and W5 in terms of friction coefficient, but it really is just a matter of trying each pad out. Cost wise these pads are normally significantly more expensive than the Club Racer and W5 which are similarly priced, but getting the direct from Japan as part of a larger order is a good way to bring the cost down to basically the same cost as the Project µ or Winmax pads. These pads have a very similar backing plate design to the W5s but the pad surface have fairly large chamfered edges.
o_O S2000 | Mark I Stage II...

That’s thirty minutes away. I’ll be there in ten.
User avatar

Topic Author
andrewhake
Admin
Posts: 580
Joined: Oct 2016
Location: Mt. __________
Contact: YouTube IG
United States of America
#160

11-19-2015

ASM 3-way adjustable anti-roll bars:

Image

ASM 3-way anti-roll bars arrived along with some other bits and bobs, with more ASM bits and bobs on the way.
o_O S2000 | Mark I Stage II...

That’s thirty minutes away. I’ll be there in ten.
User avatar

Topic Author
andrewhake
Admin
Posts: 580
Joined: Oct 2016
Location: Mt. __________
Contact: YouTube IG
United States of America
#161

12-08-2015

Ikeya Formula front upper arms

Image

These beauties finally arrived. Build quality is excellent. Easy to adjust with lots of range and the spherical bearings are very nice. The included manual also does a good job of going over the specifics of adjustment and why you might want to make specific adjustments. I am planning on installing the ASM sway bars first and do some testing to see how the car feels and which settings I prefer. And then I will get these arms installed and dialed in. I plan on just shortening the upper arm about 3mm compared to the stock length. This should give me right around the same clearance with the CEs that I currently have with the Weds plus a little bit more.

Dialing in the suspension setup of a car is by far my favorite part of the process. I love it because there really isn't anything anyone can do to solve it for you. Everyone has a different driving style and setup preference so you just have to figure it out on your own, and the only way to do that is drive the car and adjust as you see fit.

I also picked up a new Tokina 11-20mm f2.8 lens (used to take this photo) which is fantastic with the Canon 60D. Almost no distortion at the widest angle. Fantastic lens for the price.
o_O S2000 | Mark I Stage II...

That’s thirty minutes away. I’ll be there in ten.
User avatar

Topic Author
andrewhake
Admin
Posts: 580
Joined: Oct 2016
Location: Mt. __________
Contact: YouTube IG
United States of America
#162

12-12-2015

EVERYONE GET READY TO GET EXCITED! I GOT a new air filter for my Mugen intake.

Mugen air filter

Image

Image

Image

It looks like at some point Mugen switched suppliers from a company that makes yellowish green filters to K&N which makes red-ish air filters. Annoying that this filter is made by K&N in the U.S. and is likely an exclusive design for Mugen so it can't simply be sold to me in the U.S. but has to be shipped to Japan and put in a Mugen box and shipped back to me. All well. Both which appear to be pretty much identical in terms of design and filter medium. I got this second one so I can clean/oil/dry the other (drying can take quite awhile), and always have a fresh one available when I want to swap them over.
o_O S2000 | Mark I Stage II...

That’s thirty minutes away. I’ll be there in ten.
User avatar

Topic Author
andrewhake
Admin
Posts: 580
Joined: Oct 2016
Location: Mt. __________
Contact: YouTube IG
United States of America
#163

12-14-2015

I decided to take some time and make an animated mock-up of that possible MoTeC data logger display setup I was talking about awhile back. I have no immediate plans to do anything like this but everything I am doing here is completely possible with MoTeC's display creator tool.

Image

I think I will make a startup screen as well that would display when the car is switched on but hasn't been fired up yet. Have a few ideas.
o_O S2000 | Mark I Stage II...

That’s thirty minutes away. I’ll be there in ten.
User avatar

Topic Author
andrewhake
Admin
Posts: 580
Joined: Oct 2016
Location: Mt. __________
Contact: YouTube IG
United States of America
#164

12-17-2015

ASM anti roll bars installed

Visited my friend's shop on Tuesday night to install the ASM bars. We shockingly installed the bars using the stock end links, completely obliterating any and all concepts of zero preload and luckily the car didn't flip over the first time I drove it through a corner. I could obviously drop my lap times DRASTICALLY if I switched over to adjustable end links that would let me dial in zero preload at each setting, but alas I will just have to drive around this MASSIVE handicap. :suspect: Anyway...

Image

Car feels fantastic. Nice subtle increase in turn in response, while the car doesn't necessarily feel like it has more front grip, it feels like the front bites sooner so less steering input is needed to turn the car in. Feels fine and behaves the same turning in both directions. Have only tested it out on lower speed stuff but it seems that is where a lot of the advantages are anyway. The car feels more neutral than it ever has before, so easy to put it into a four wheel slide, and even easier to predict now. The difference is obviously subtle, but based off of the quick testing I did it is exactly what I was looking for. I should be able to make small adjustments to the cars balance by just adjusting the rear bar to the softest or stiffest setting. I really like how the front end feels now at the stiffest setting, it should be interesting to see how the car behaves once the 1.5 LSD is installed, but these bars should give me the adjustability I may need once that is installed.

Another reason I didn't want a significantly stiffer front bar is because I want to try to run more roll center correction up front. I will see what effect the new front upper arms have and then start playing with the front roll center more. J's makes a variety of plates for the S1 and S2 joints or a custom size plate can be made relatively easily.

Image

I think a lot of the previous confusion on the stiffness of these particular bars come from looking at the estimated stabilizer bar stiffness on this thread - http://www.s2ki.com/s2000/topic/818884- ... n-springs/

Comparing the listed ASM rates to those rates, it looks like it is much softer, which isn't the case. The measured stiffness of the OEM bars are similar from the listed data from ASM, and from other companies like Eibach, which also show the OEM bars as being less stiff than the estimates in that thread. Either those estimated measurements are incorrect, or the manufacturers measured or calculated differently. From as much as I can tell reading that white paper in that thread, the sway bar stiffness wasn't actually measured, but the stiffness was estimated based on bar diameters, thickness, and geometry. I could be wrong but I would guess Eibach and ASM both did their own measurements of the OEM bars (or got data from Honda) and designed their bars off of those specs.
o_O S2000 | Mark I Stage II...

That’s thirty minutes away. I’ll be there in ten.
User avatar

Topic Author
andrewhake
Admin
Posts: 580
Joined: Oct 2016
Location: Mt. __________
Contact: YouTube IG
United States of America
#165

12-21-2015

Created a startup sequence and updated some of the UI, and also finished mocking up the TPMS animation.

Image
o_O S2000 | Mark I Stage II...

That’s thirty minutes away. I’ll be there in ten.

Return to “Projects”