o_O S2000 | Mk I — Stage II

Permission to engage...

User avatar

andrewhake
Admin
Posts: 580
Joined: Oct 2016
Location: Mt. __________
Contact: YouTube IG
United States of America
#136

04-13-2015

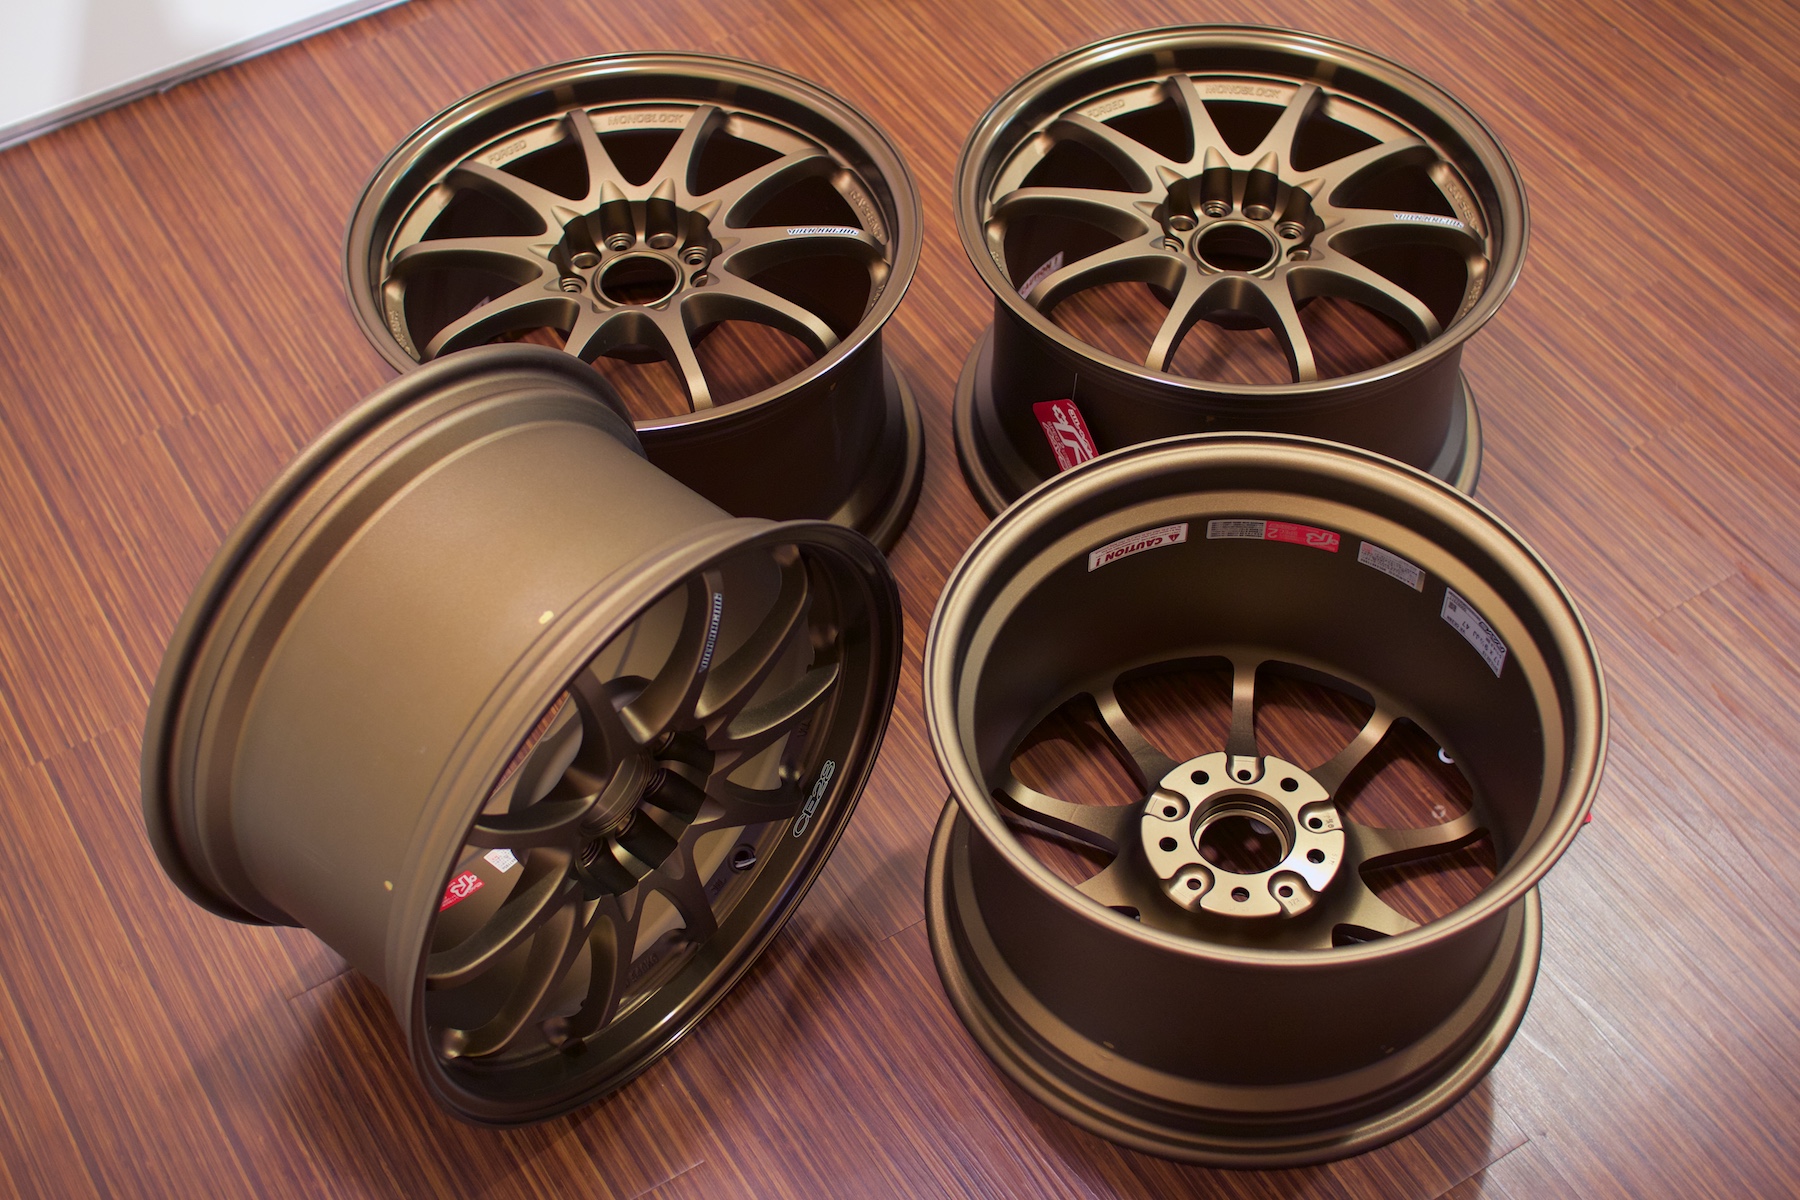
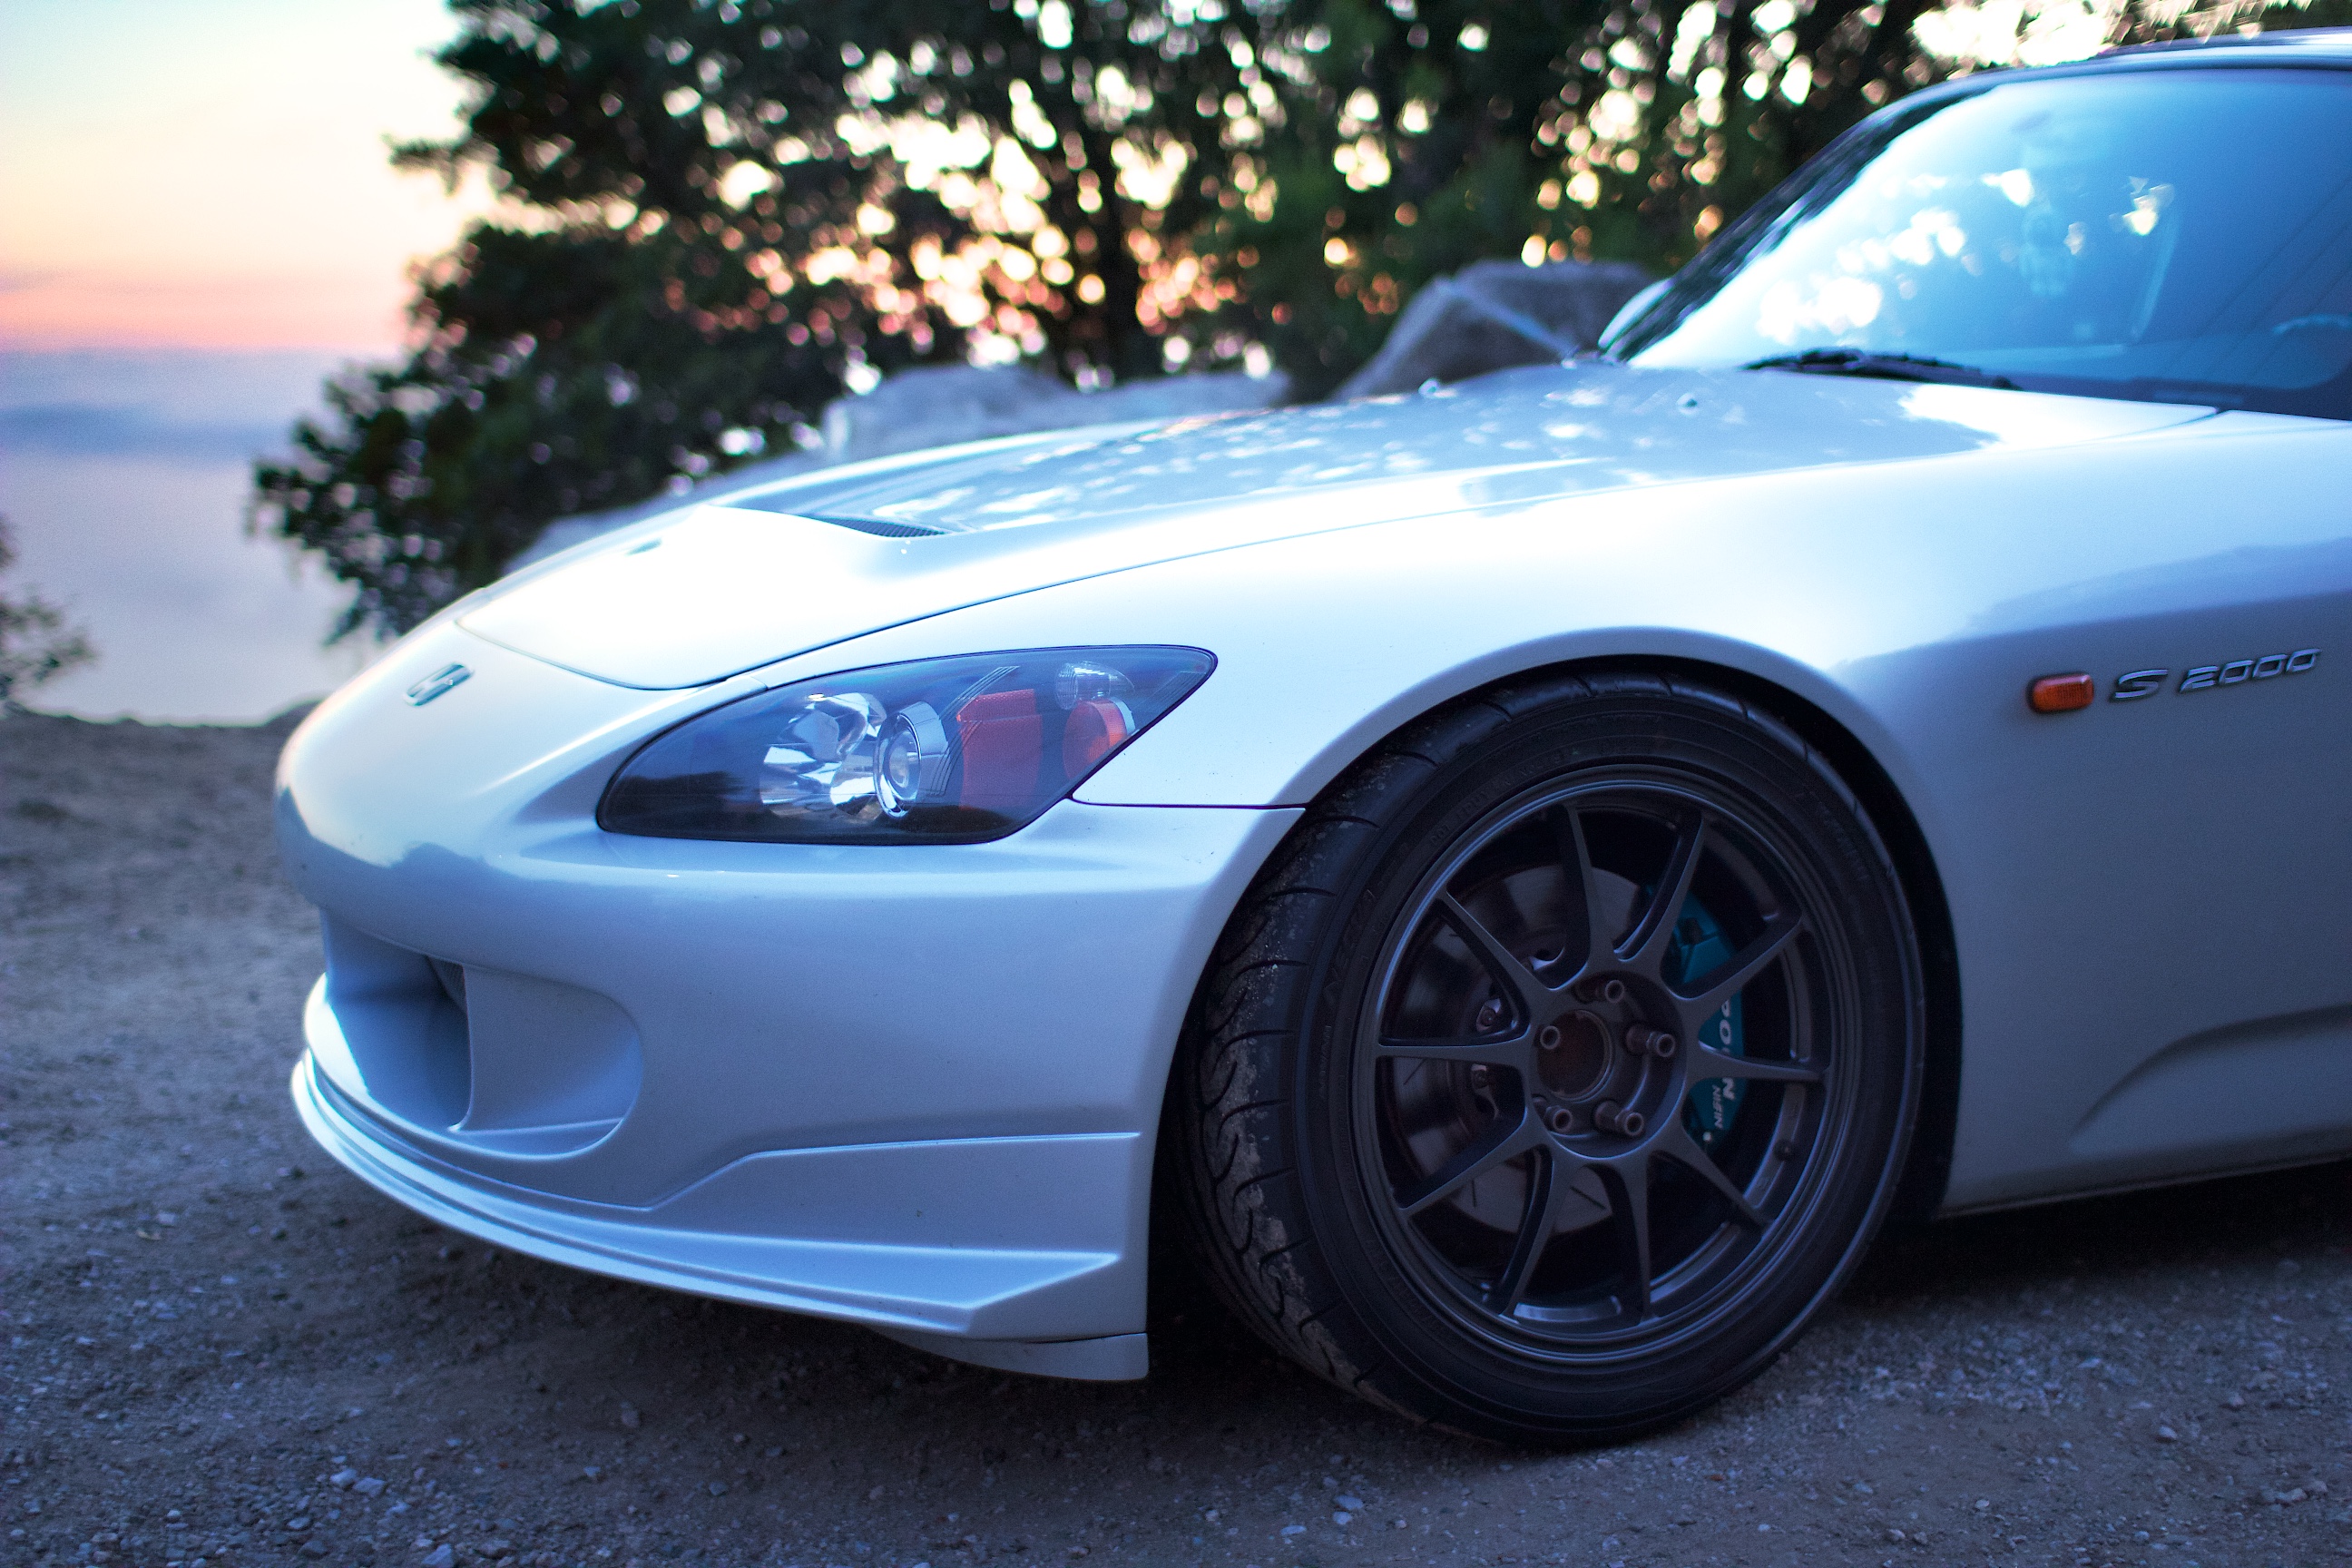
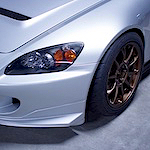
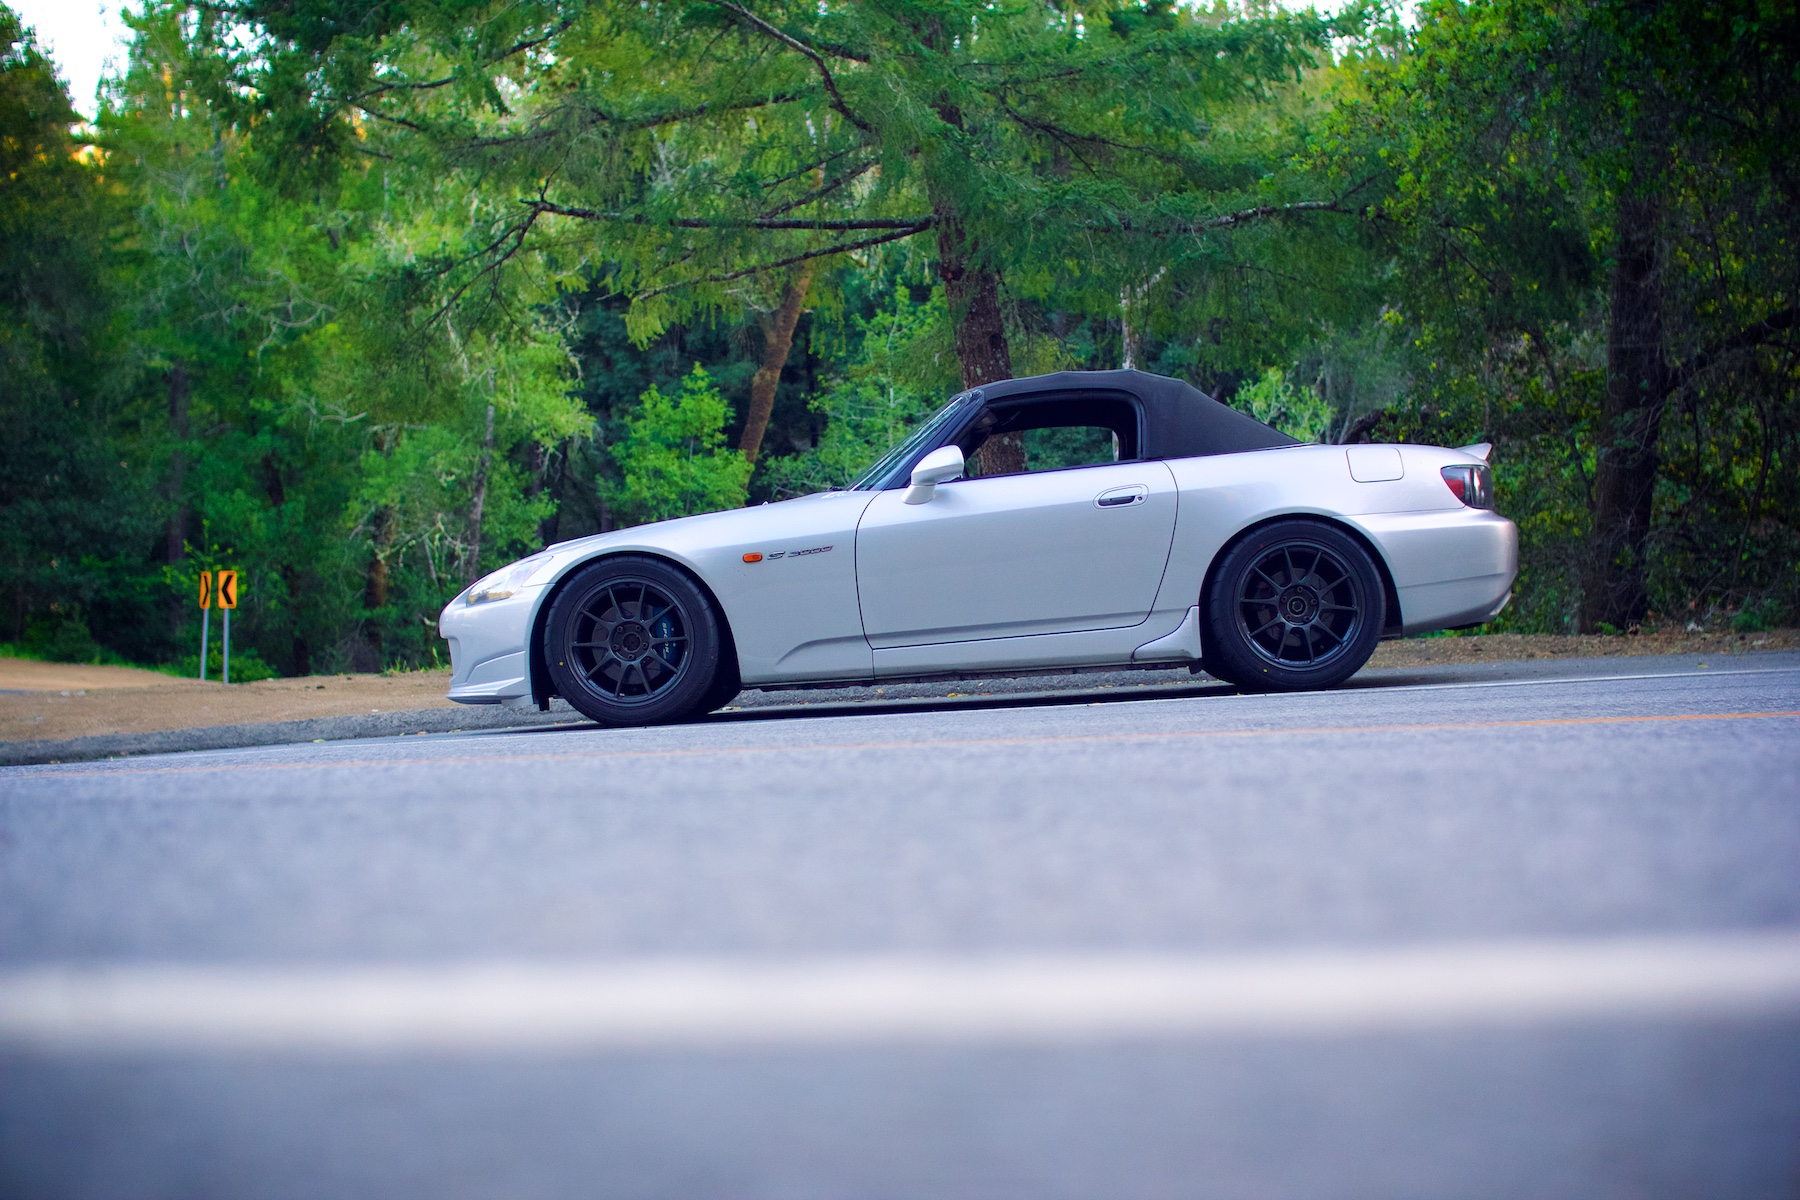
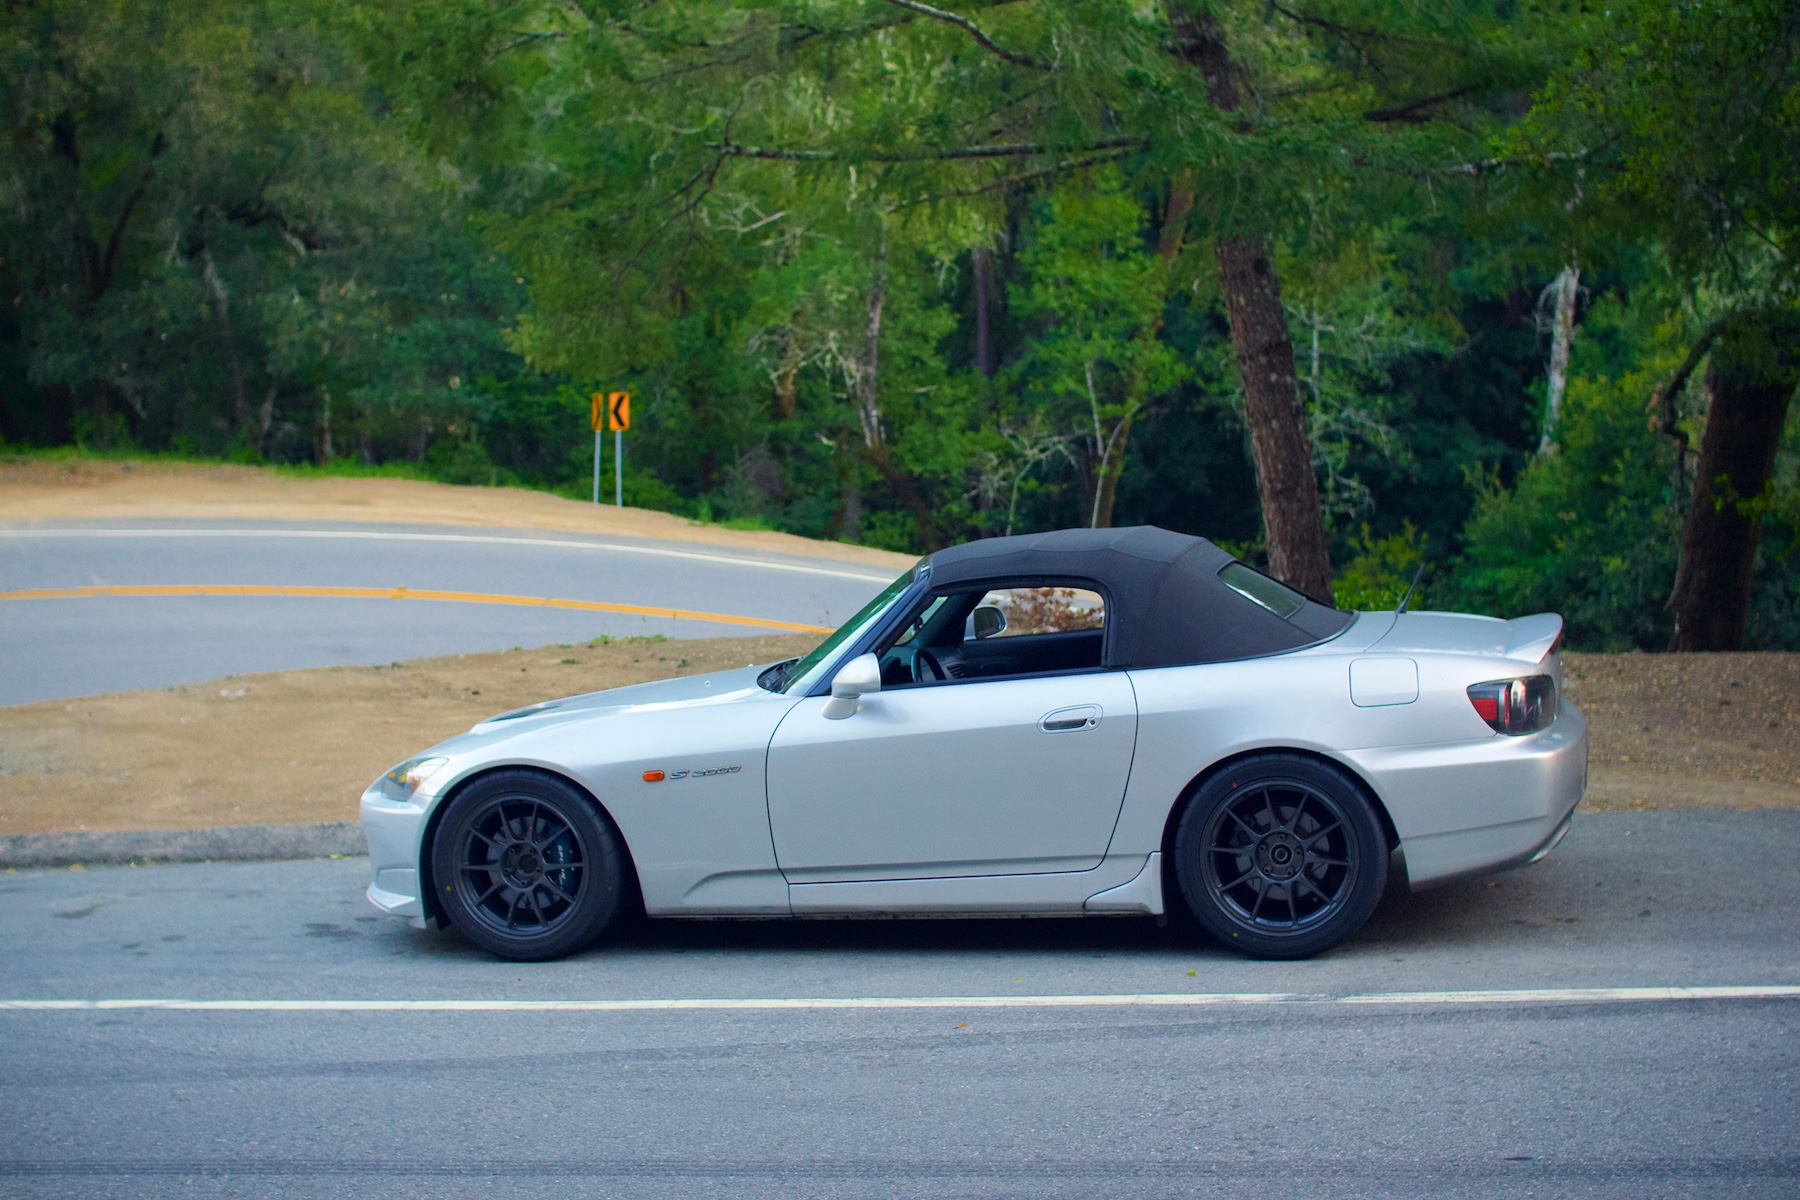
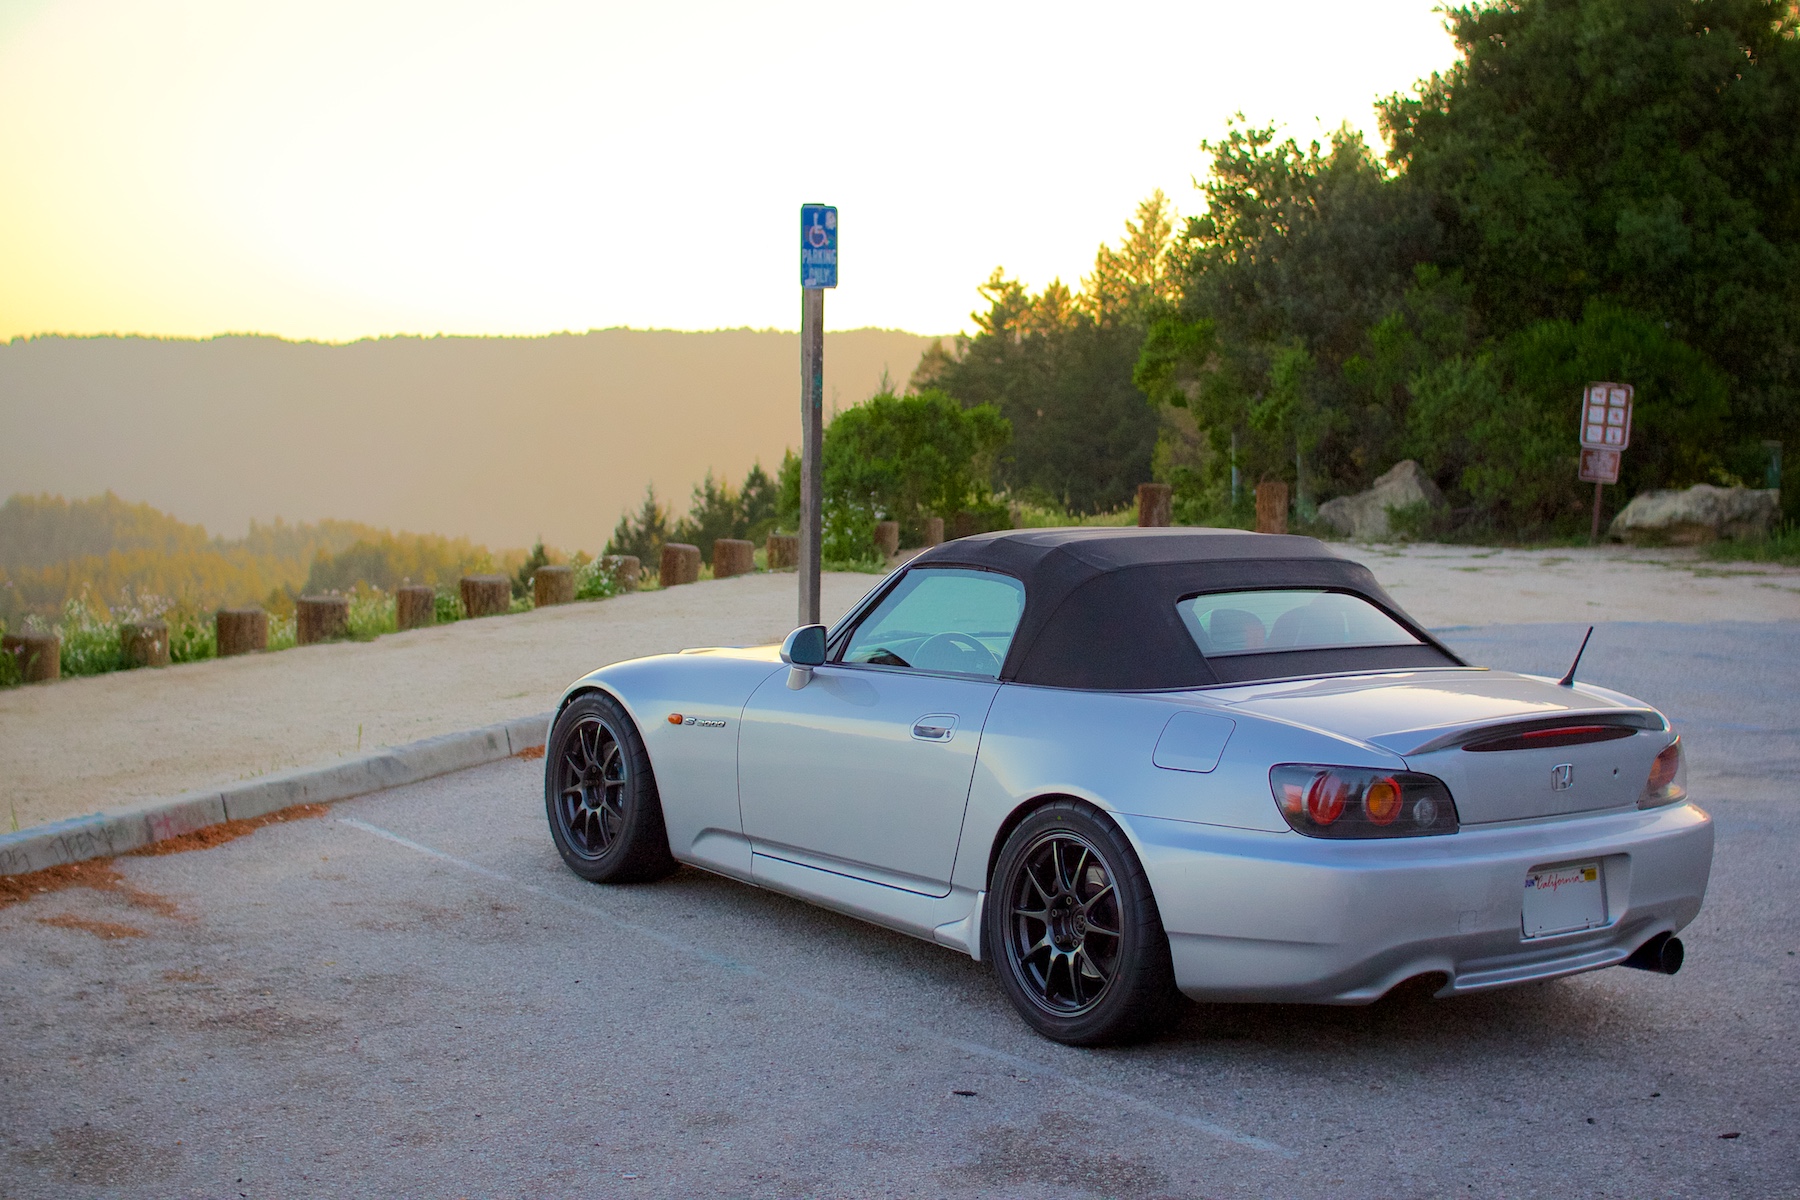
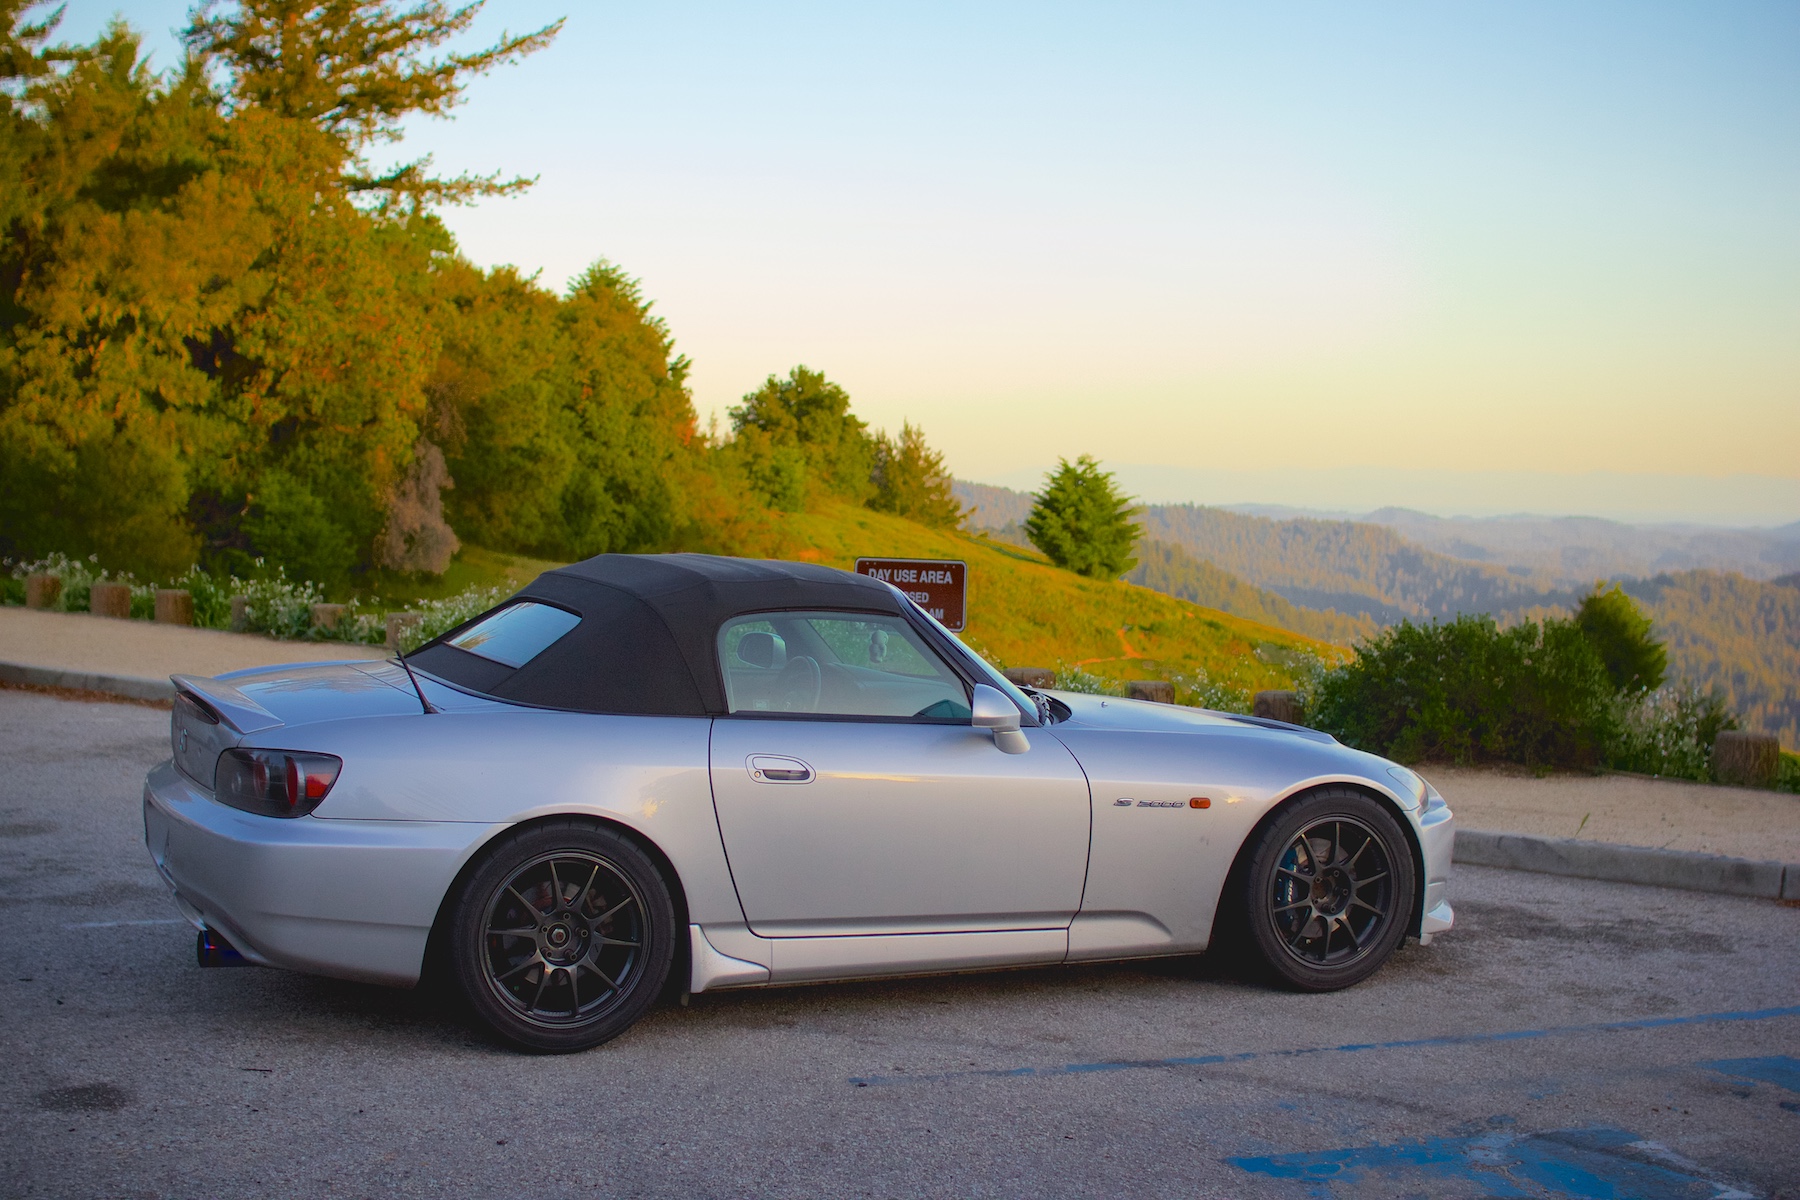
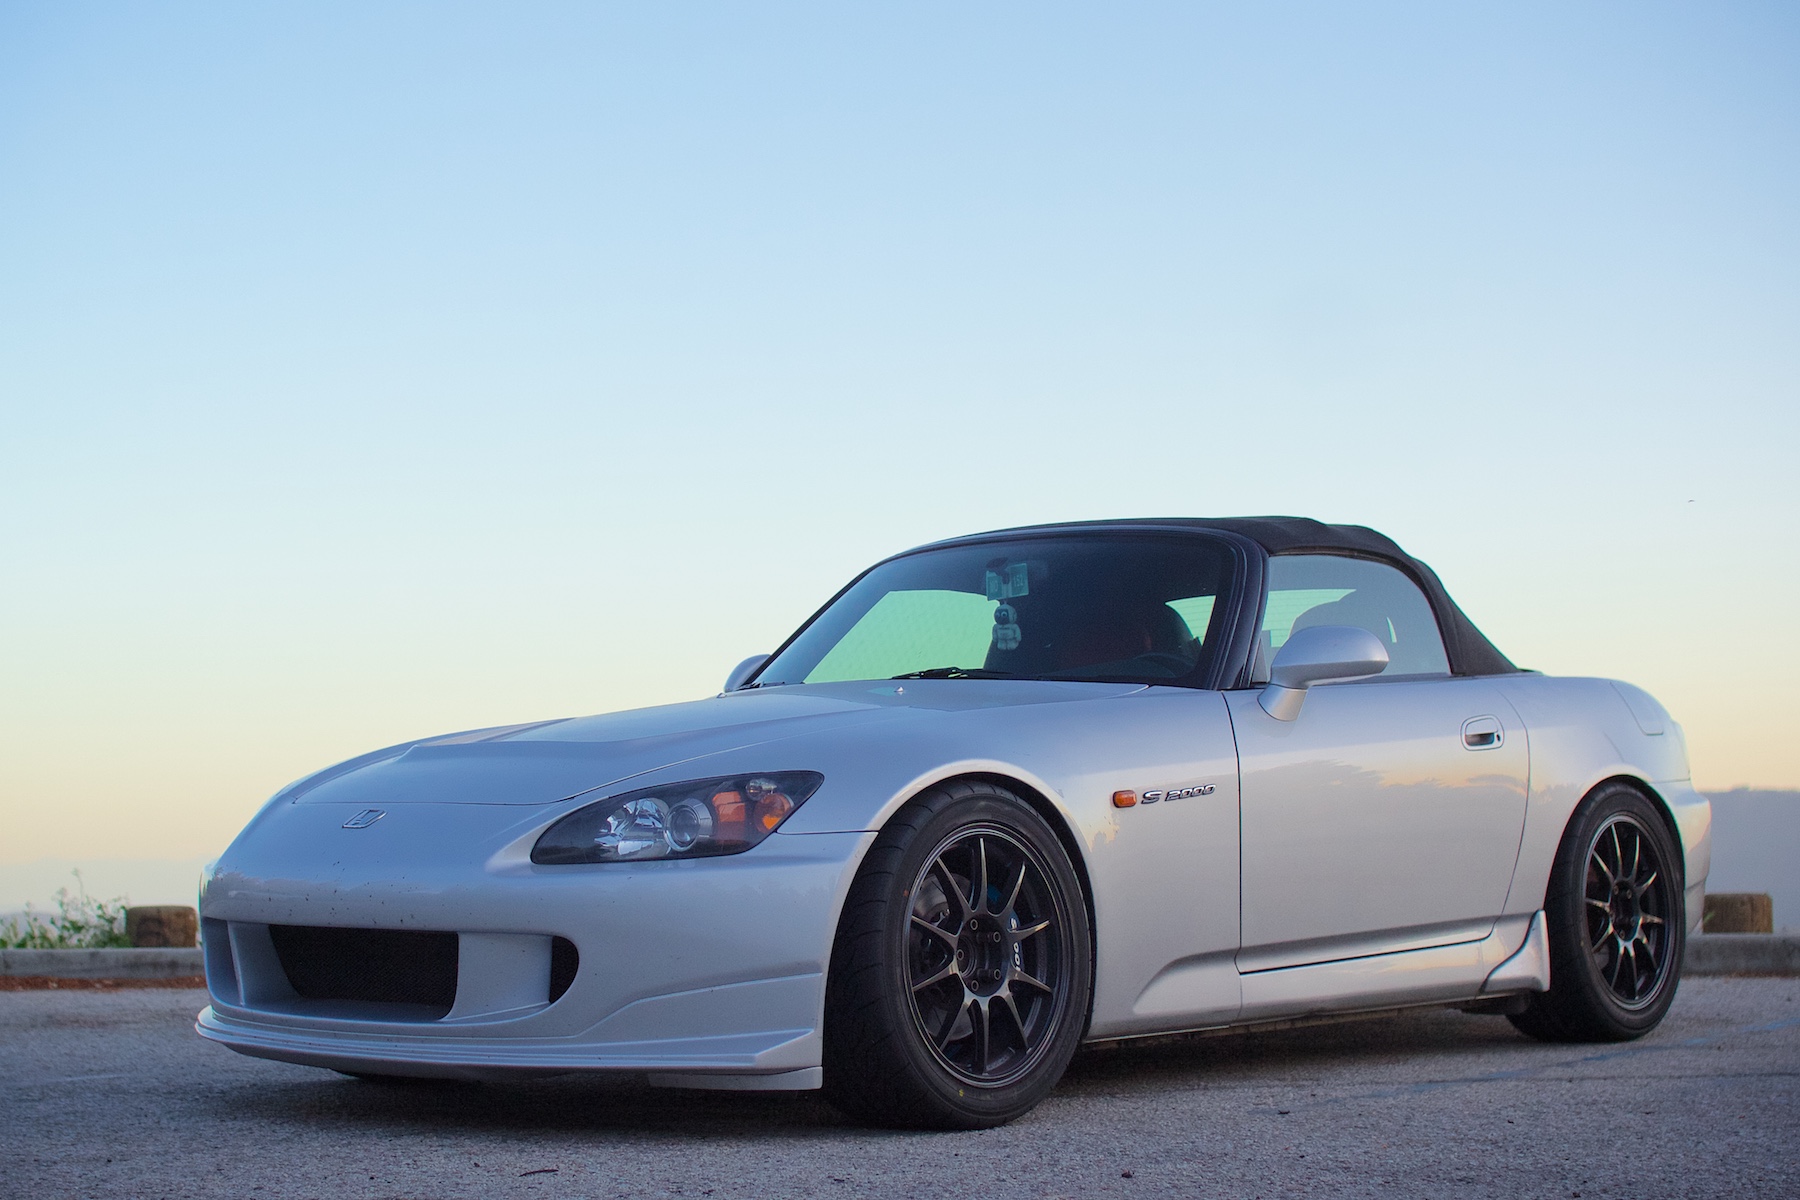
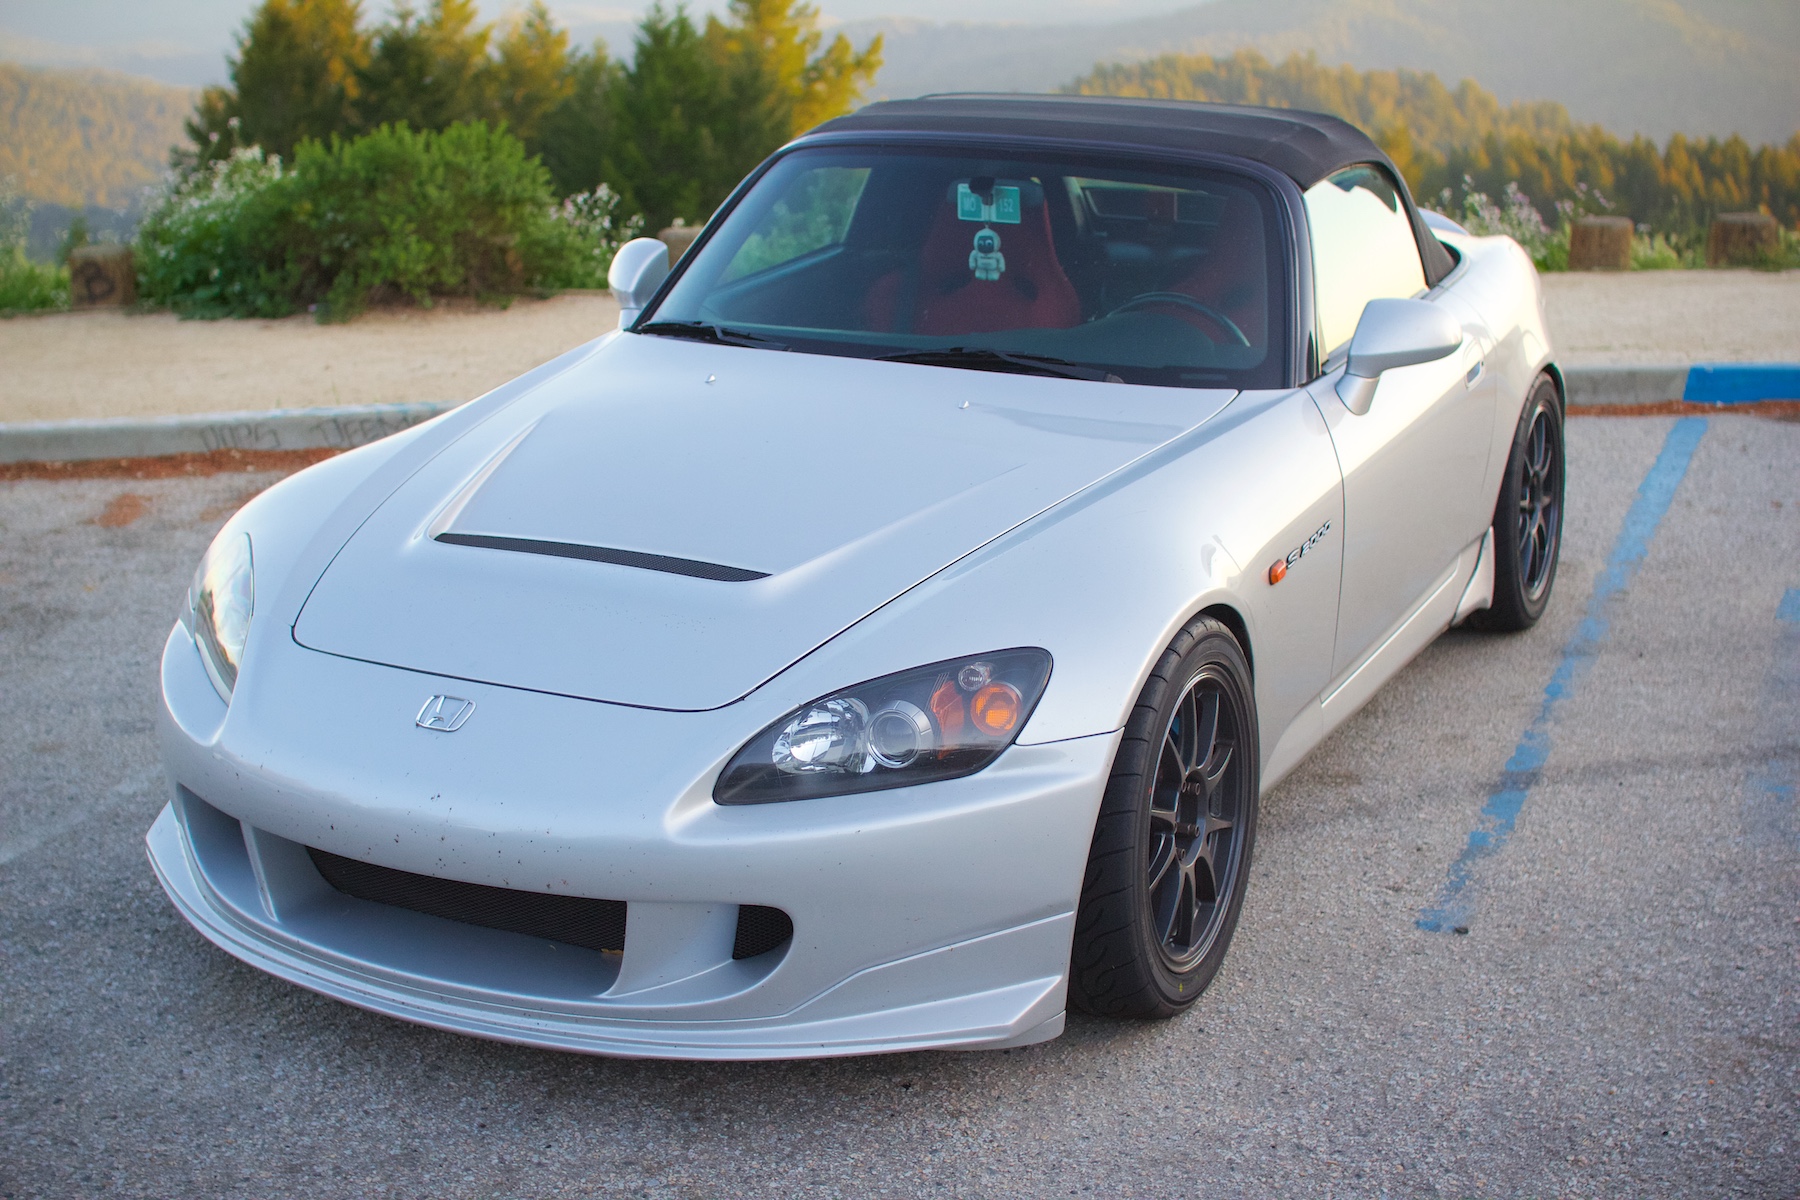
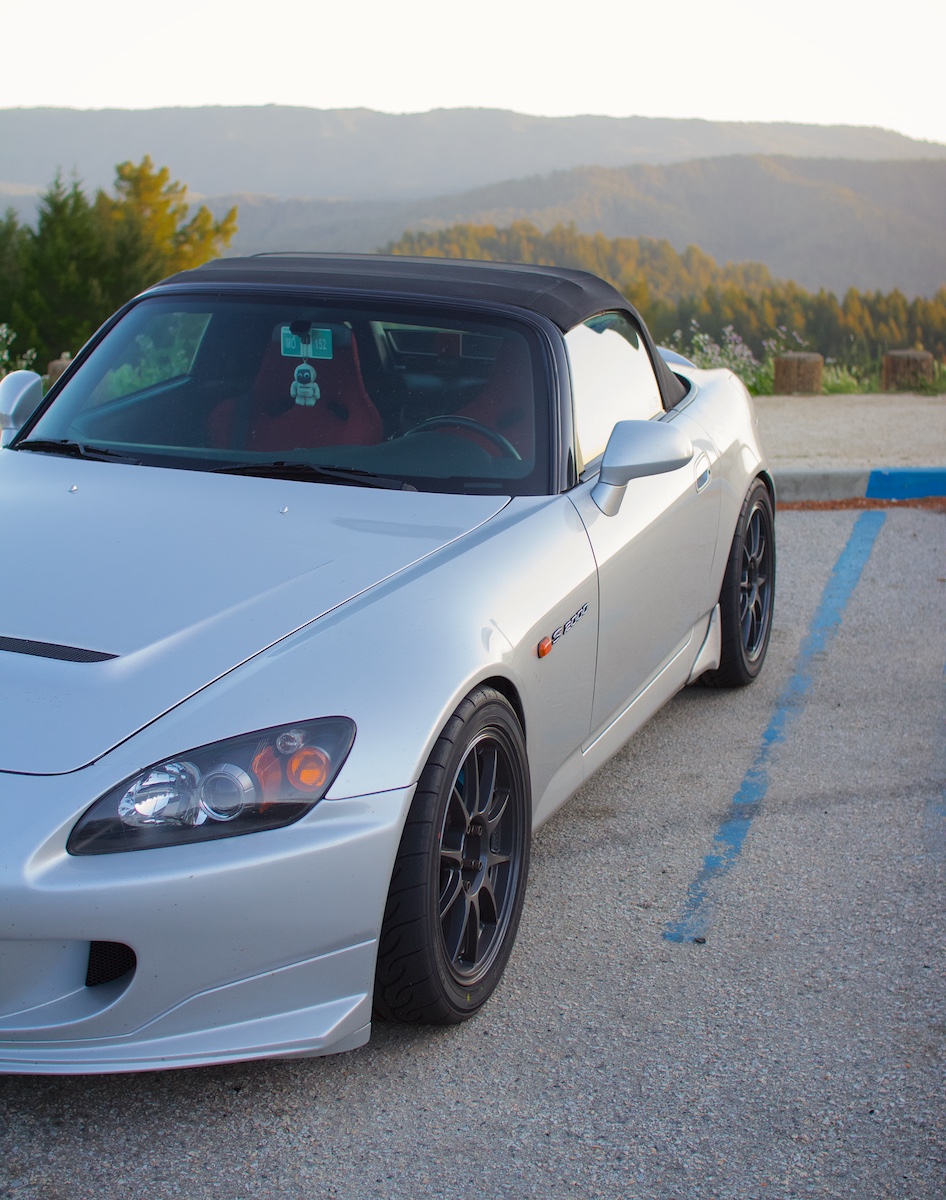
255 square setup and Spoon caliper initial impressions

There are some changes you can make to a car that are just so above and beyond your expectations it is hard to really put into words. This is definitely one of those. I will get into general impression of the new wheel and tire setup first. Wow. Wow, wow, wow. I will start with one of the things I was really surprised by initially is just how much more stable the car is even just cruising on the freeway in a straight line. I am guessing this has to do with the larger front contact patch and the wider track width. And the car is dramatically more stable at high speeds. To the point that I found myself speeding quite drastically on the freeway a few times without realizing. So much less NVH. The rigid collars, suspension, and square setup, along with the exhaust make this car incredibly smooth and quiet to drive long distances. I think this is some what down to having fresh tires as that always has an effect, but never on a staggered setup have I experienced such a smooth stable ride in an S2000. Definitely something I wasn't expecting but am pleasantly surprised by.

Next up is the braking grip and stability. This is something I have experienced for short periods of time in other S2000s, but being able to really push with my own car completely changes my perspective on this. The increase in grip is so drastic I really have had to relearn every one of by braking points. It is an absolute joy to dive hard into braking into tight corners and still have grip to spare. With the staggered setup, braking from 100+ mph was always a bit interesting and I never found it to be completely consistent. And more importantly it was never consistently stable, especially when braking on somewhat uneven surfaces. One of my favorite things is how deep I can brake into a corner and keep turning the car. Doing this with the staggered setup was possible but it is very easy to run out of front end grip if you leave it too late. With the square setup it is possible to do the initial hard threshold braking in a straight line later, and then bleed off the brakes even later into a corner. Because there is more general front end grip, it is possible to do this much more consistently every time. The limit for this is just so much higher.

Which brings me to the biggest improvement. The turn-in. The motherf@#king turn-in. Oh my gawd the turn-in. This had me gleefully laughing and nearly shedding tears of joy within the first 5 corners because of how much I was underestimating the amount of front end grip I had. This gives me a huge increase in confidence in the car, especially on the downhill. I was expecting a nice increase in cornering and turn-in speeds, but I didn't think it would be this dramatic. I really like that I can be a bit sloppy with the amount of slip angle and it doesn't upset the car too badly. This puts the car on entirely different level for me. It is so easy to drive blisteringly fast now and do it run after run after run. I can't wait to see what I can do with the car now on track. It just wreaks of confidence inspiring boner inducing grip.

I have so much more confidence now under braking and turn-in I really had to start re-evaluating what gear I should be using for various corners and really started rethinking how to drive the car. All in a positive way though, not once did I think to myself "hmm I'm not sure about this" it is all just massively positive. I was definitely a little worried about how the balance of the car would be impacted, but so far it seems beautifully neutral. I was very happy with the balance I ended up with on the staggered setup, but this just takes everything that was good about that and improves upon it more. I think -3.0 camber in the front will be ideal so if I end up needing to switch to the S2 to achieve that I will go ahead and do that I think. I was definitely expecting the car to be more tail happy but that isn't really the case. The biggest difference with the wider track width is the amount of steering angle needed. Generally less angle is needed to get the car to turn, and it just always rotates the way I want it too. The increase in high speed stability and decrease in high speed harshness makes it so much easier for me to push hard through the really high speed stuff.

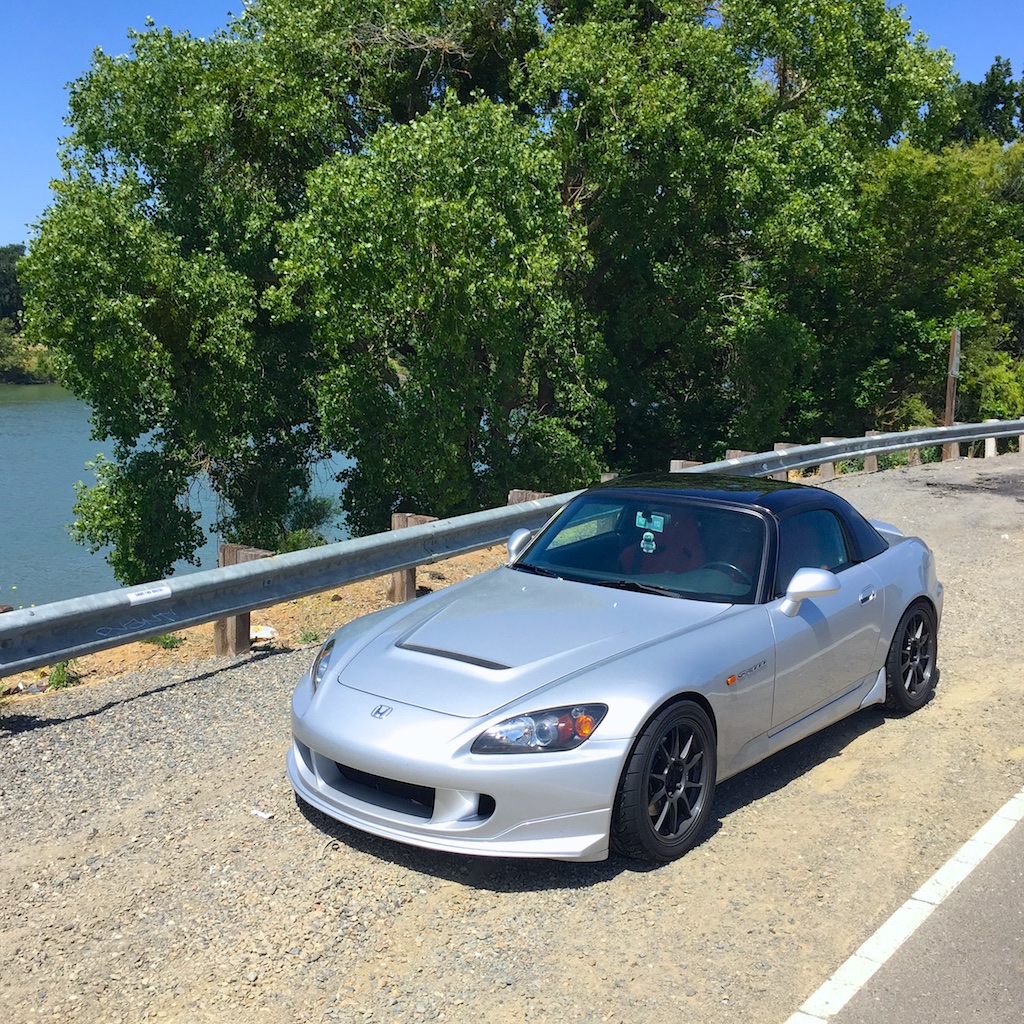
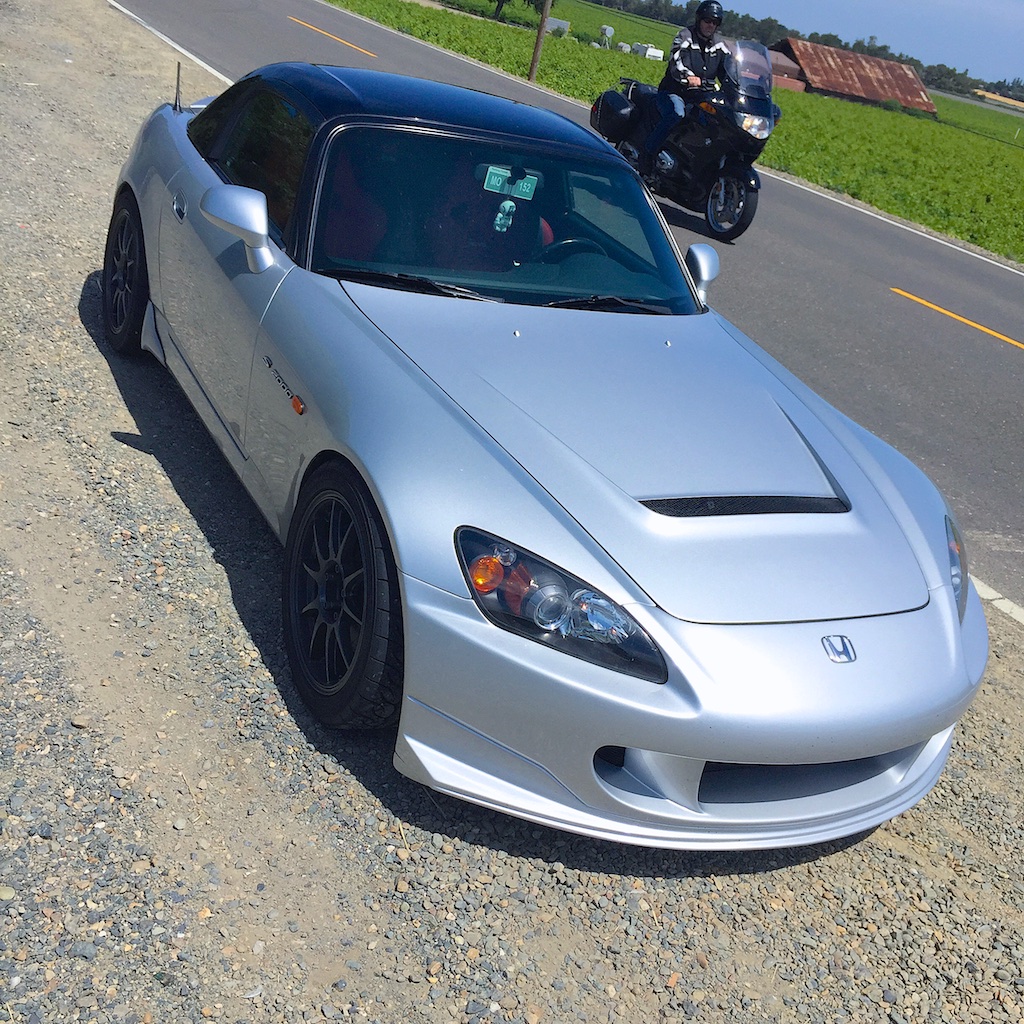
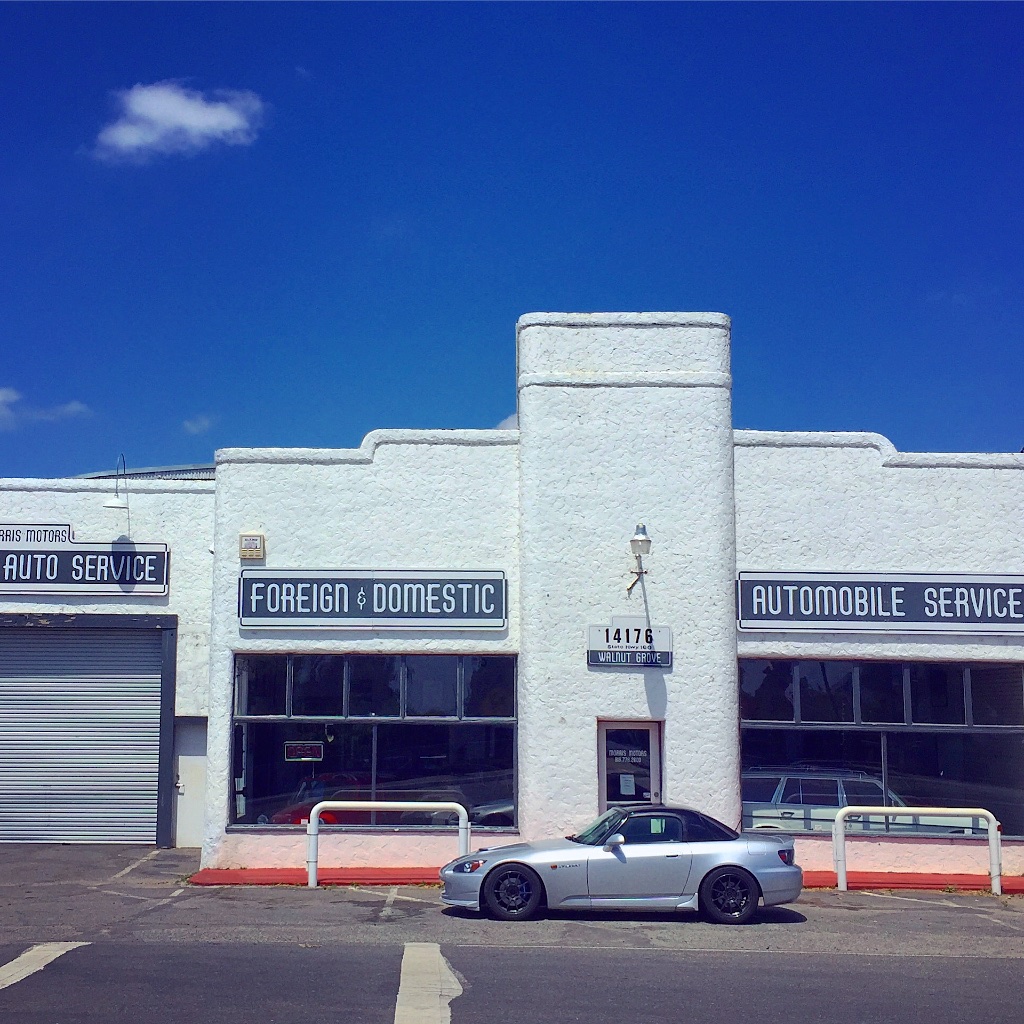
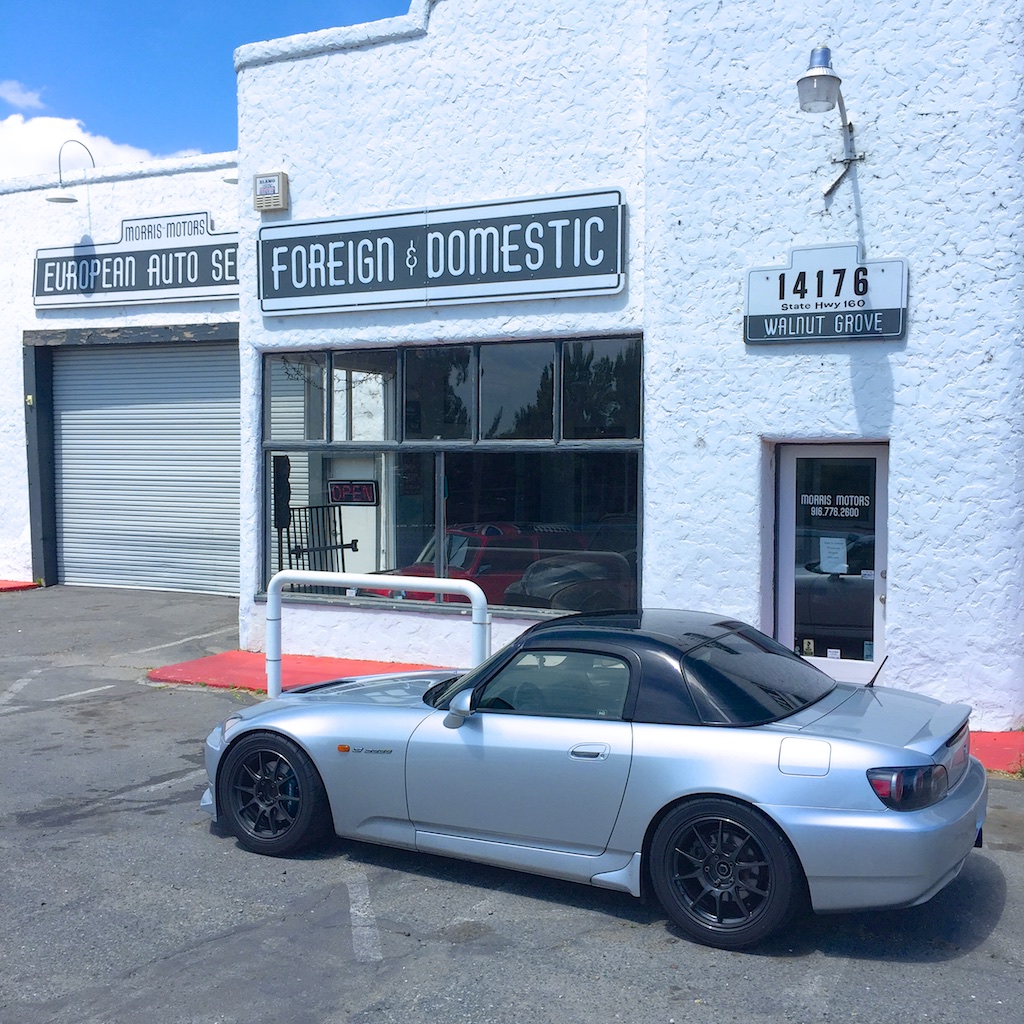
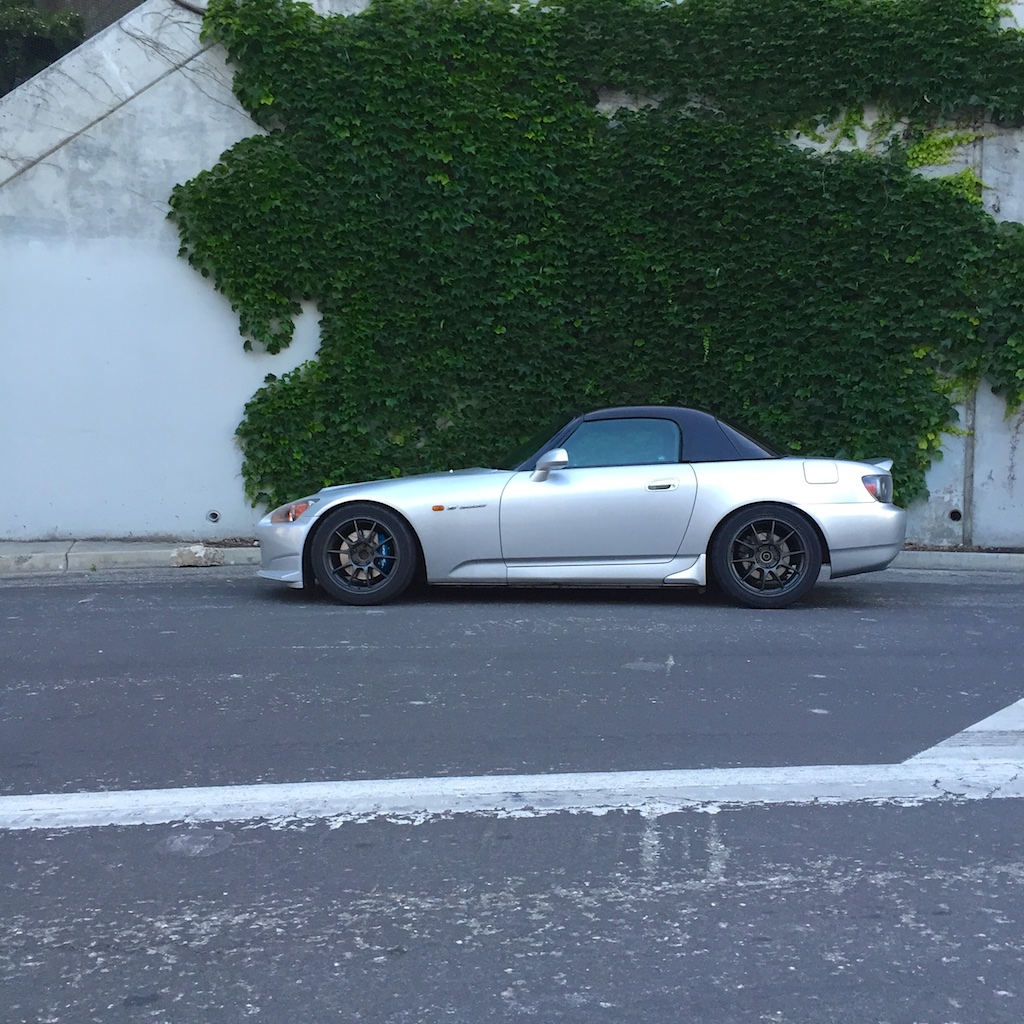
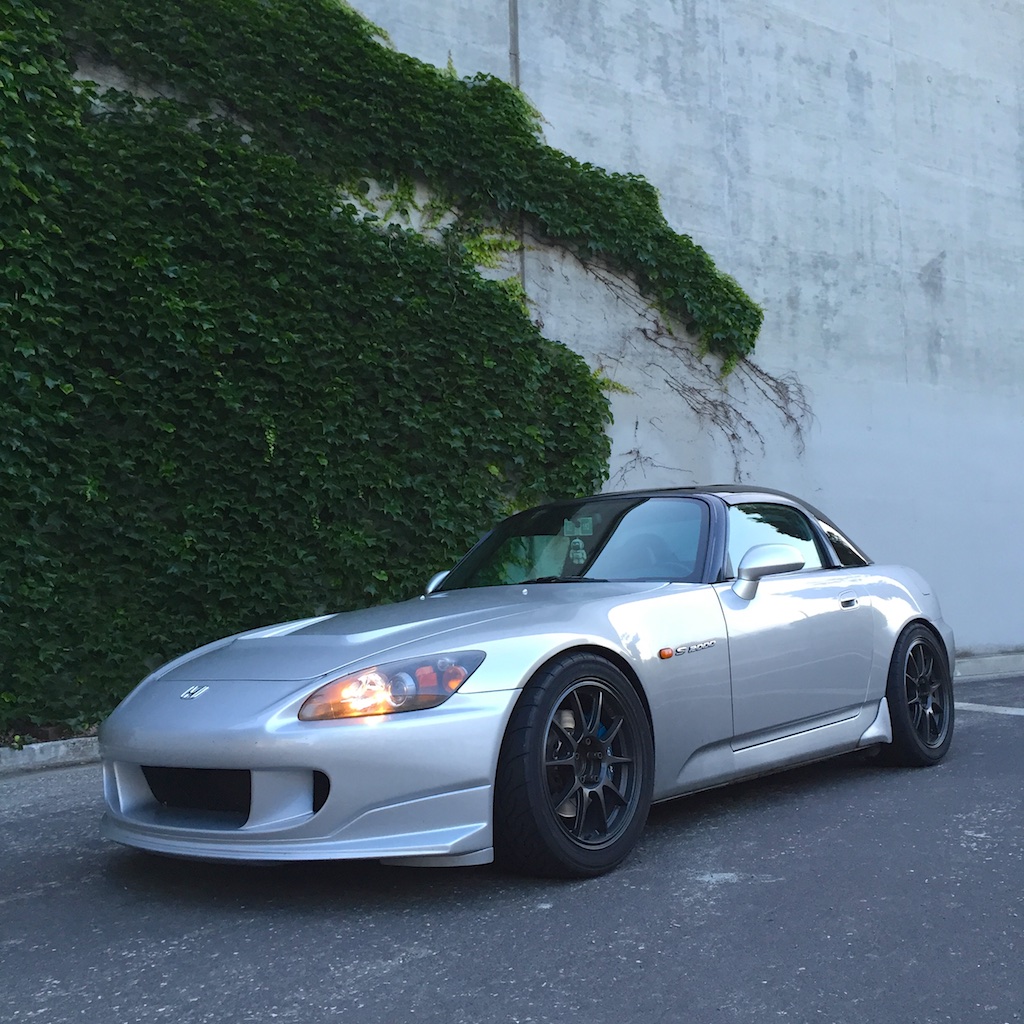
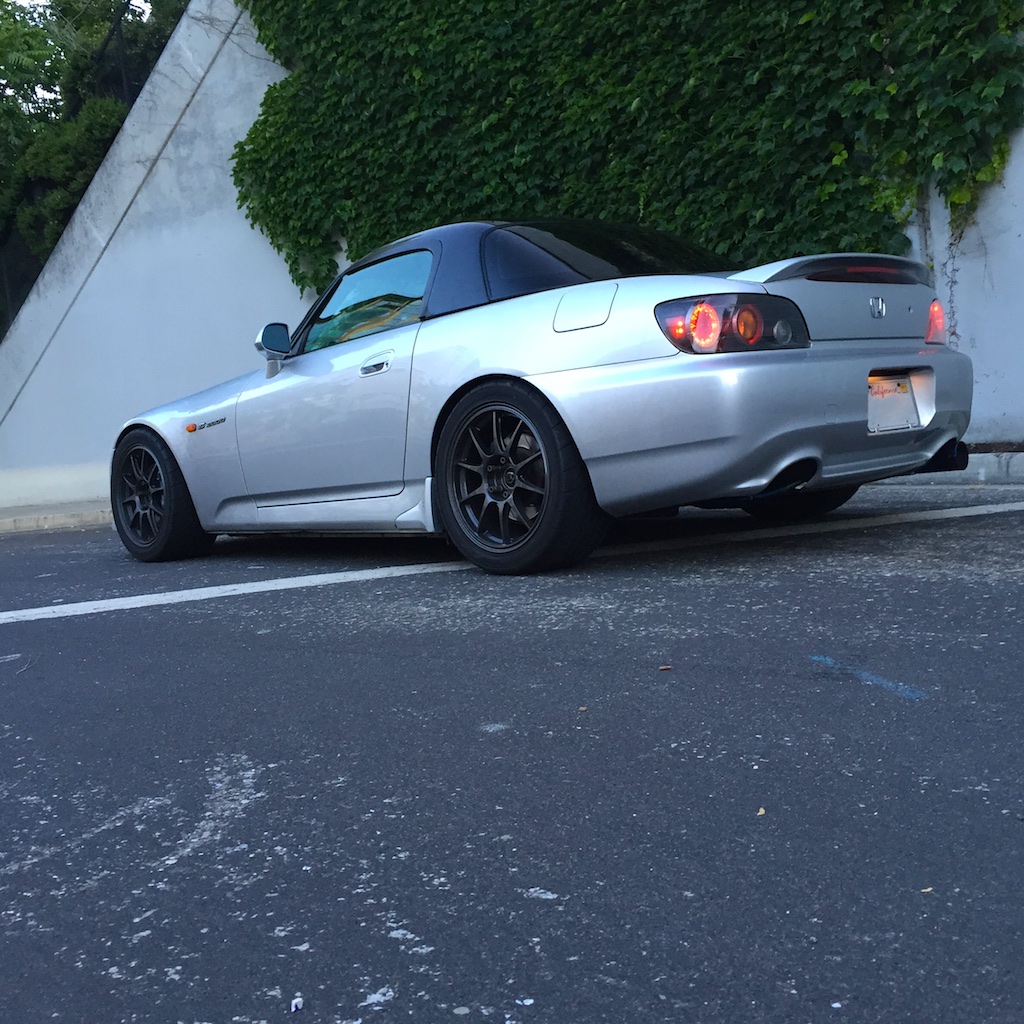
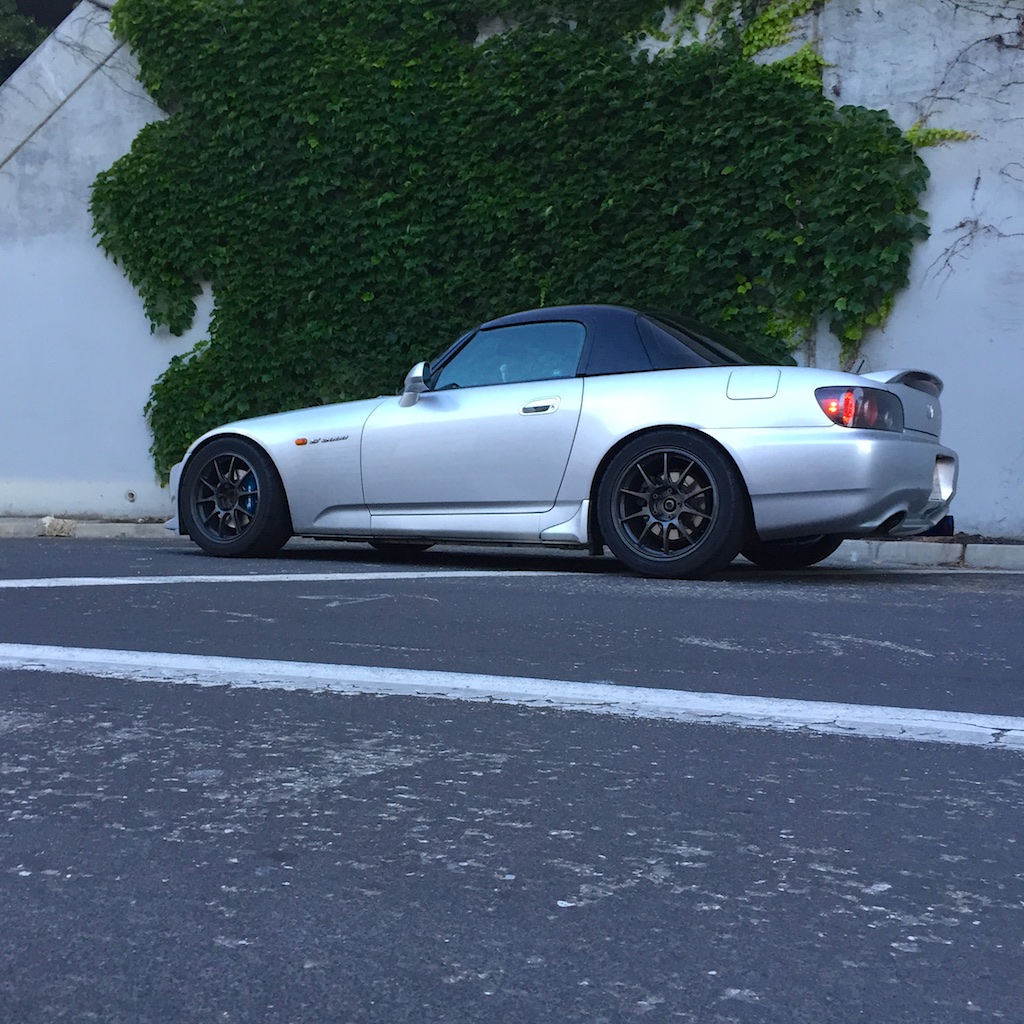
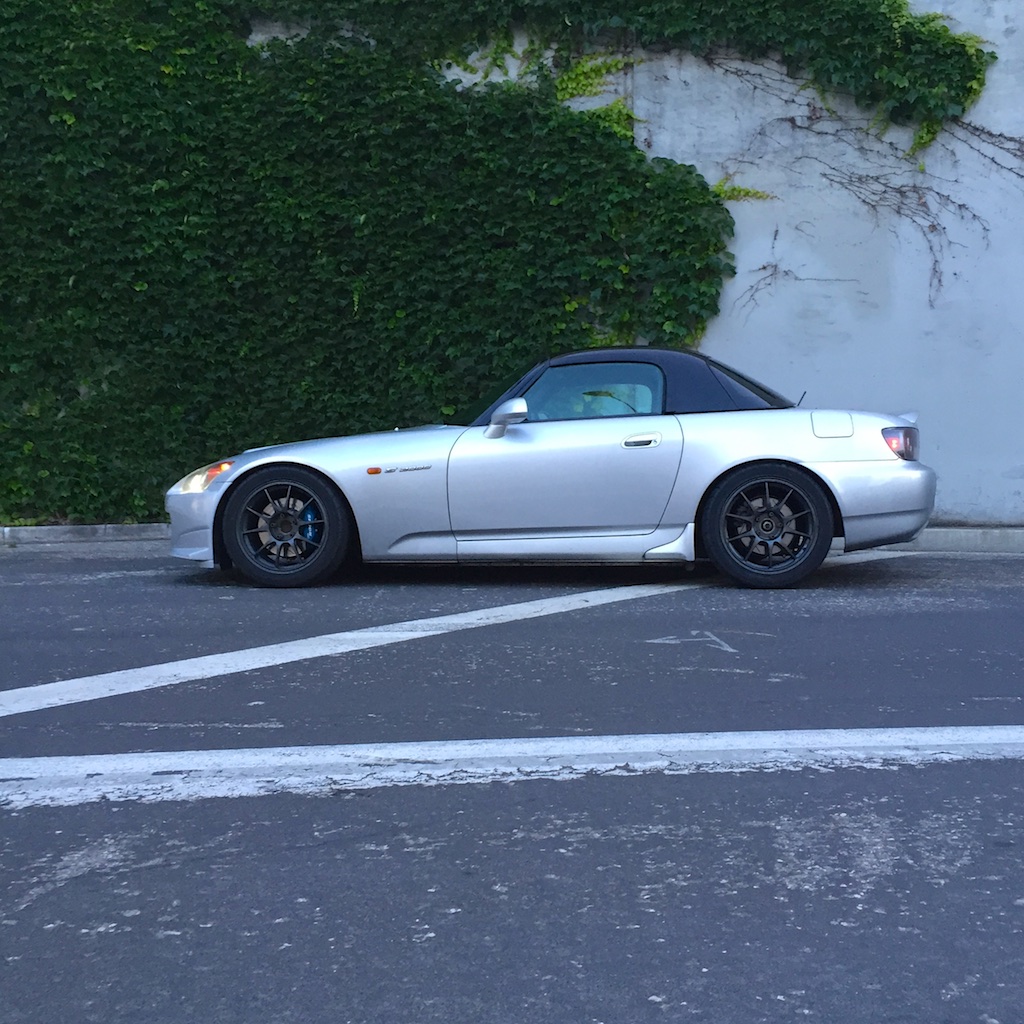
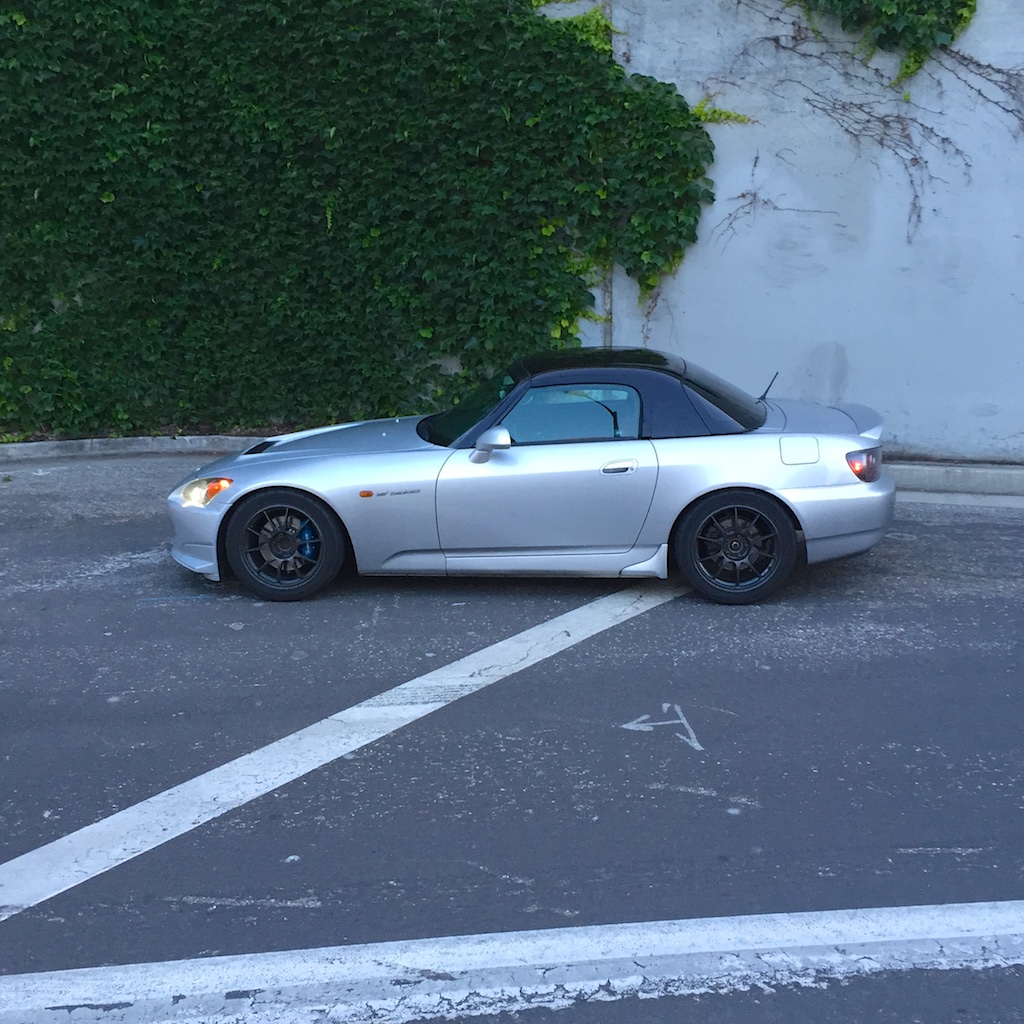
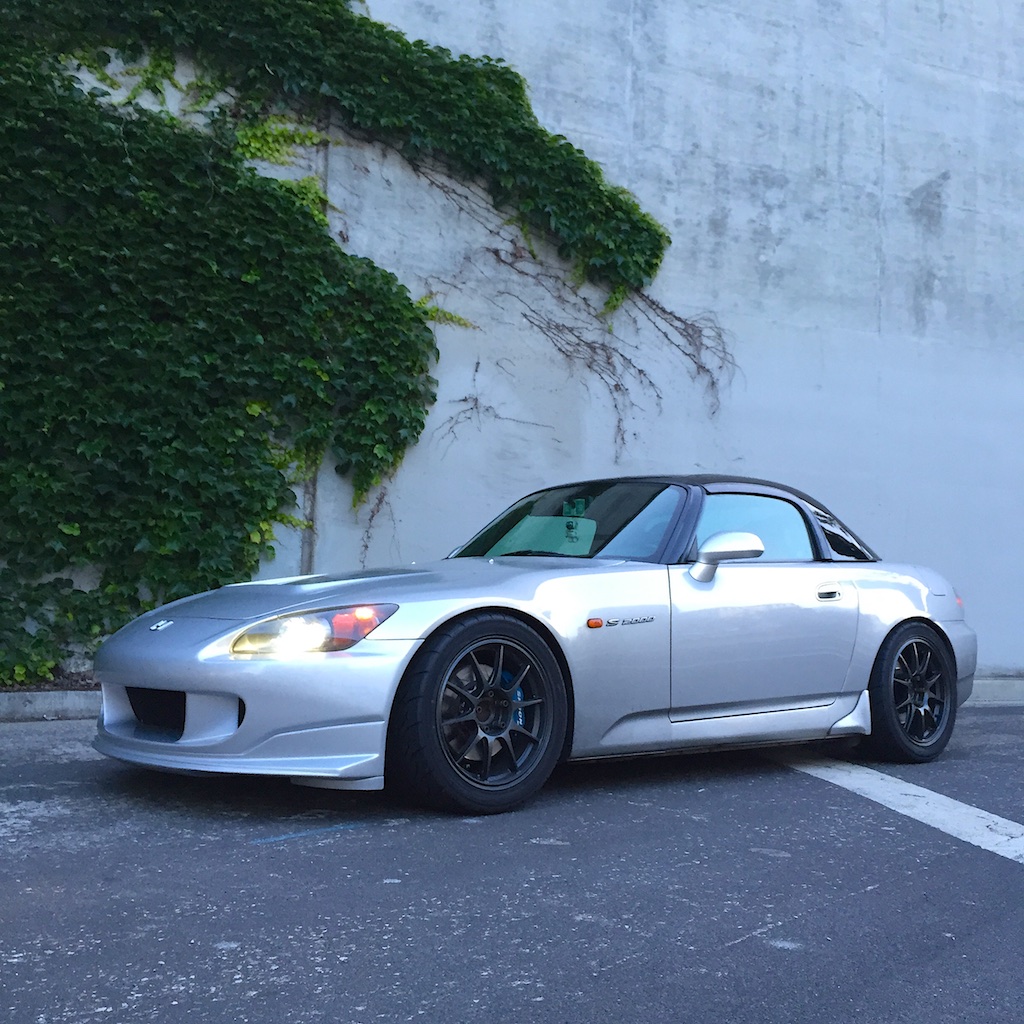
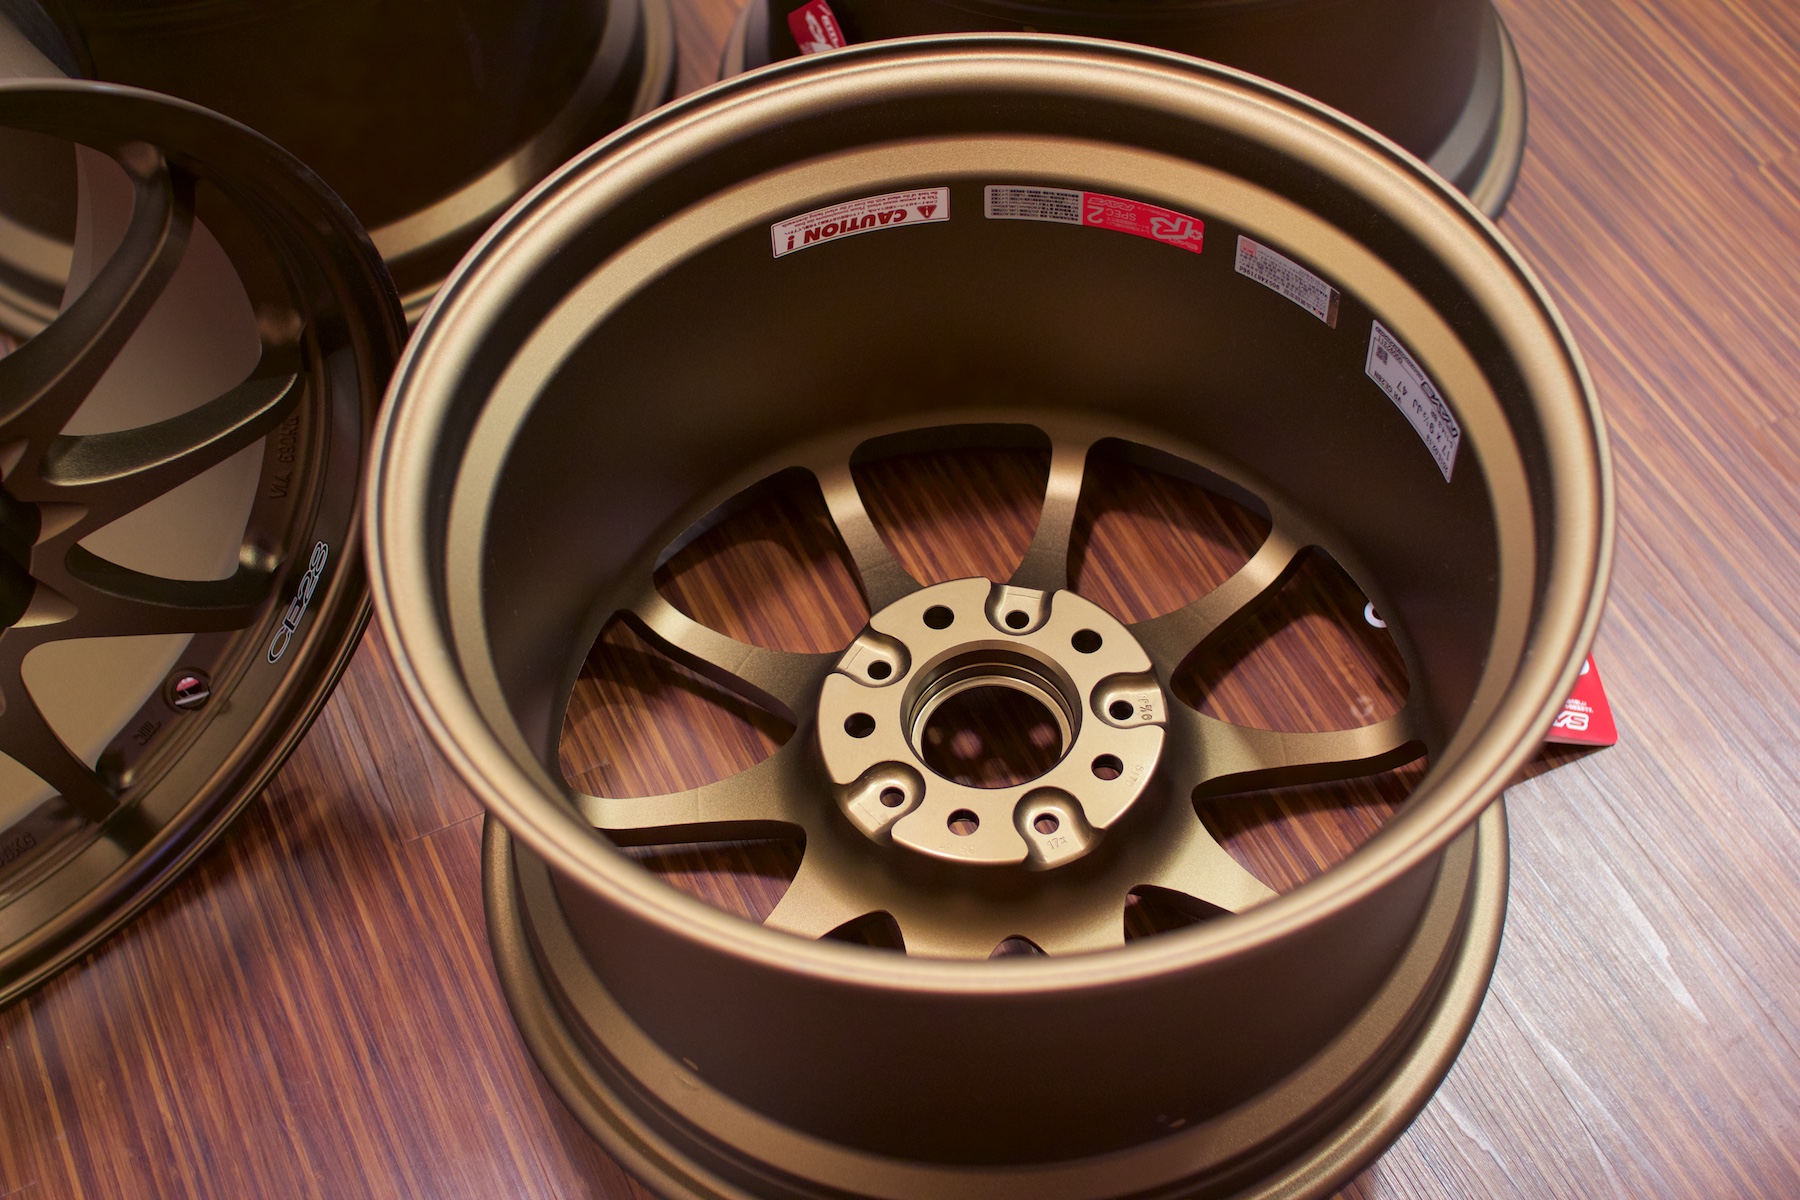
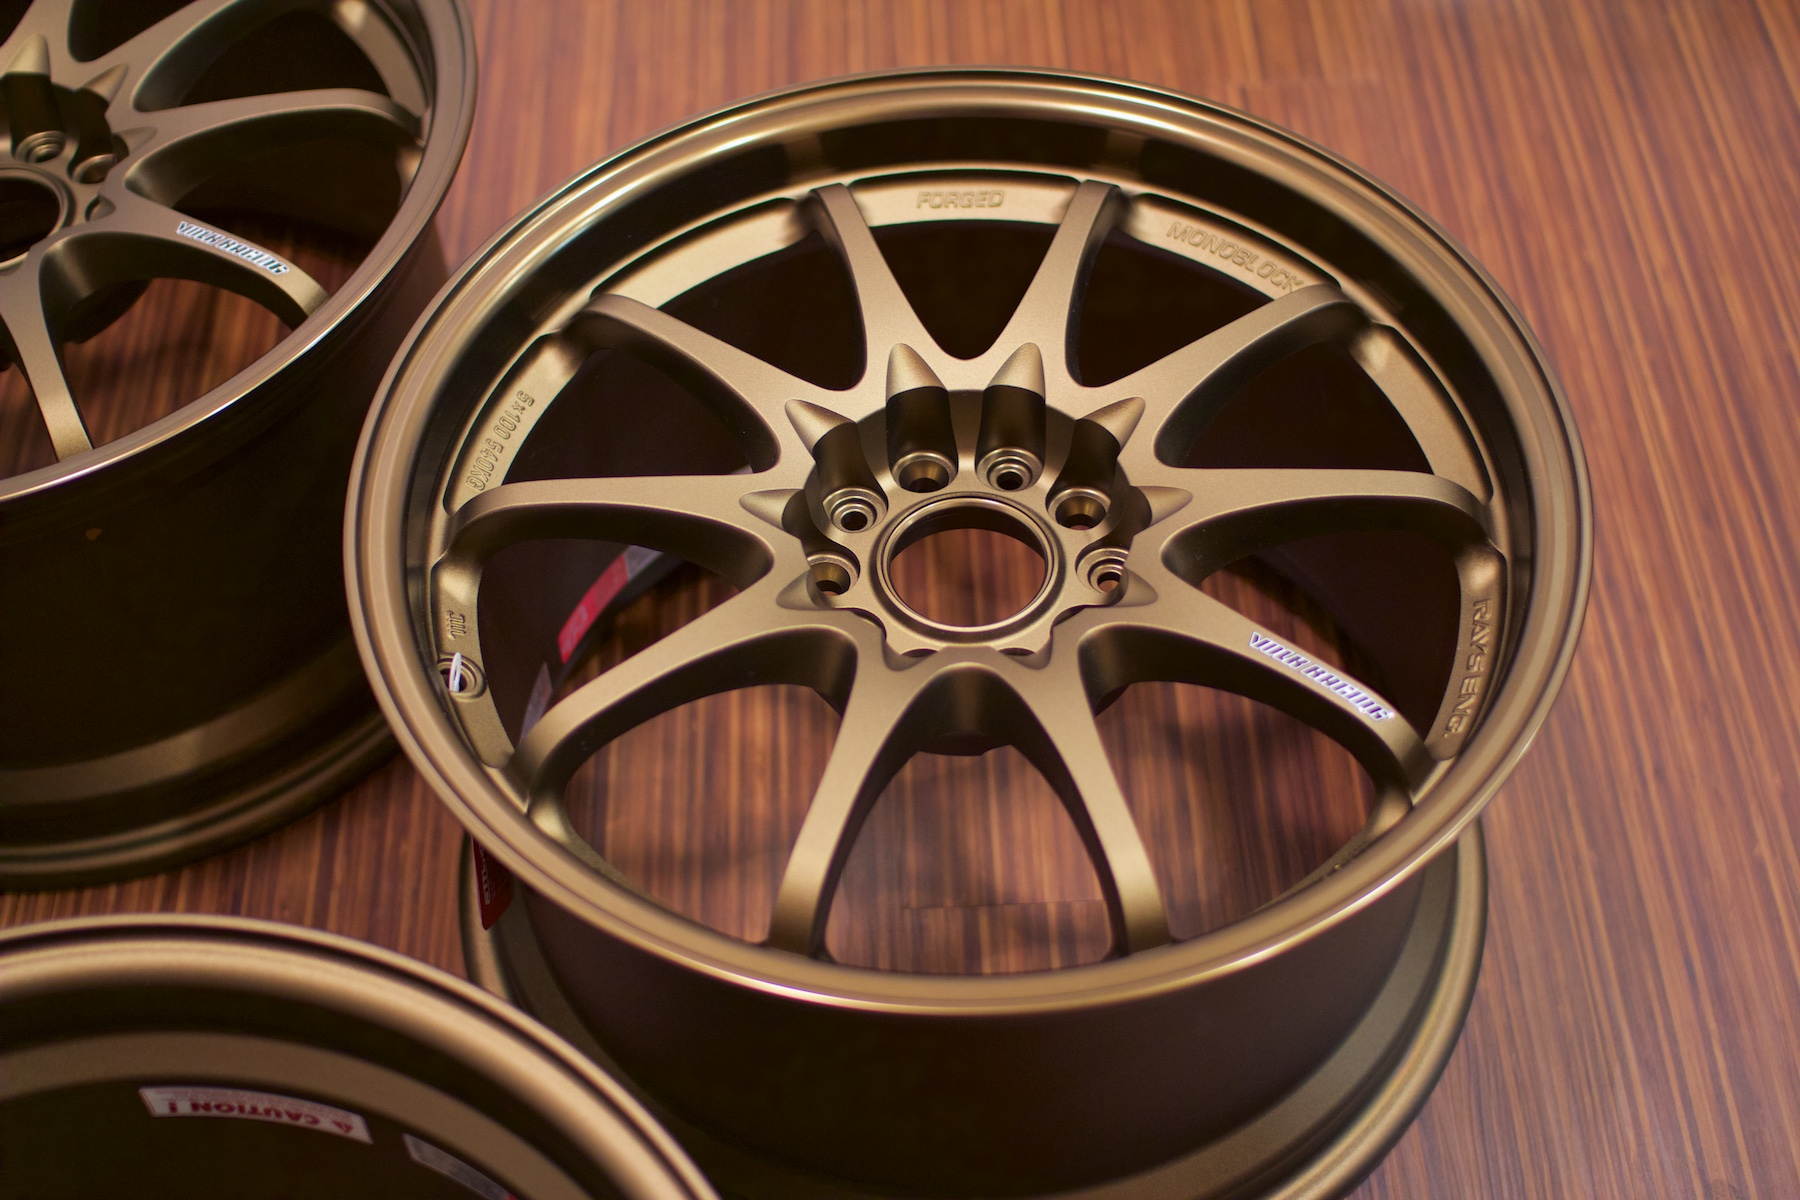
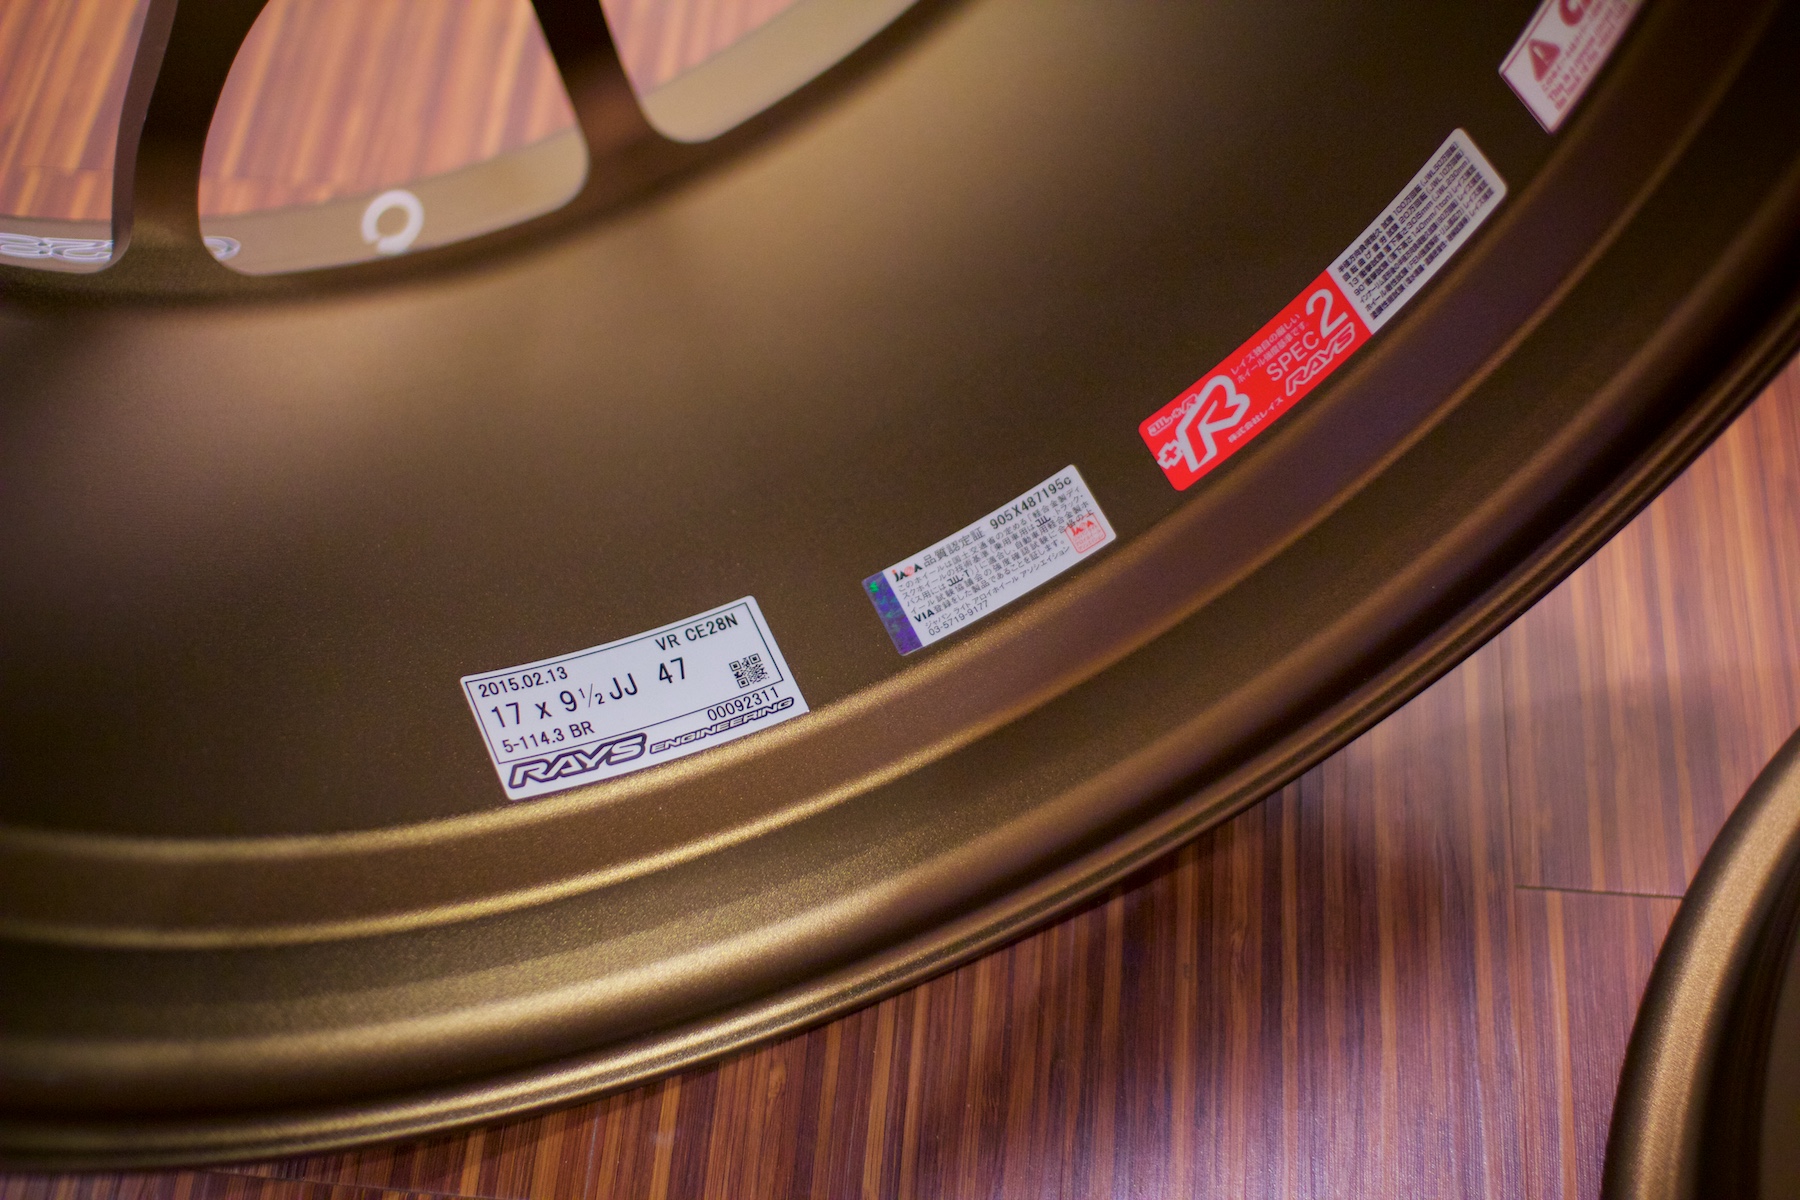
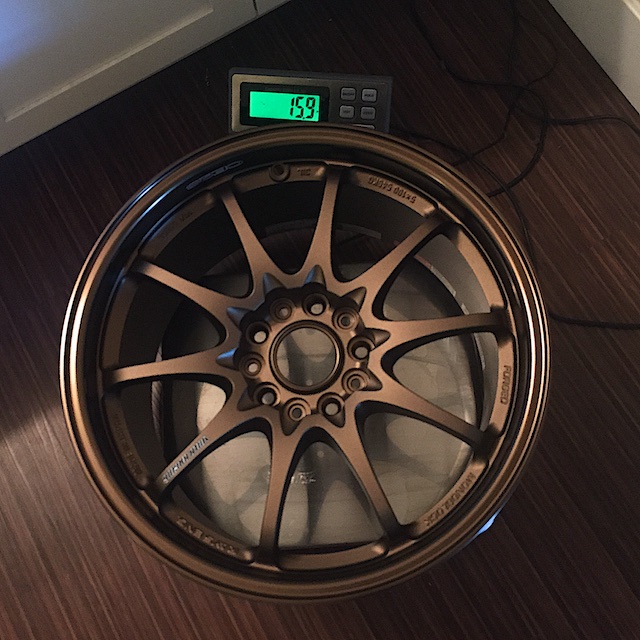
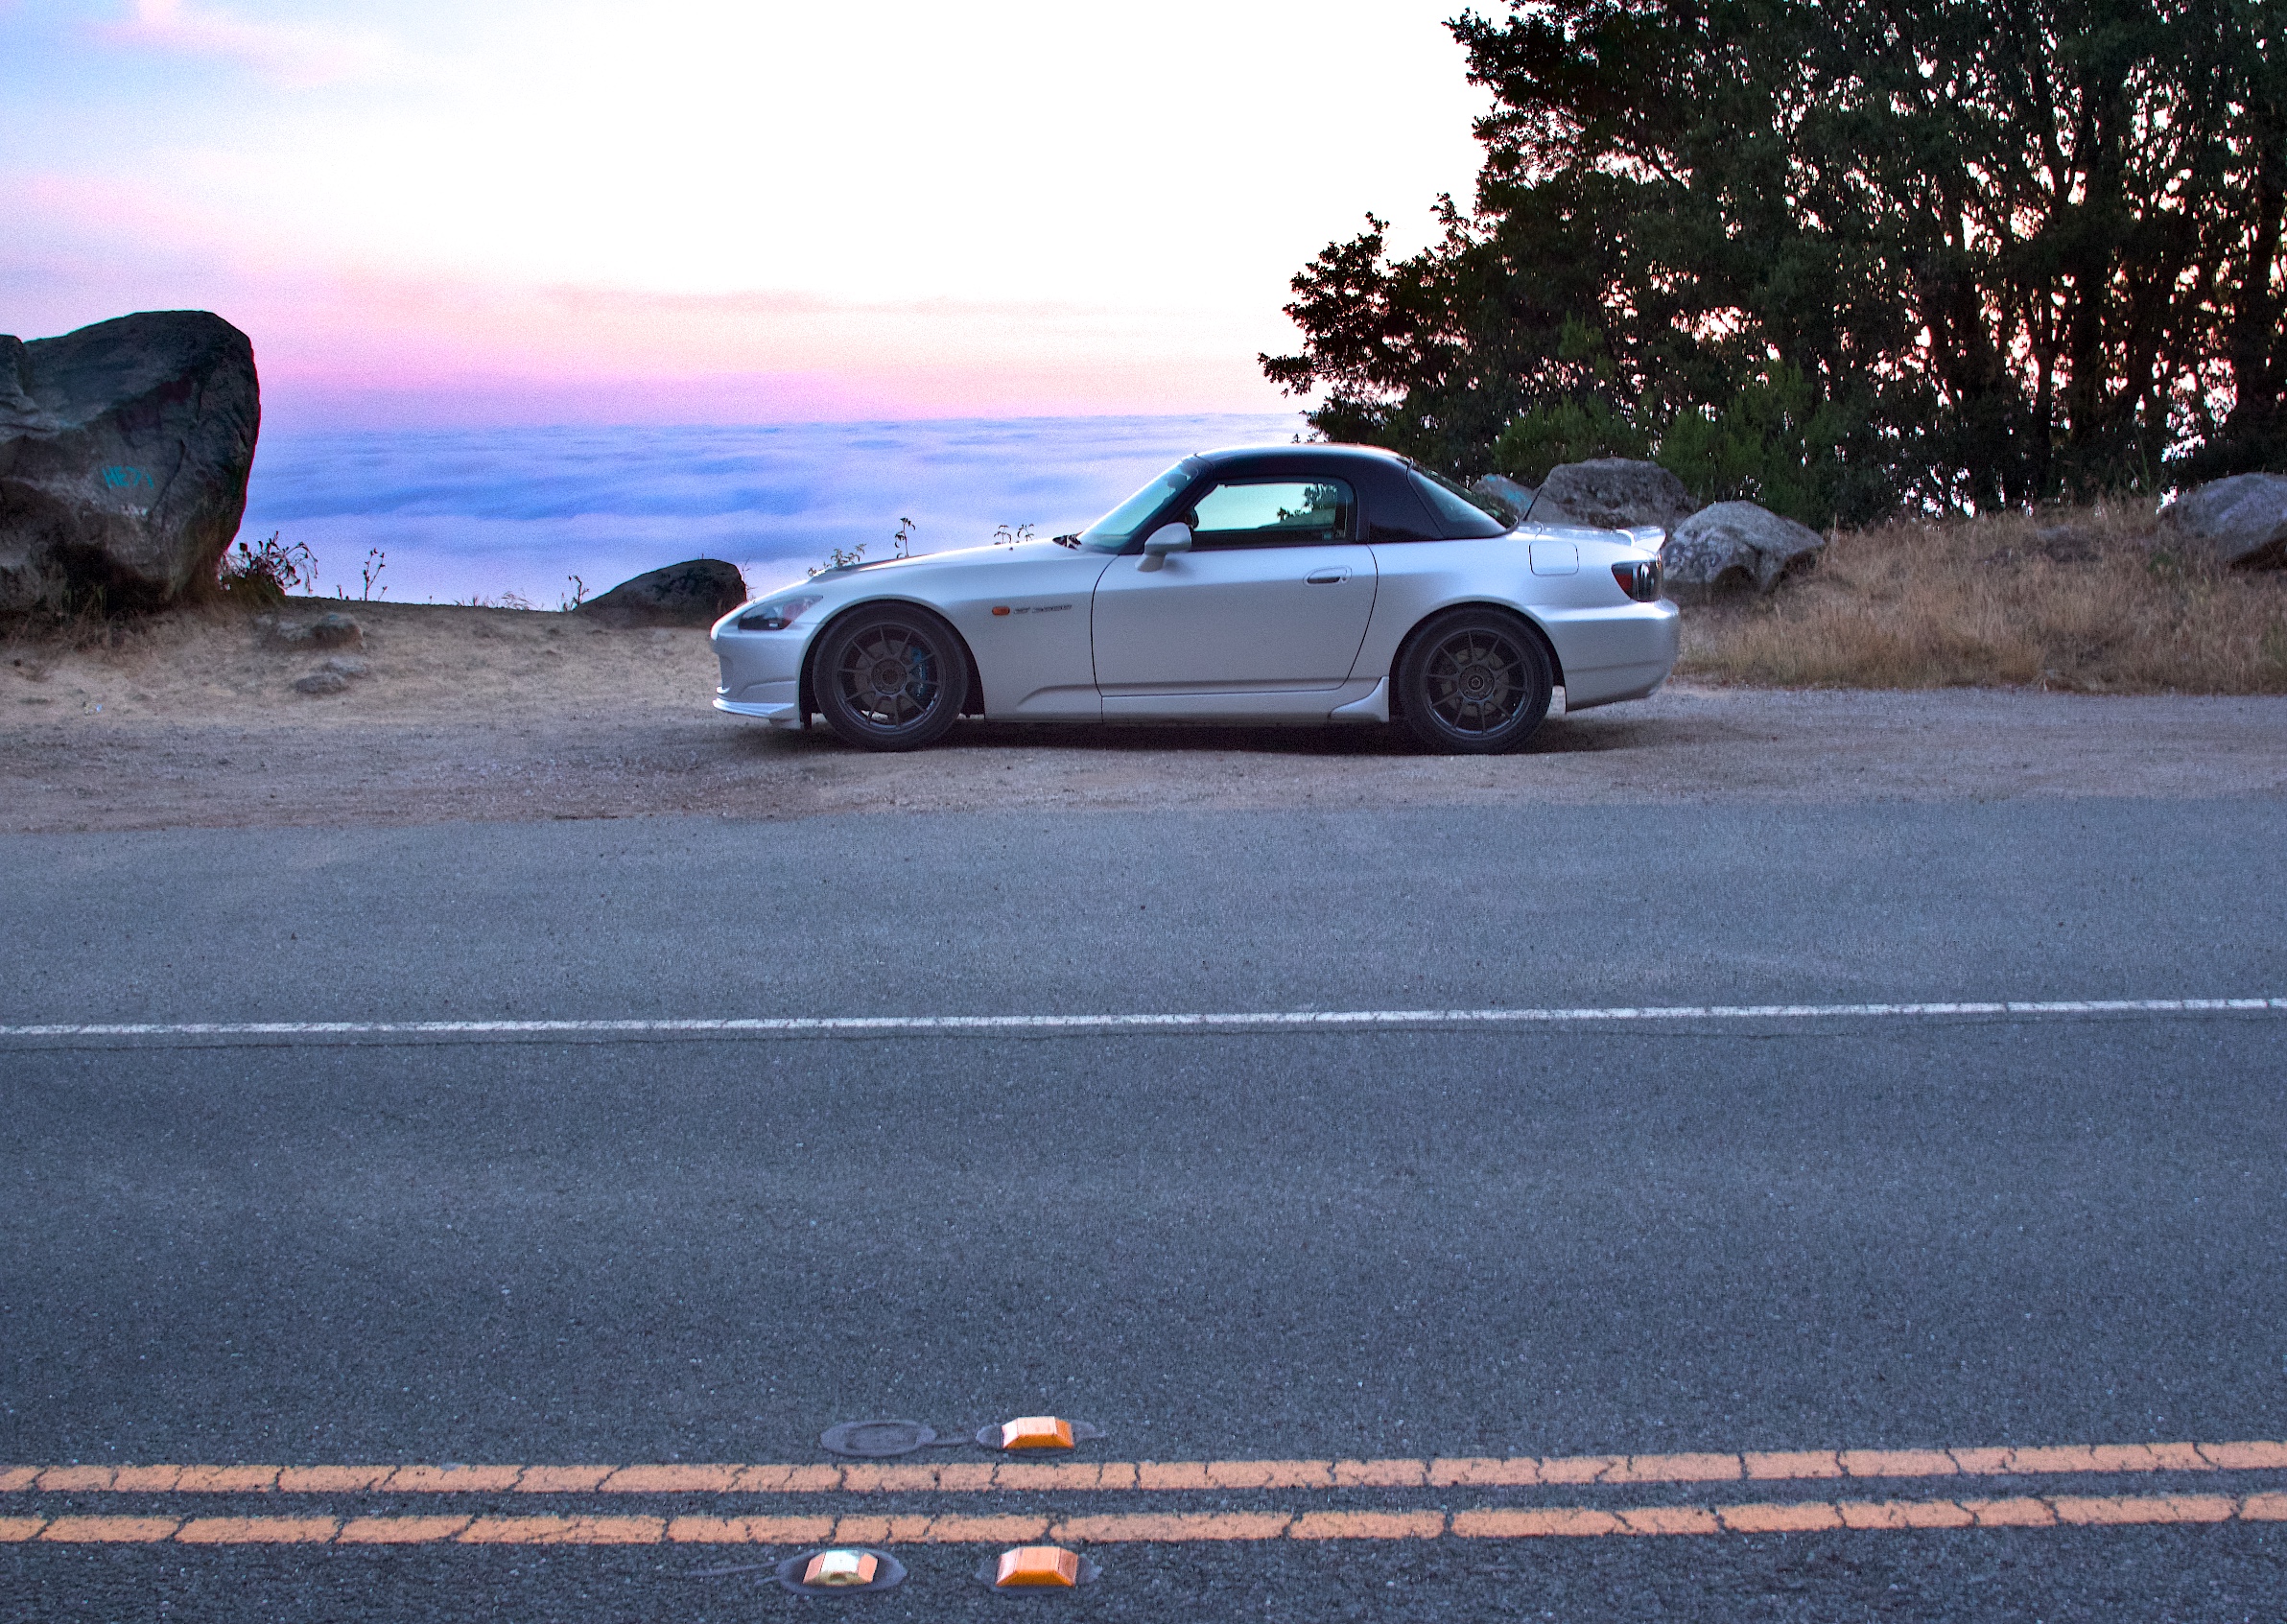
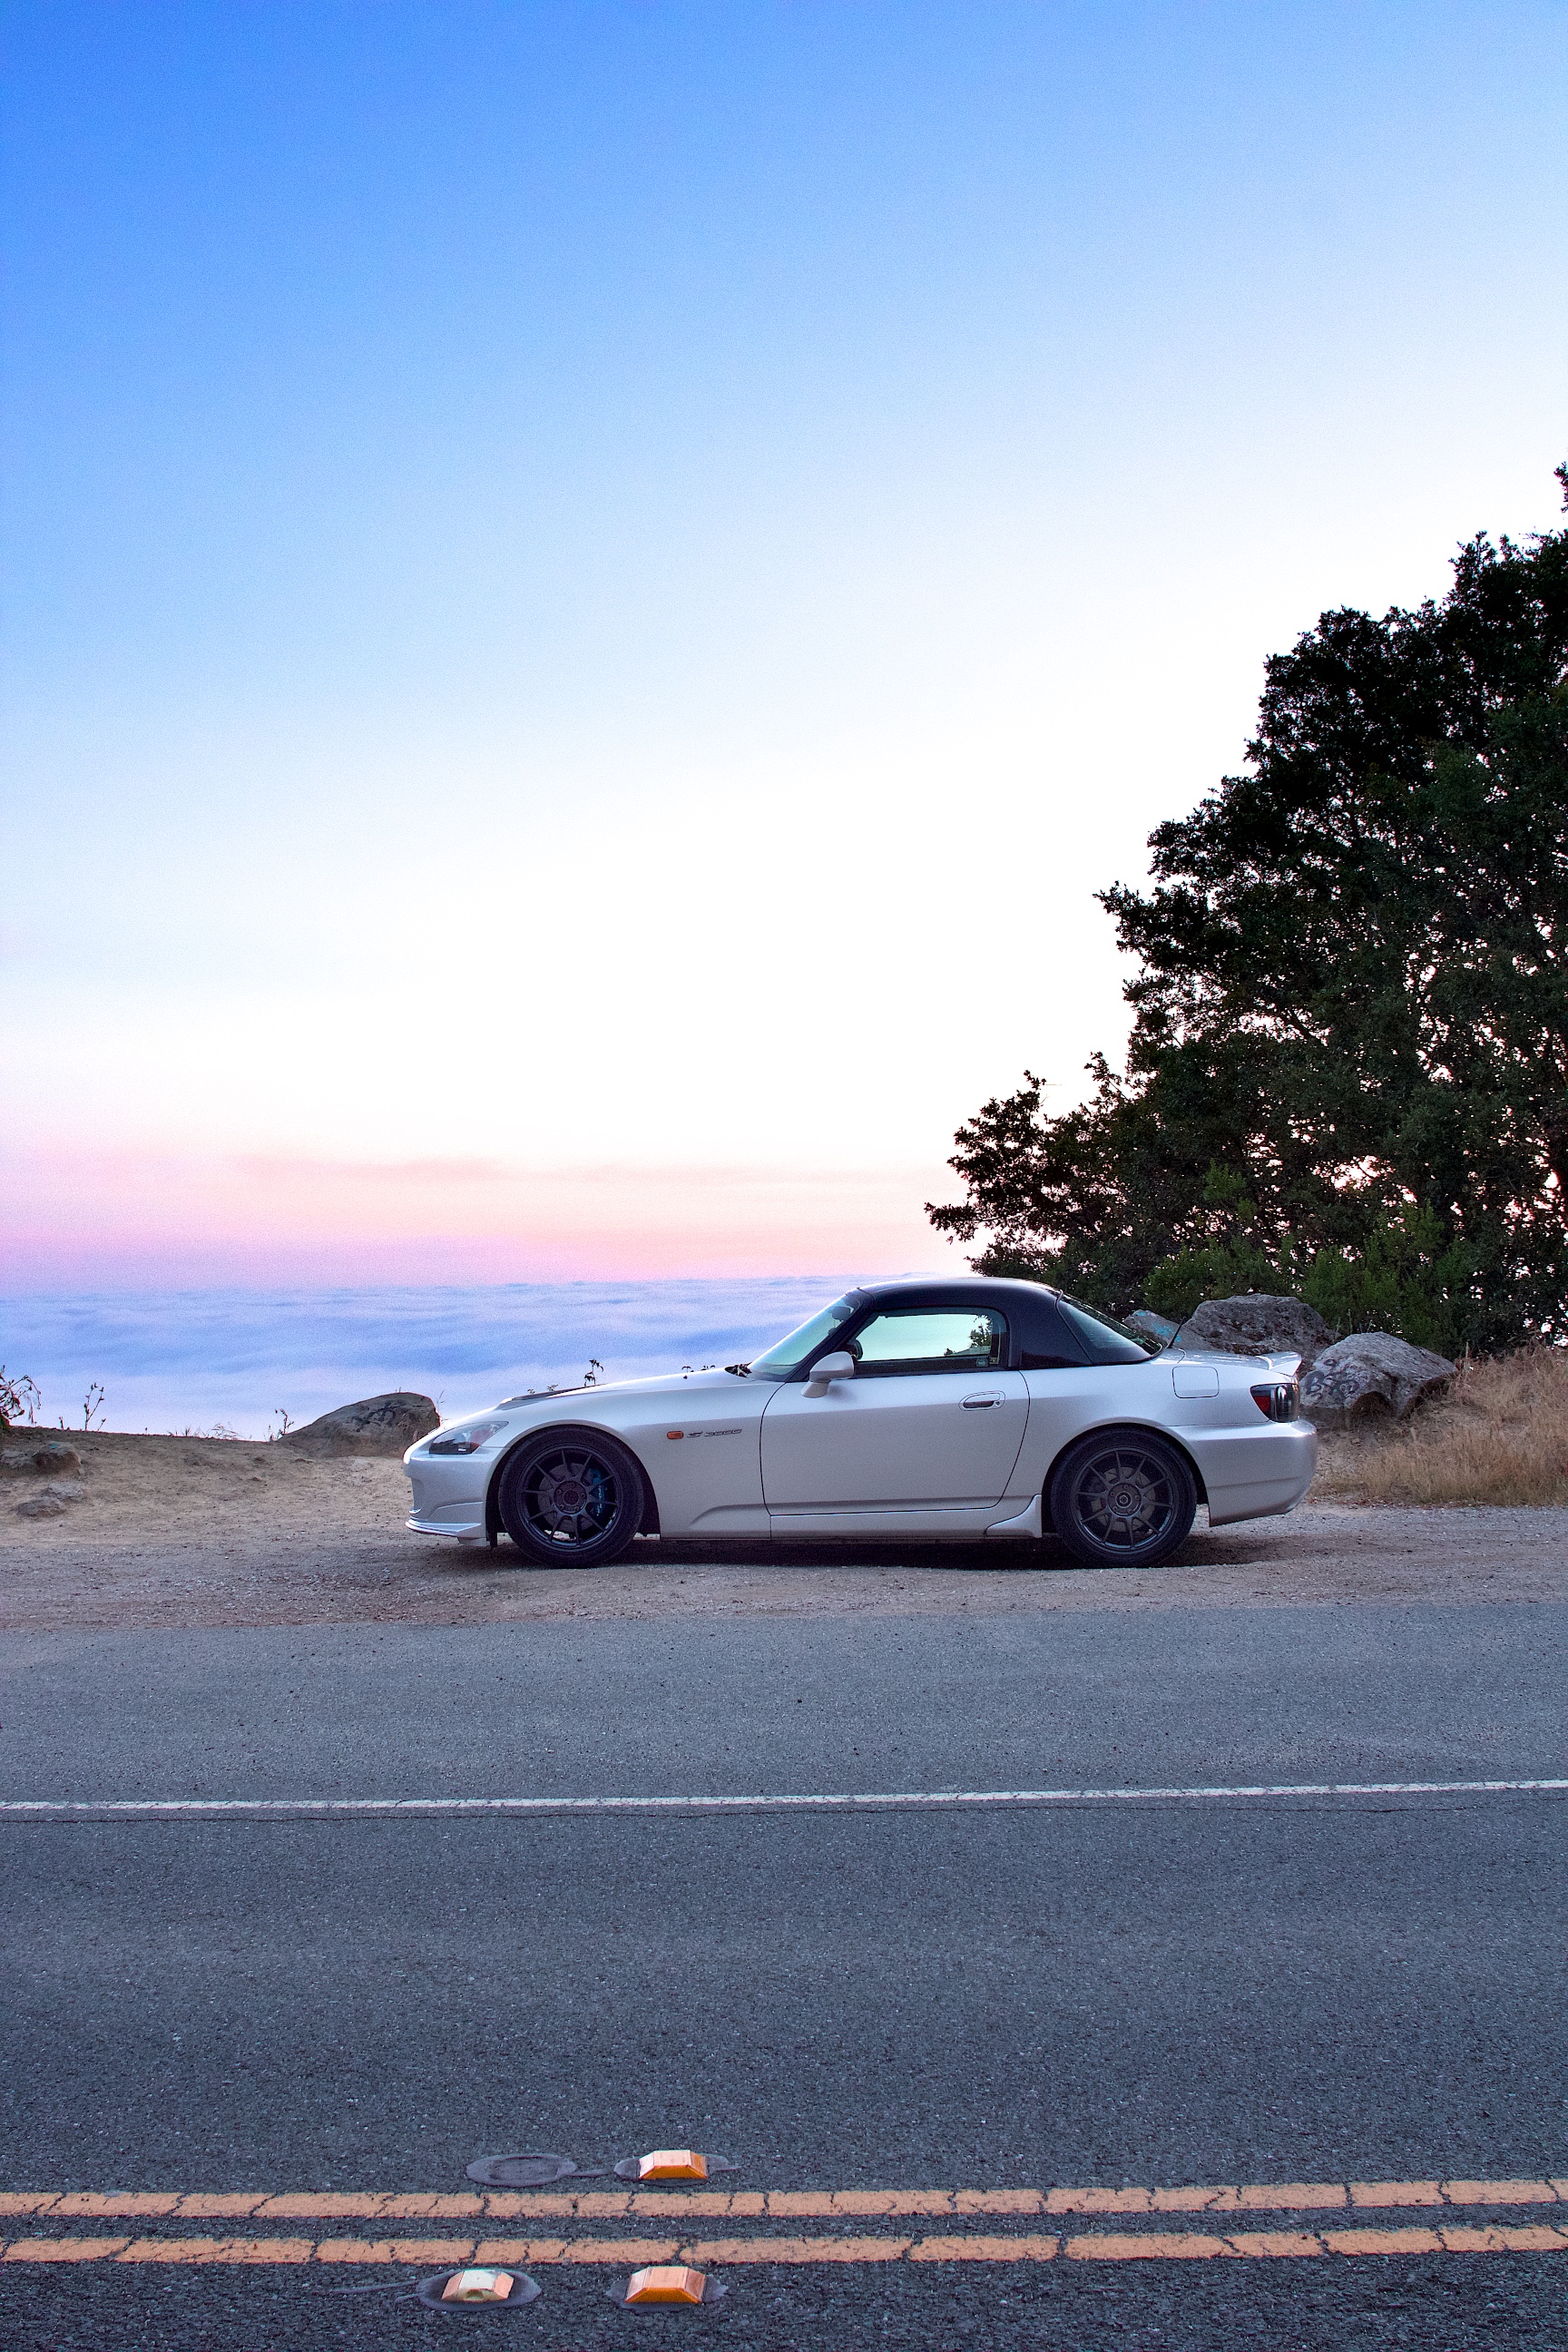
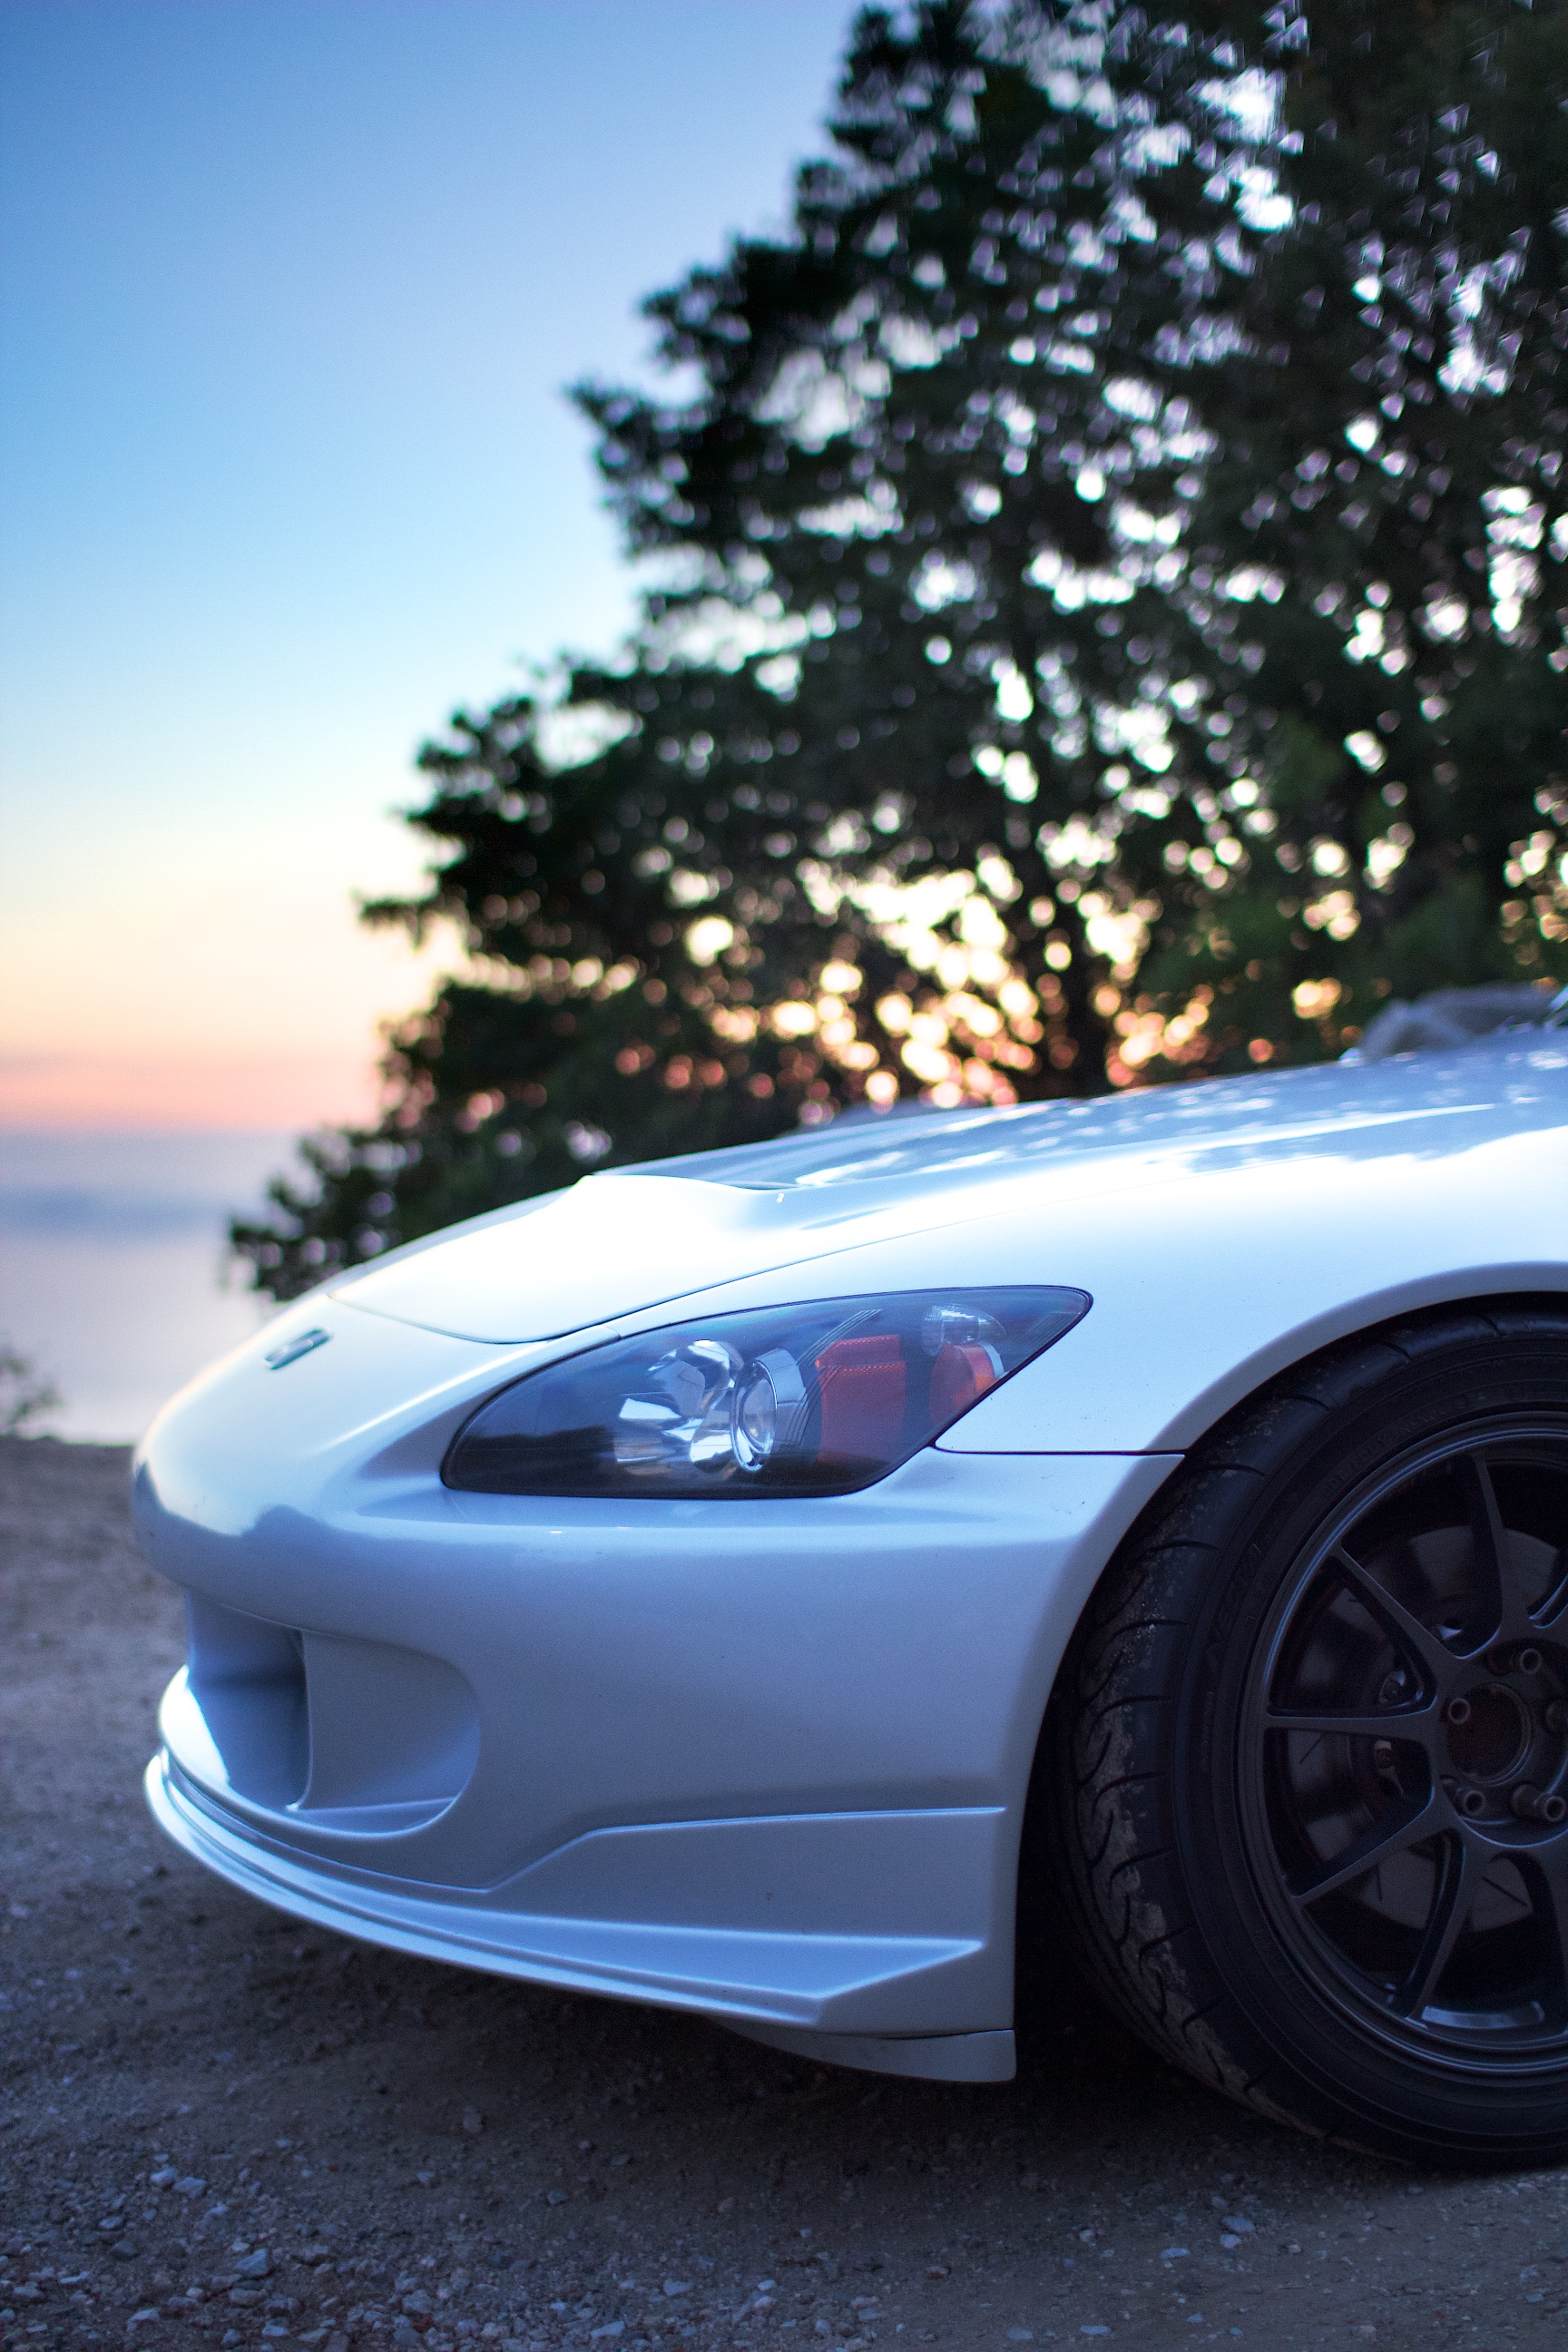
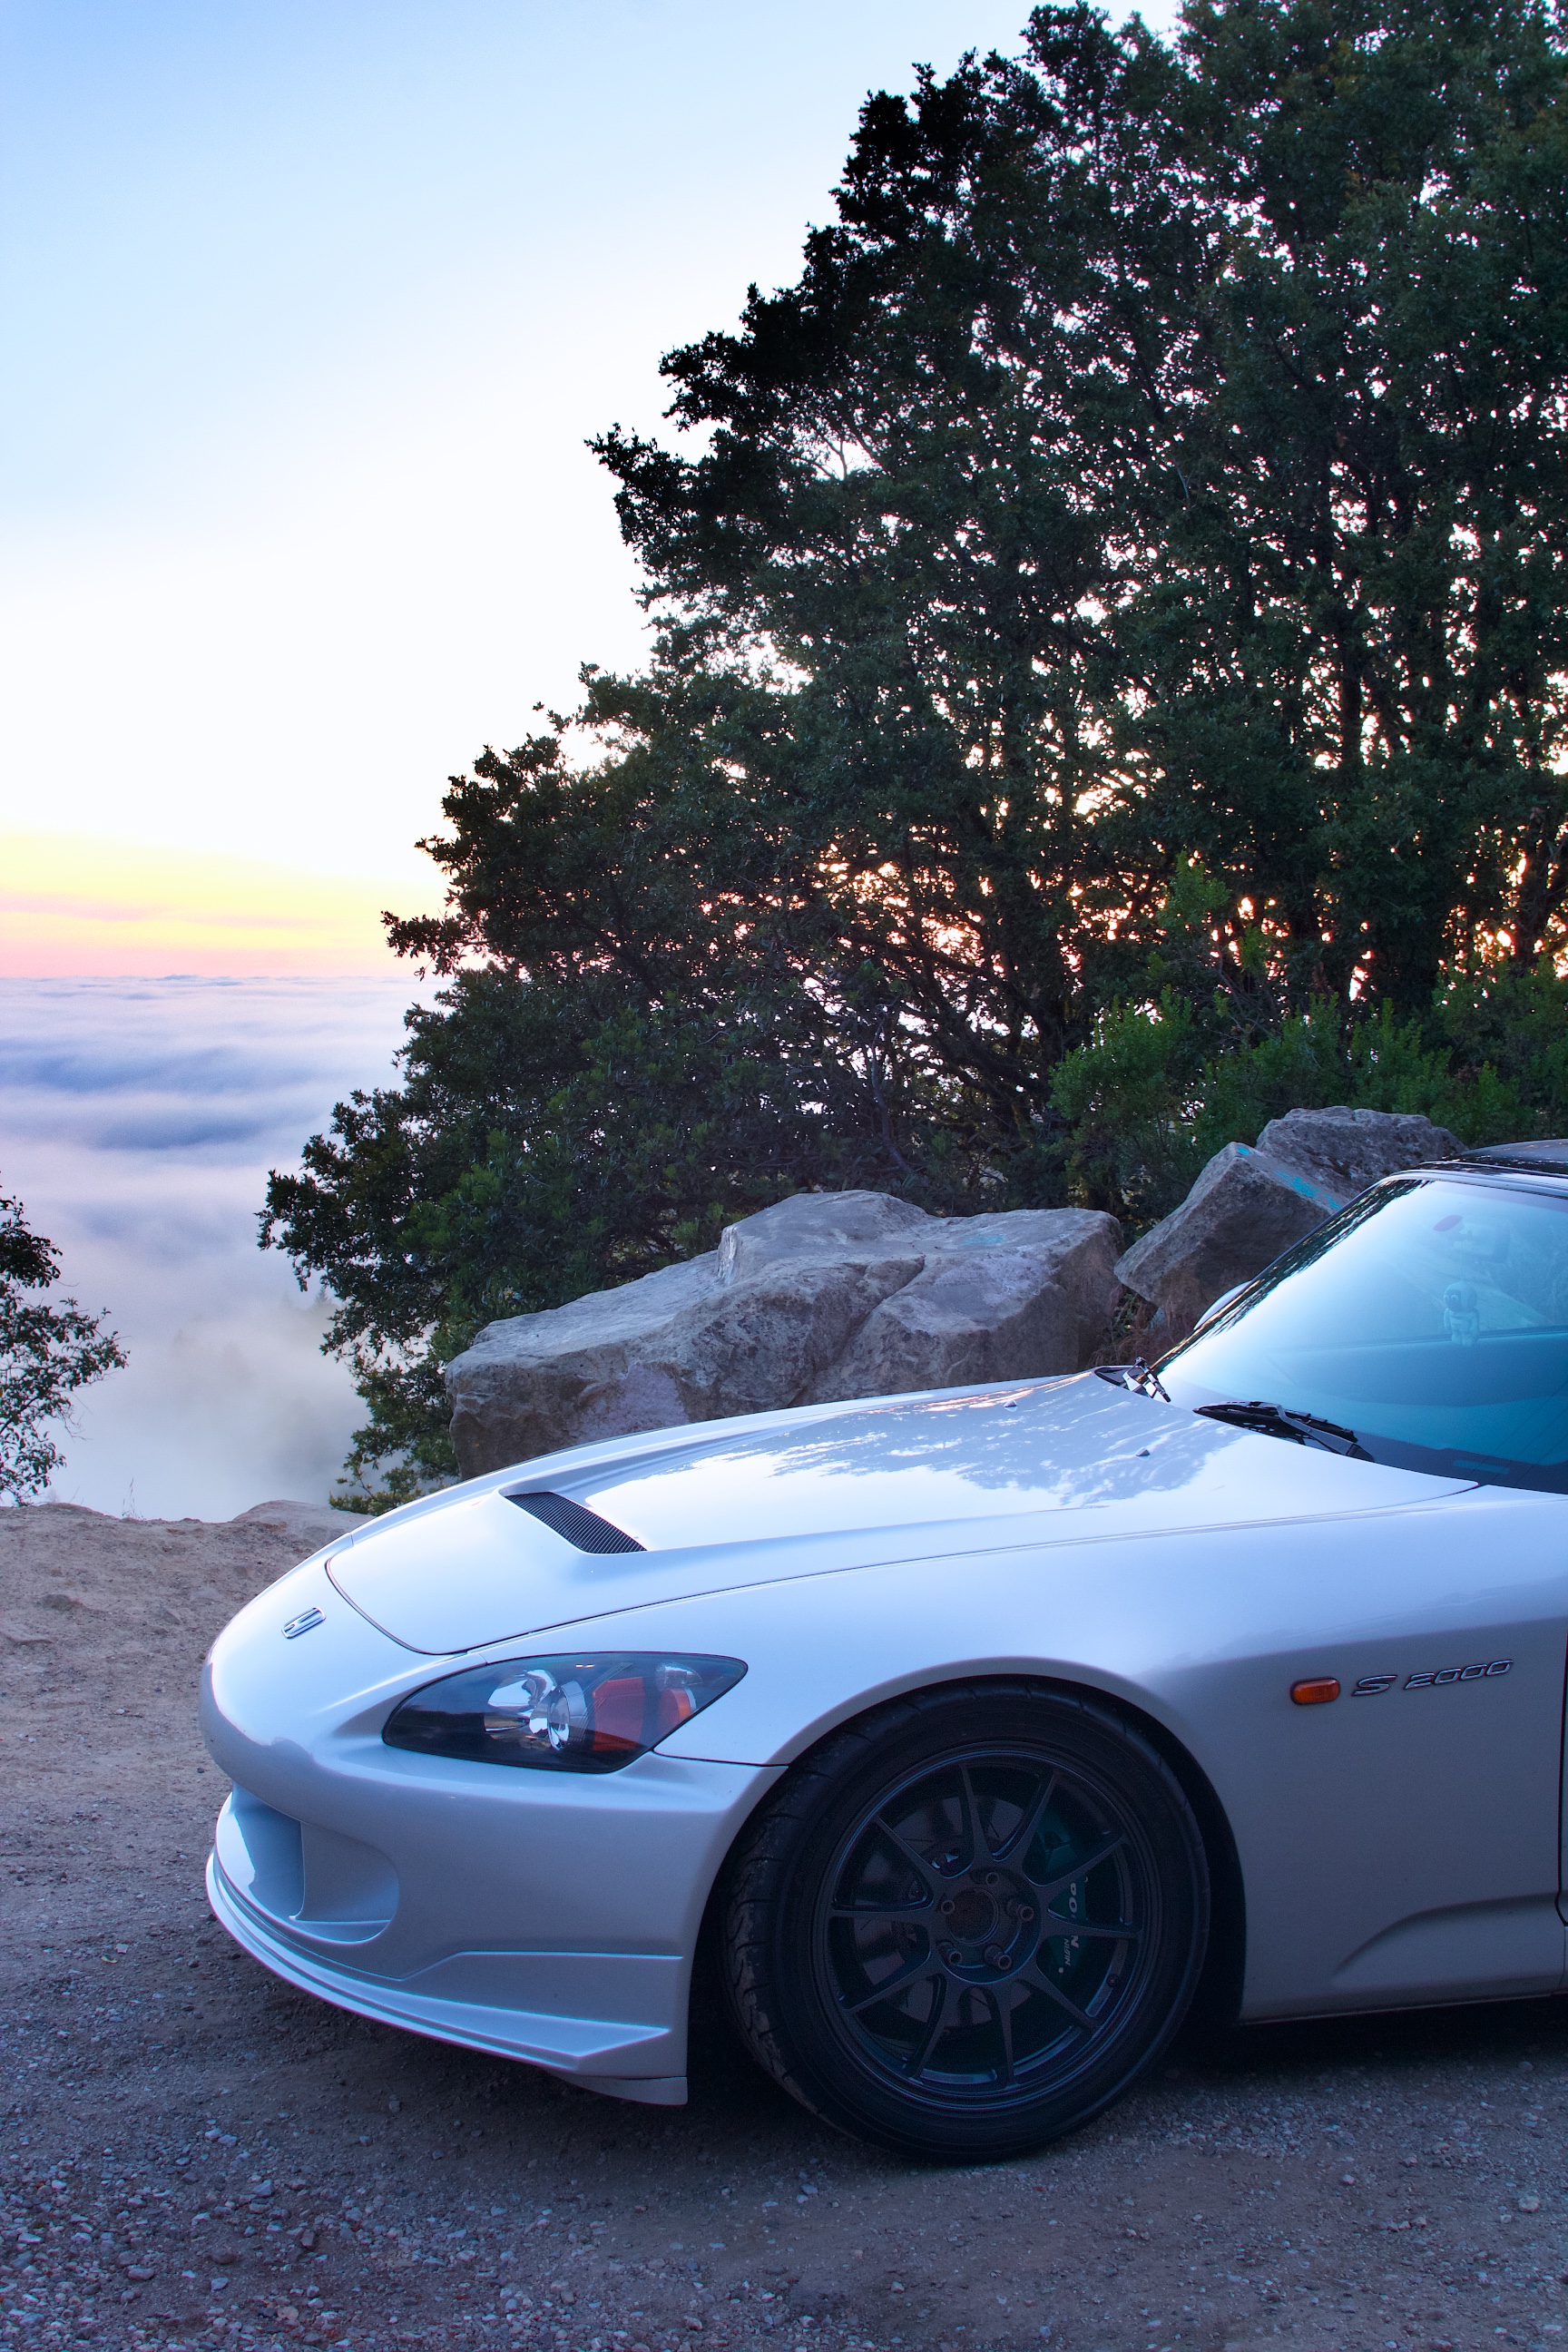
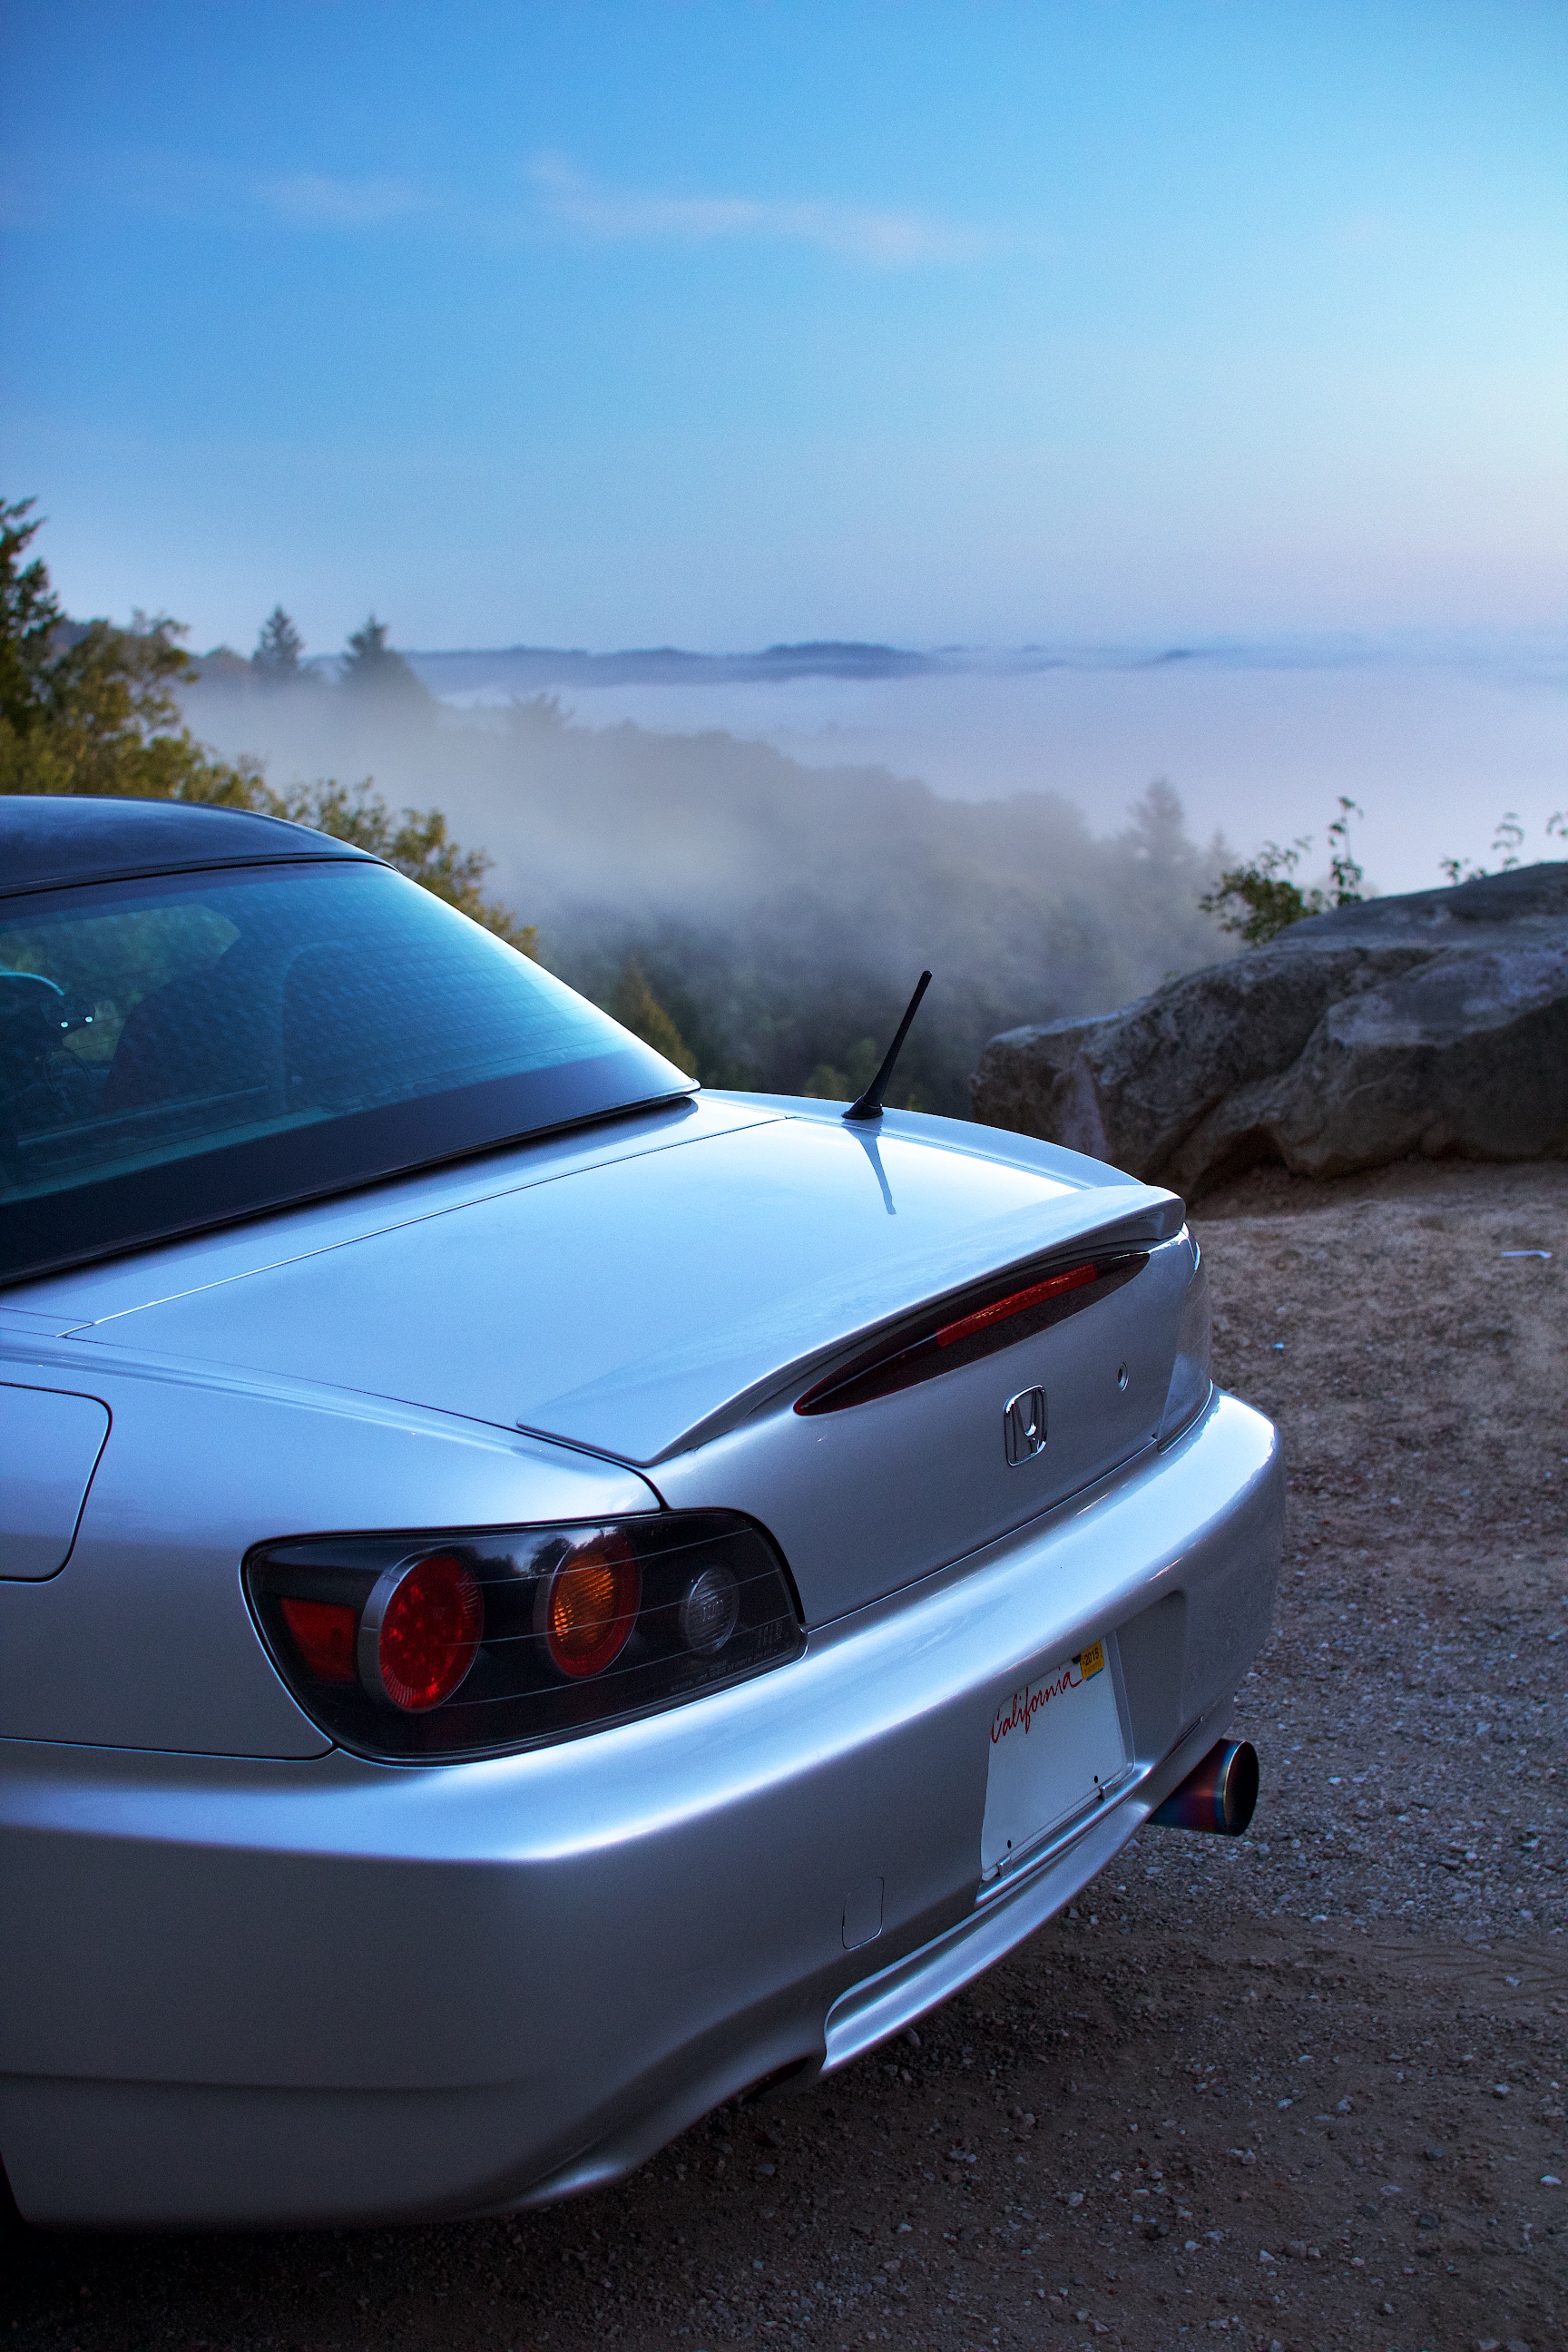
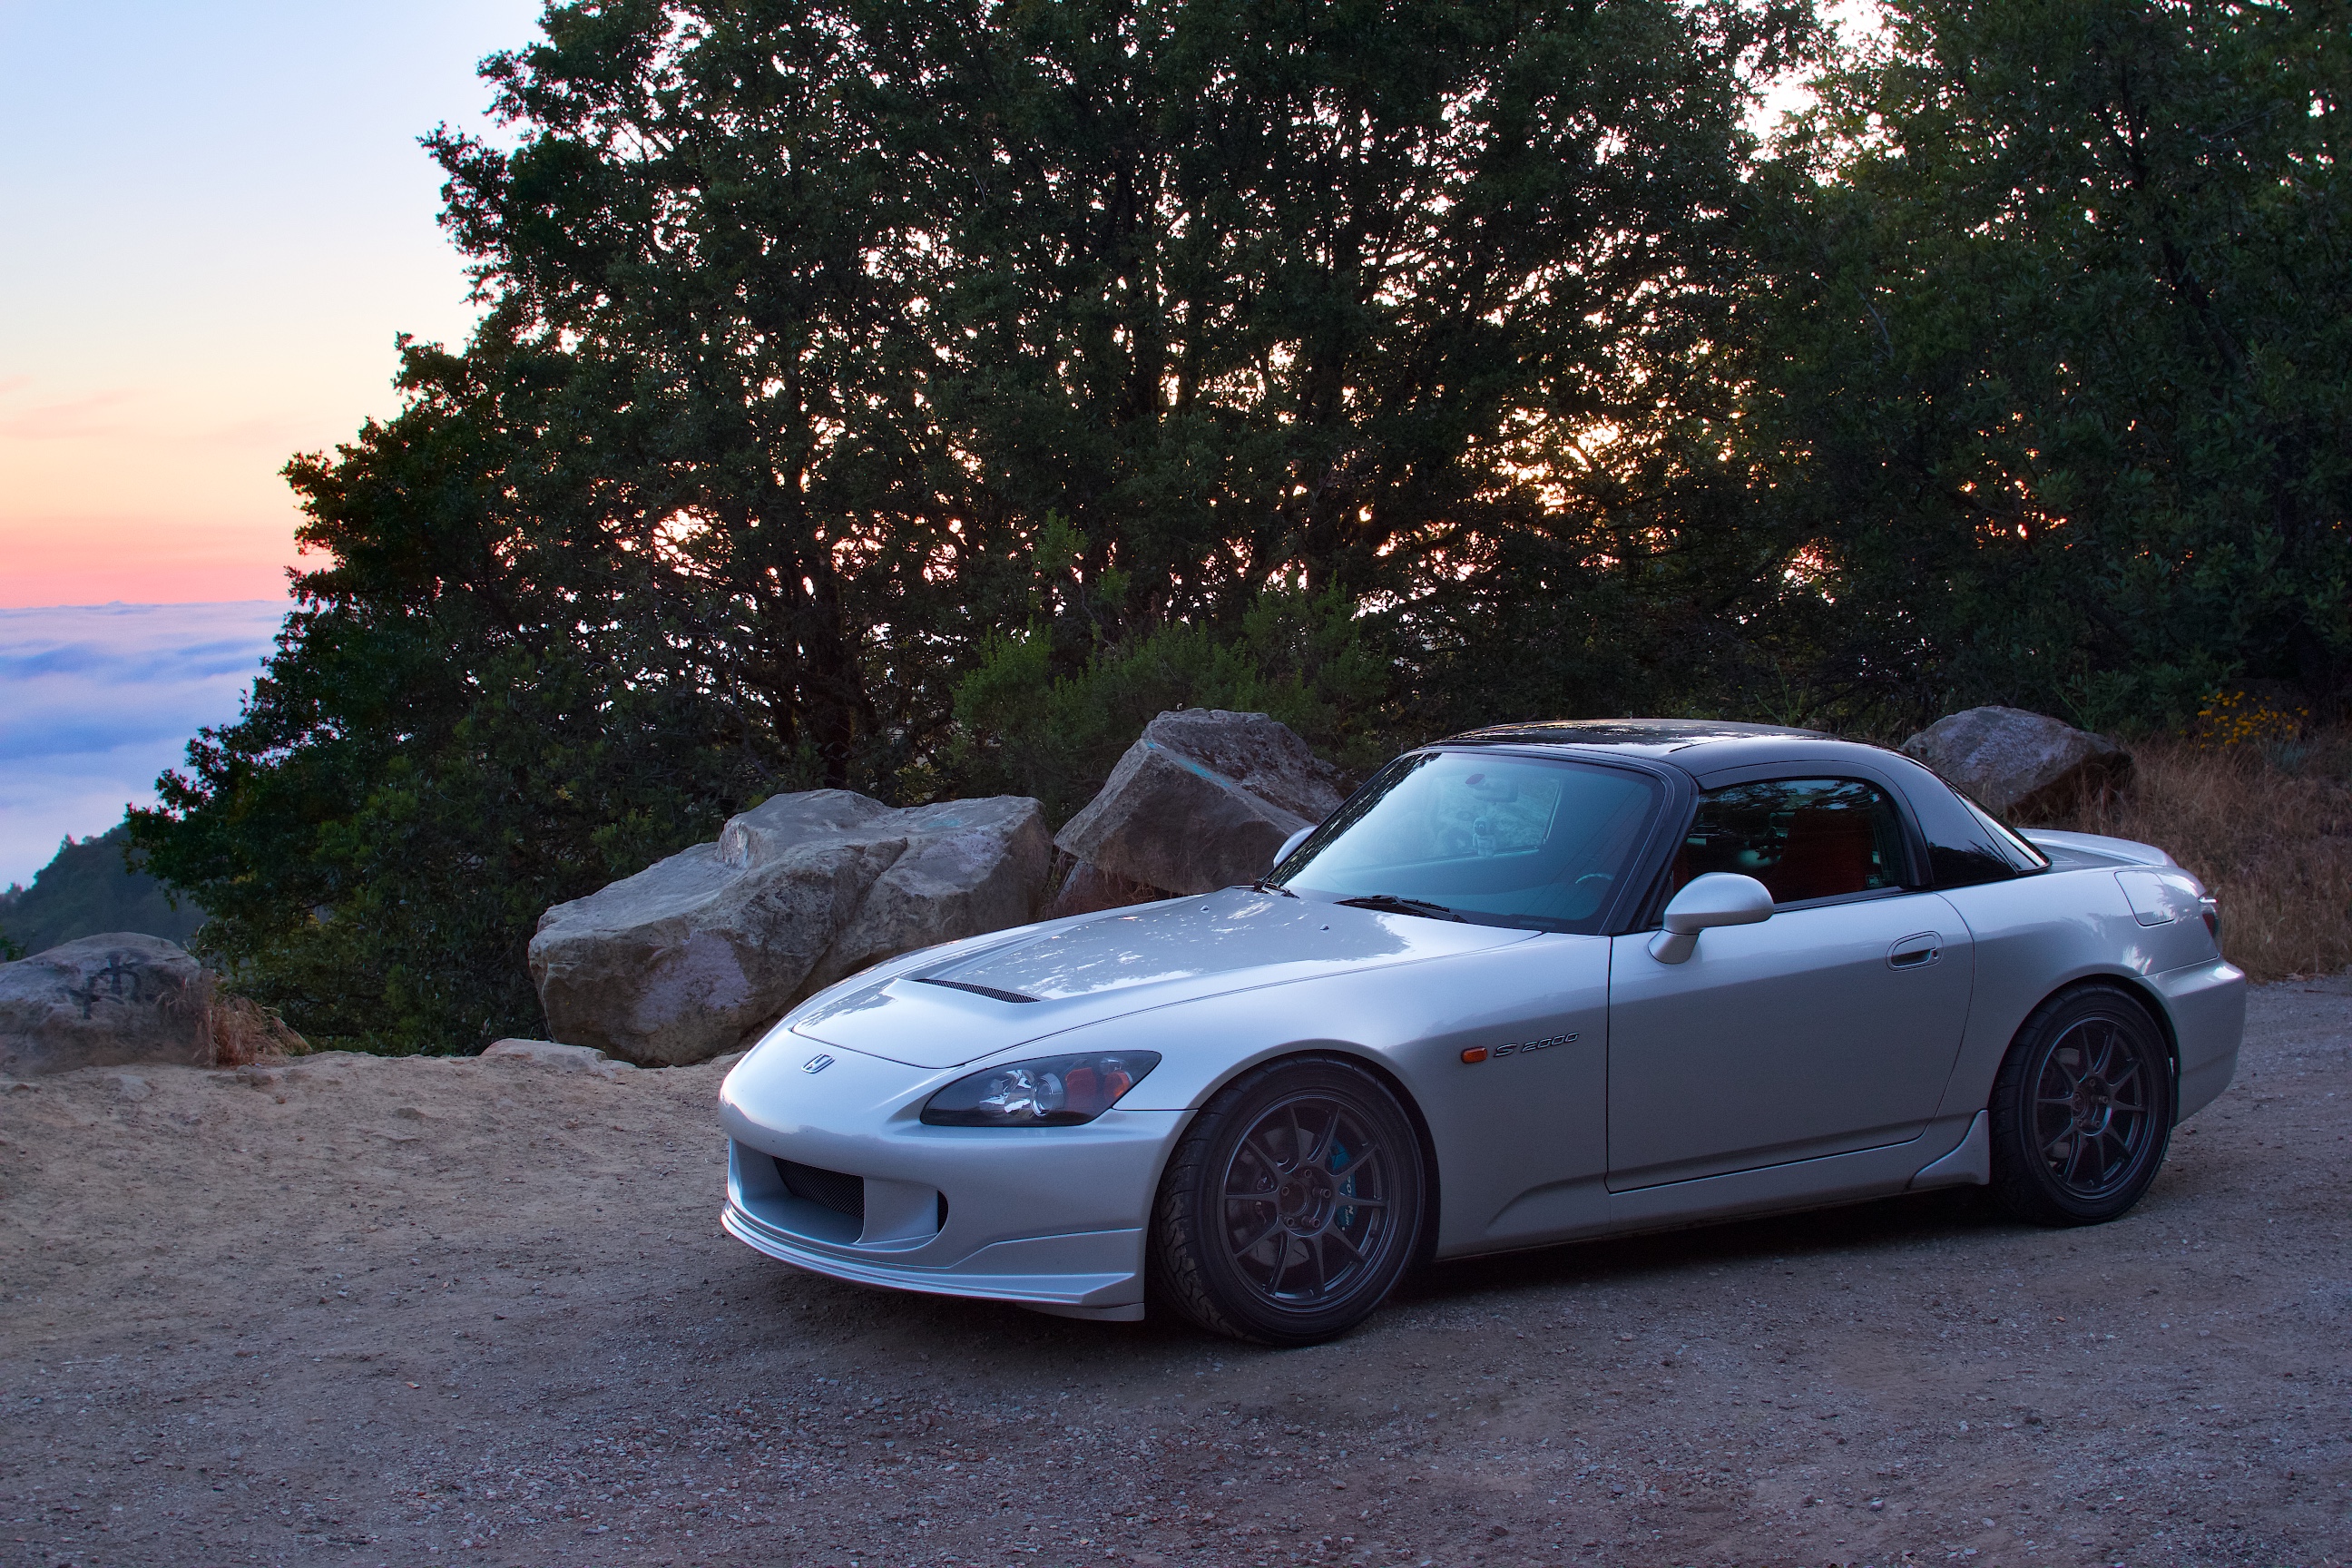
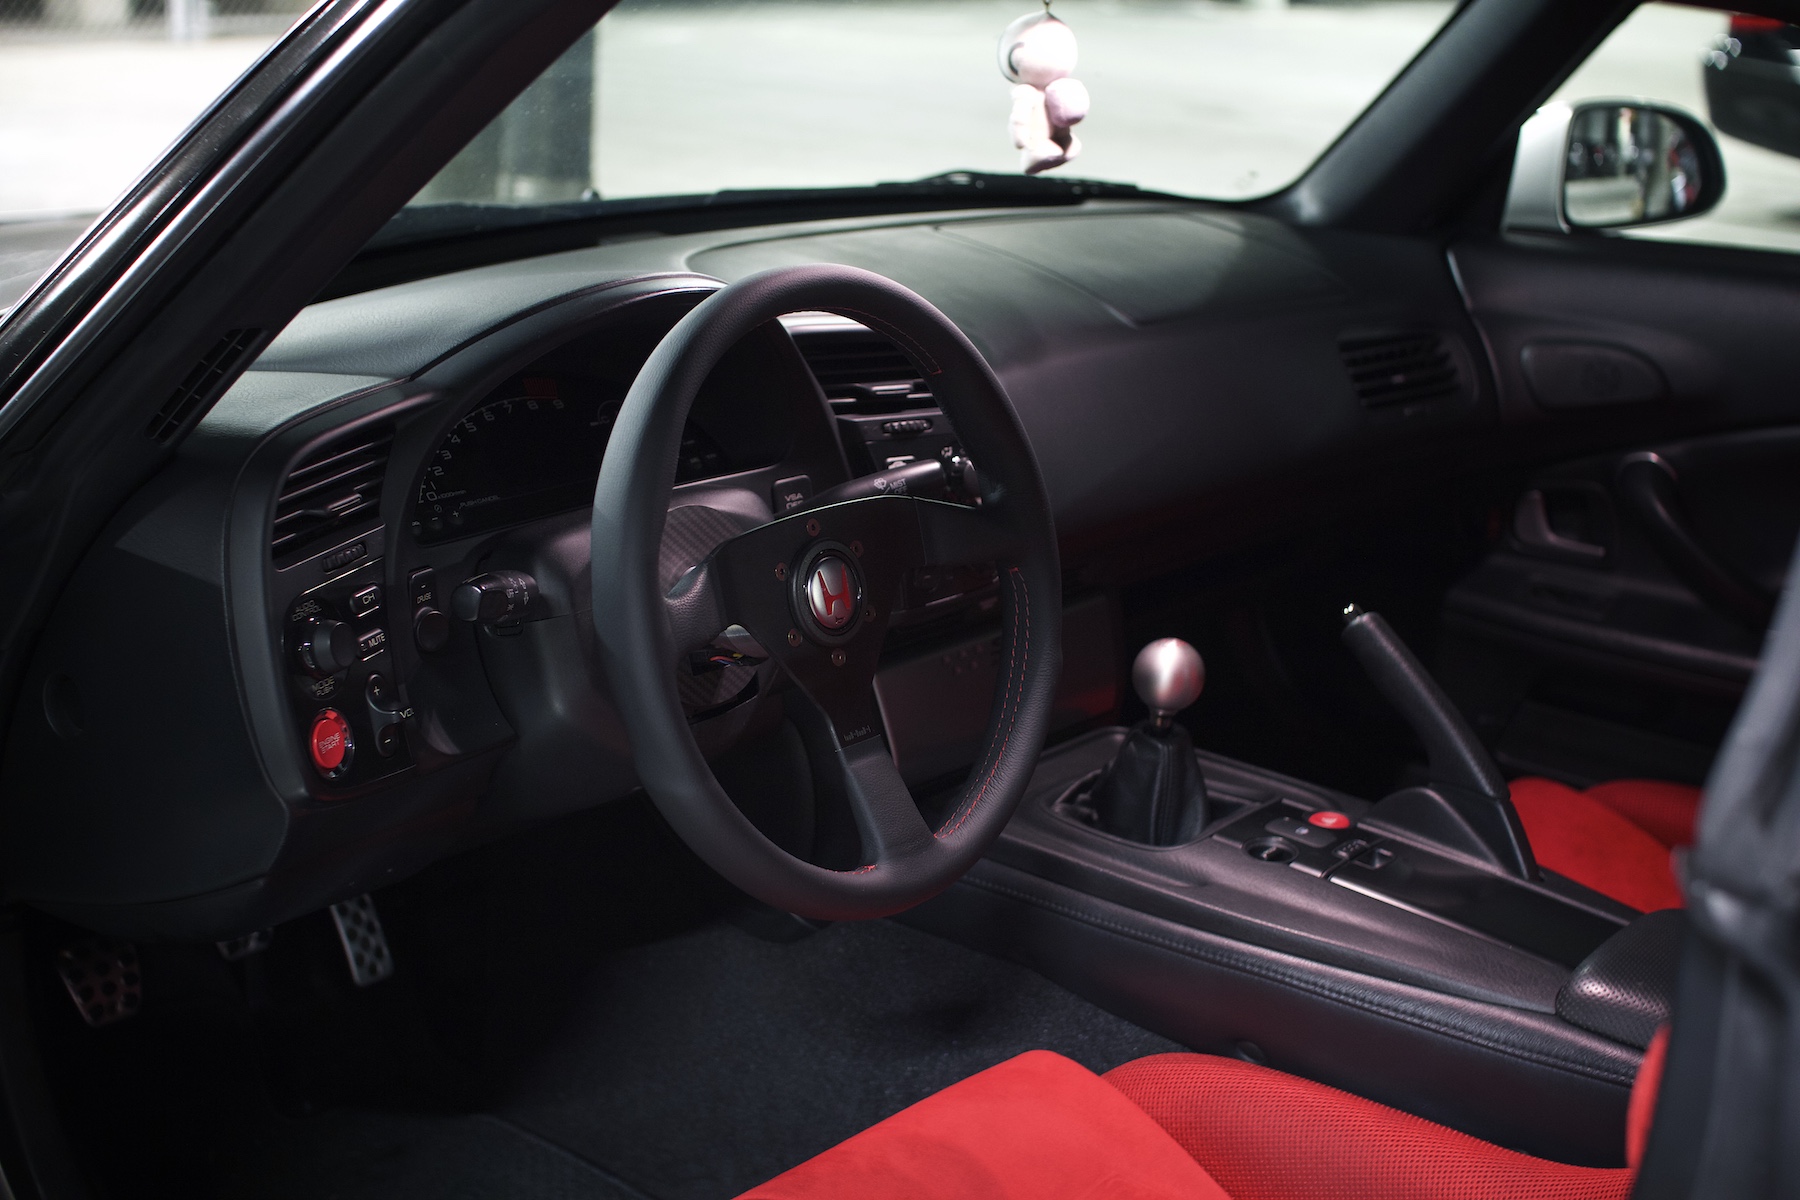
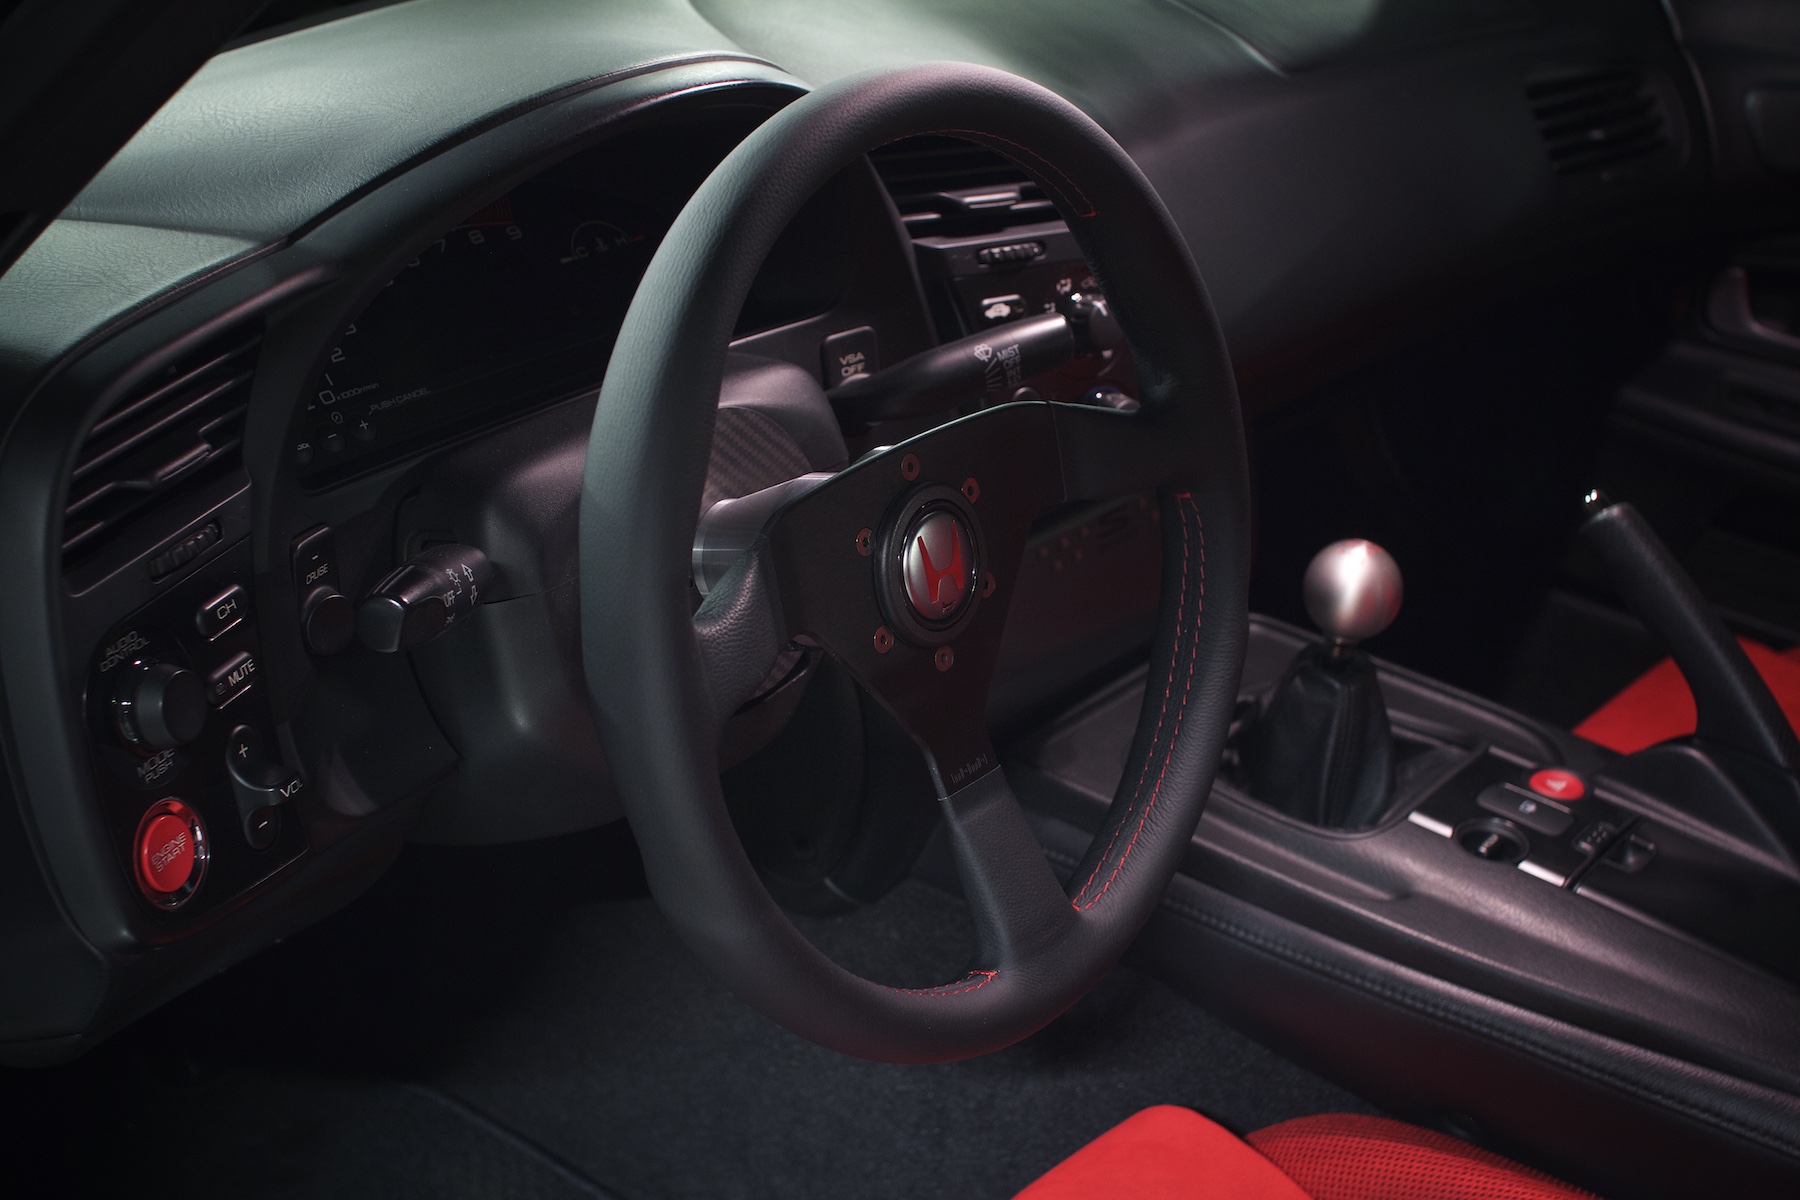
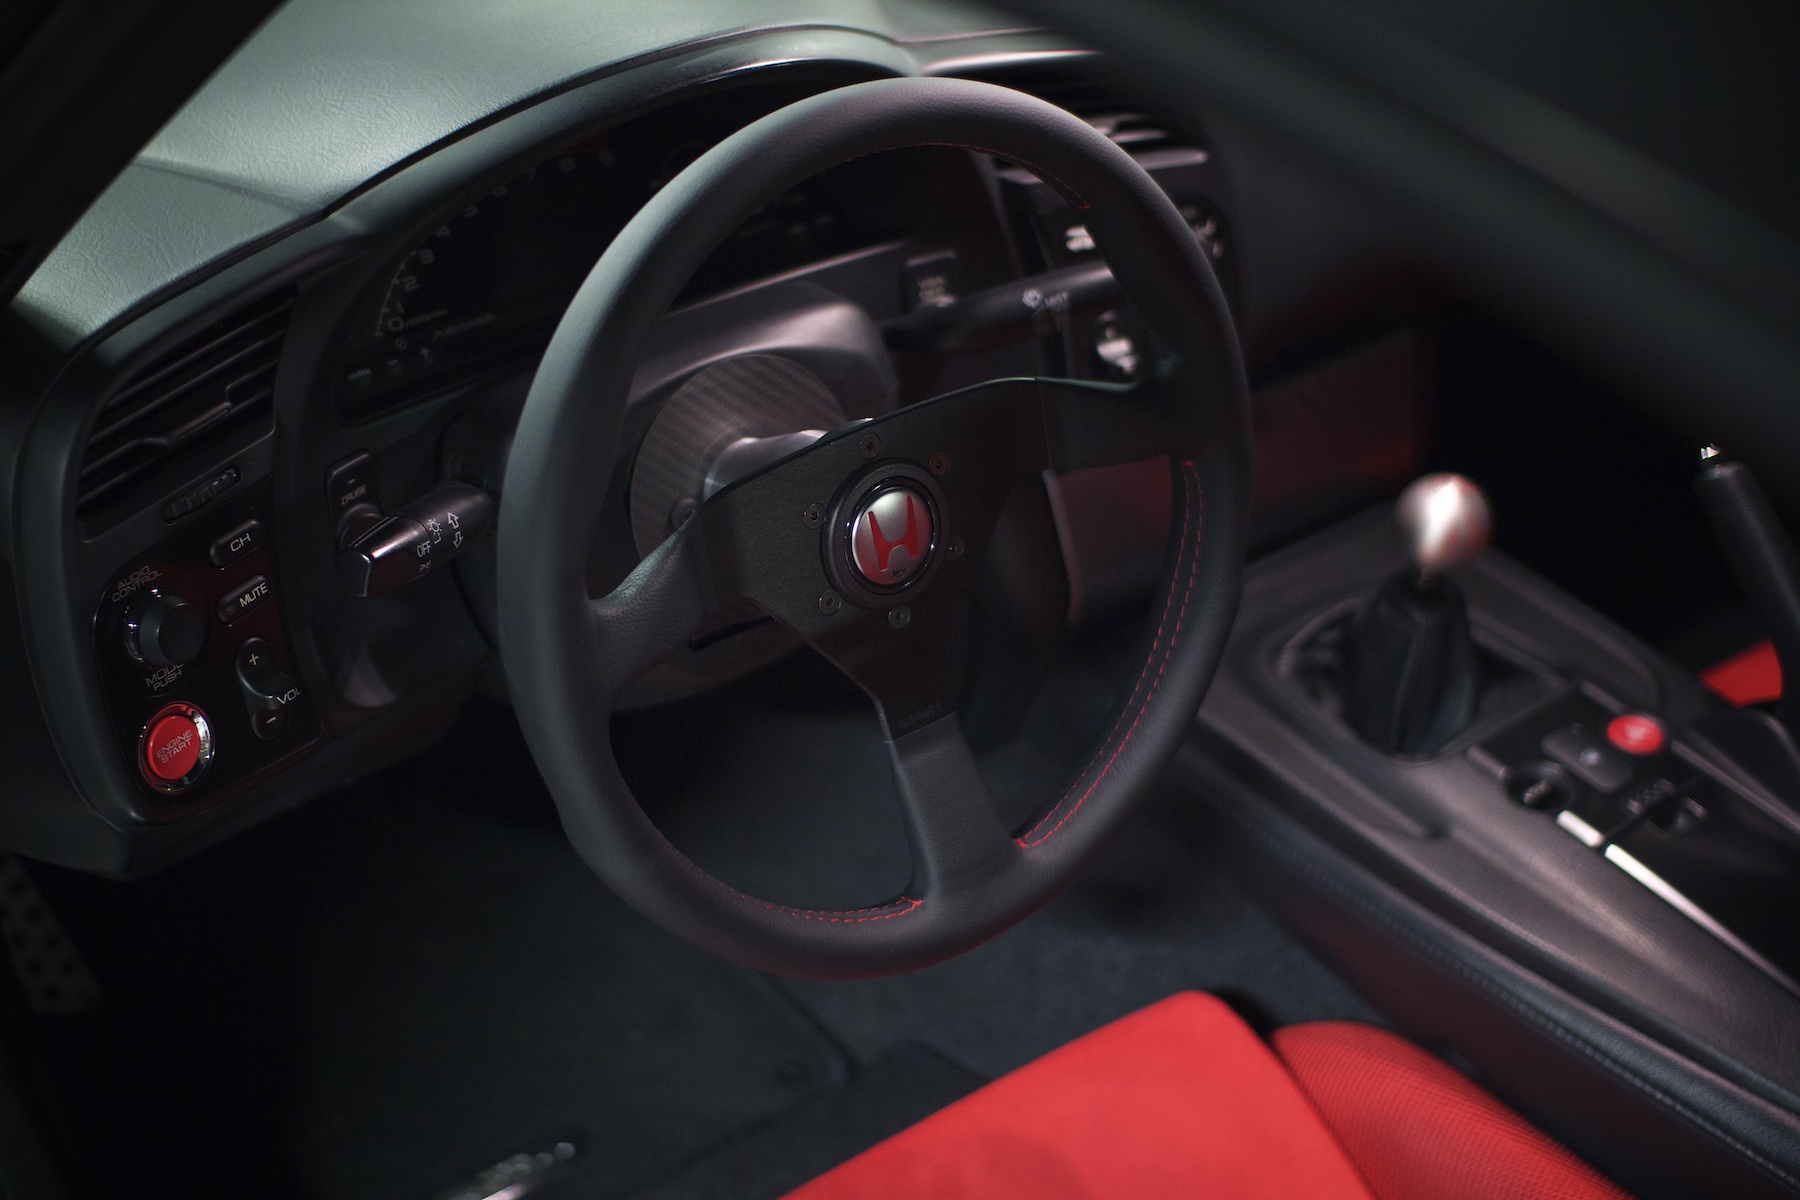
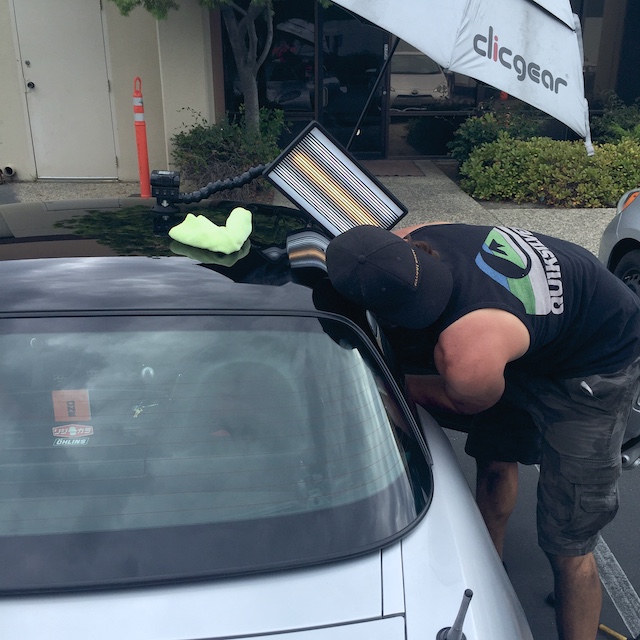
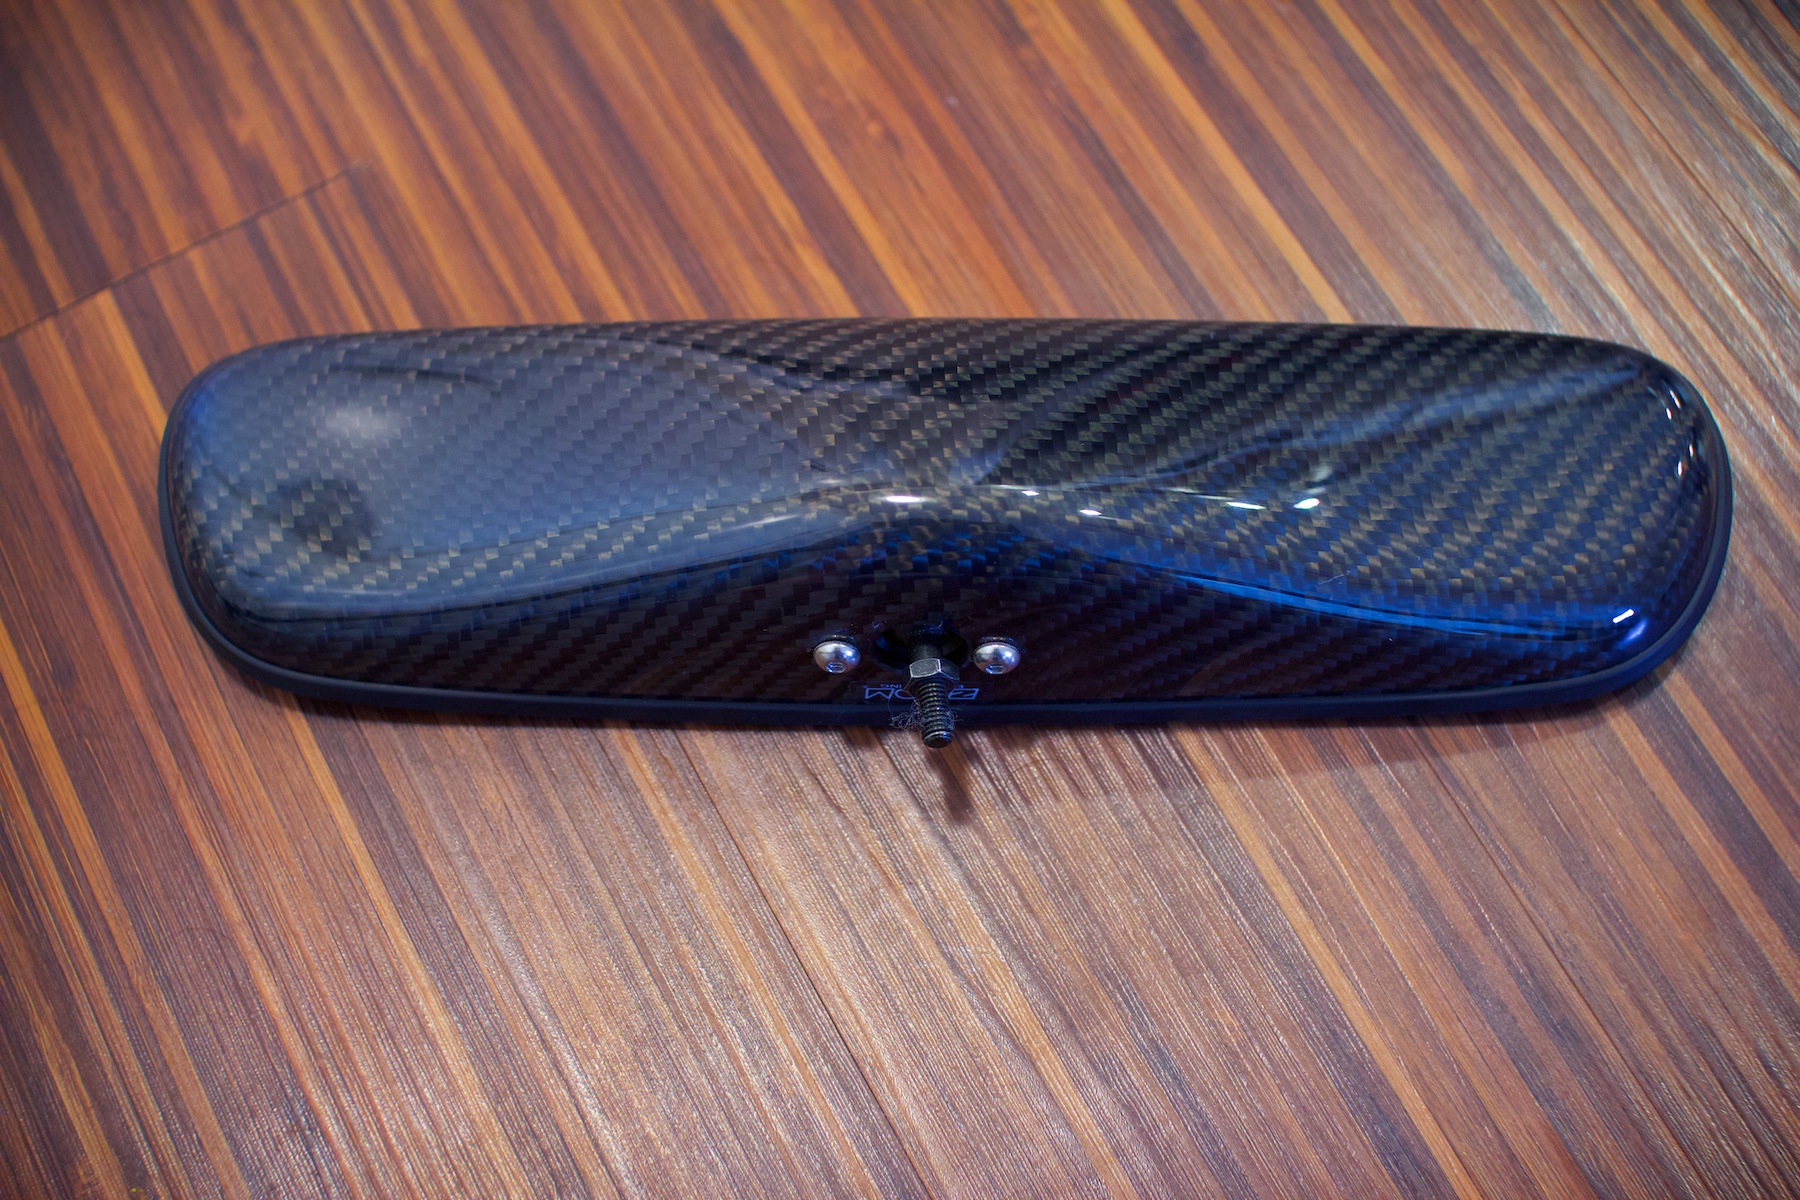
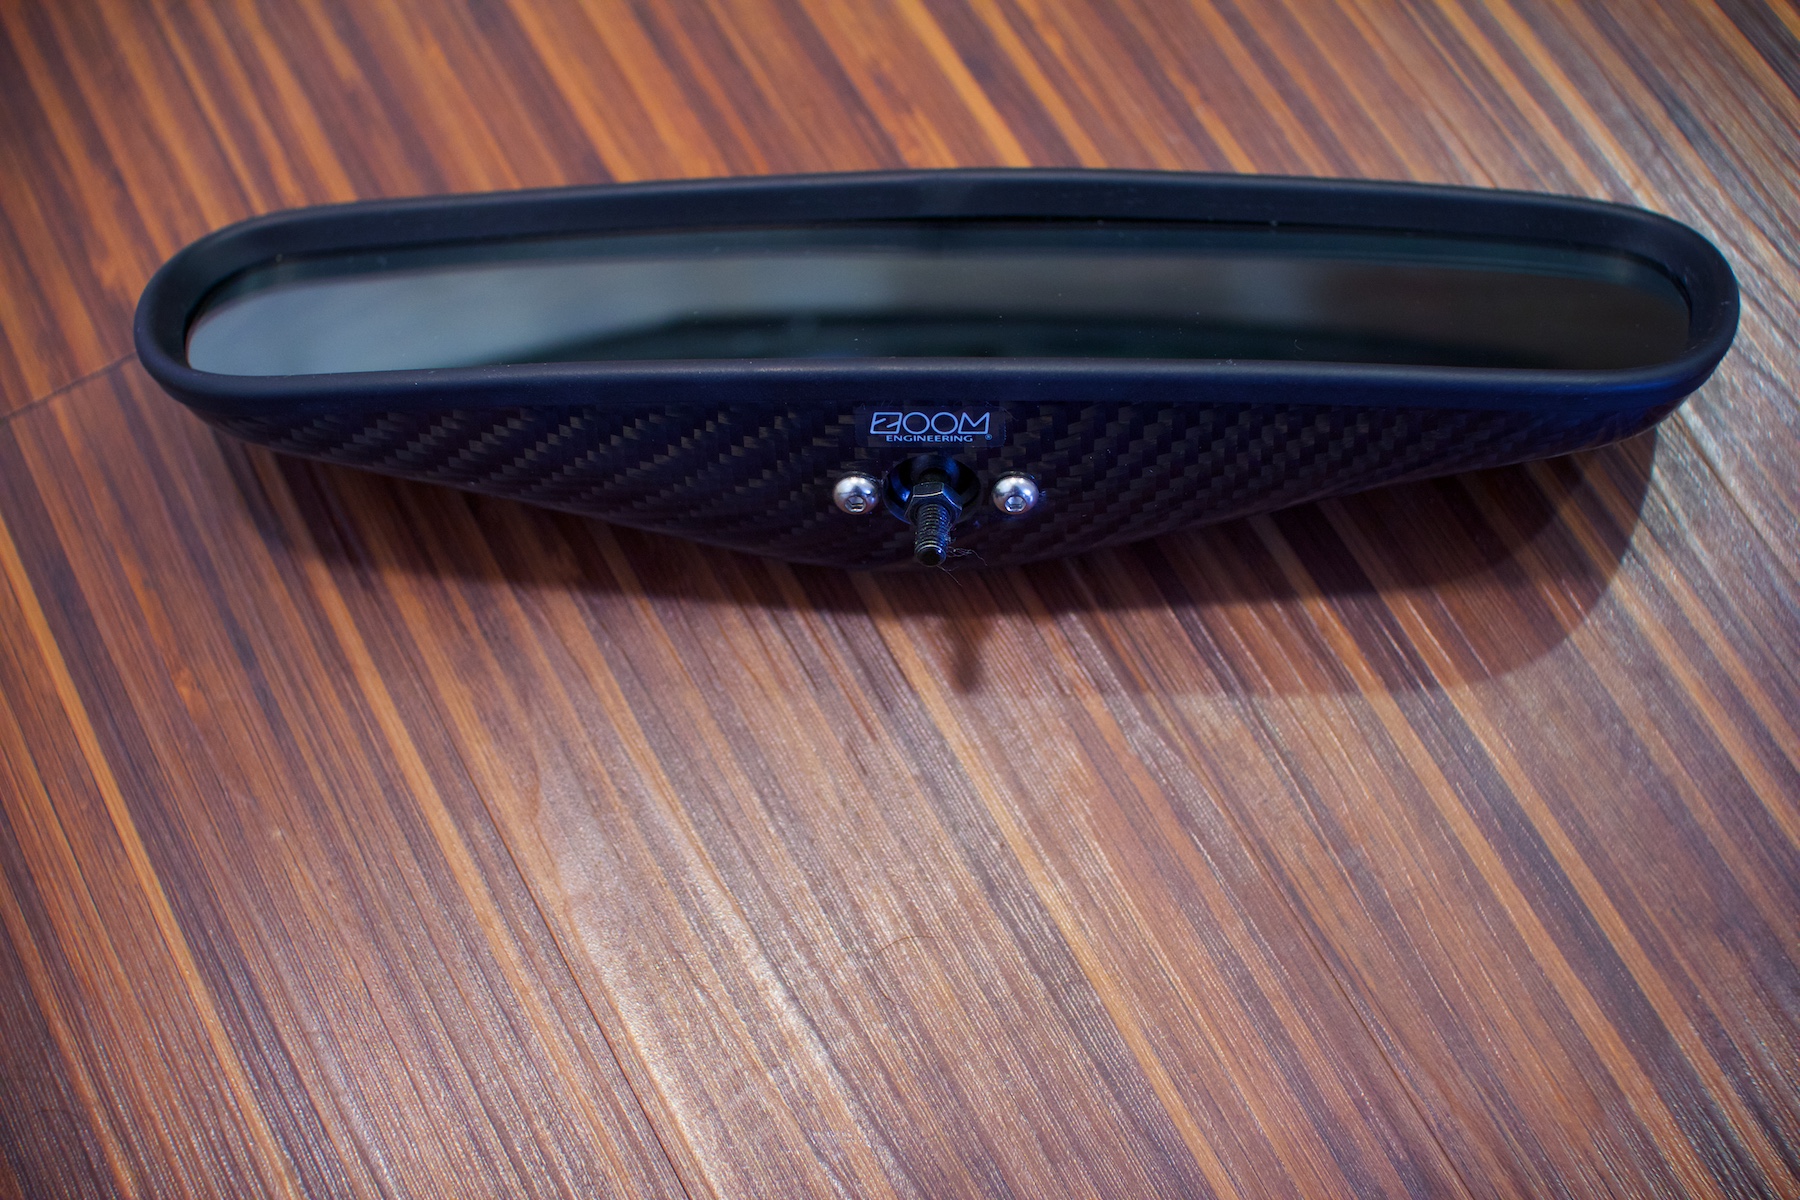
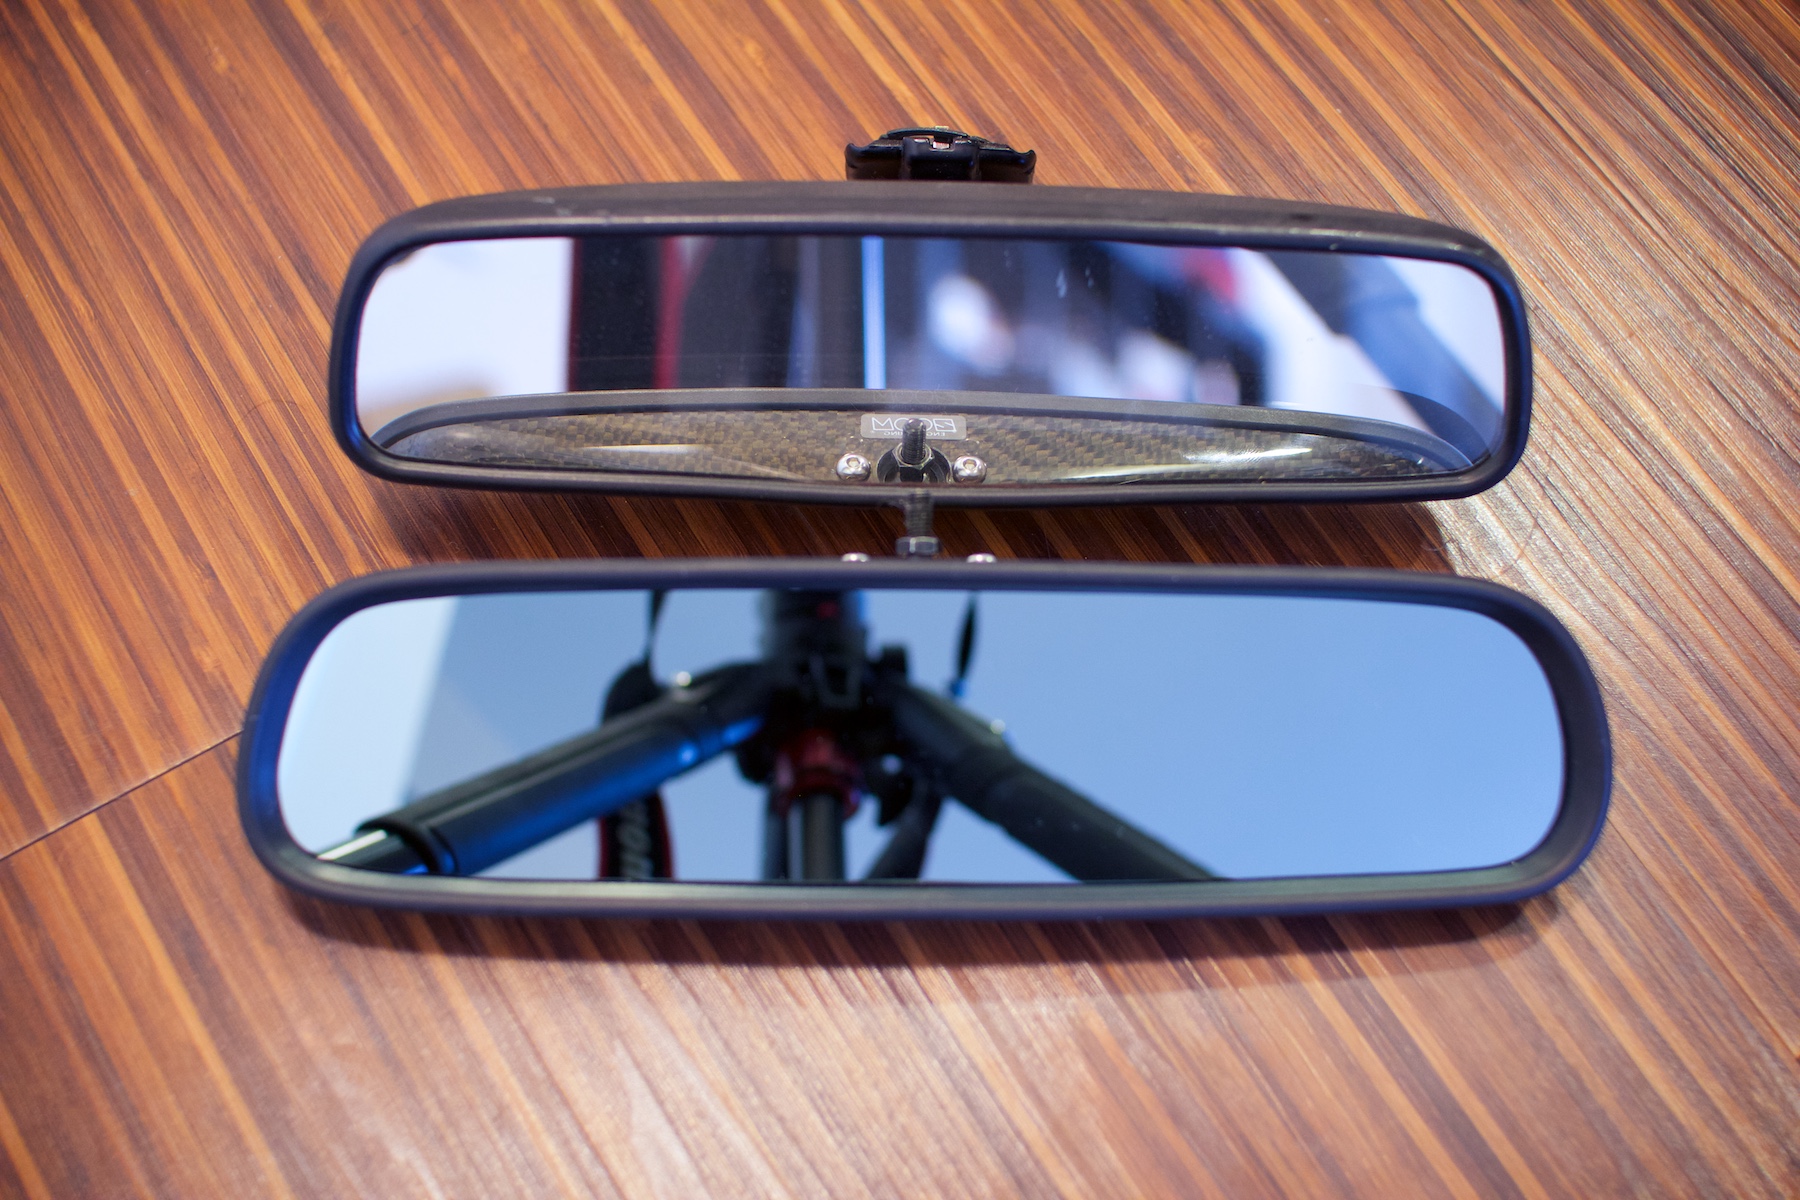
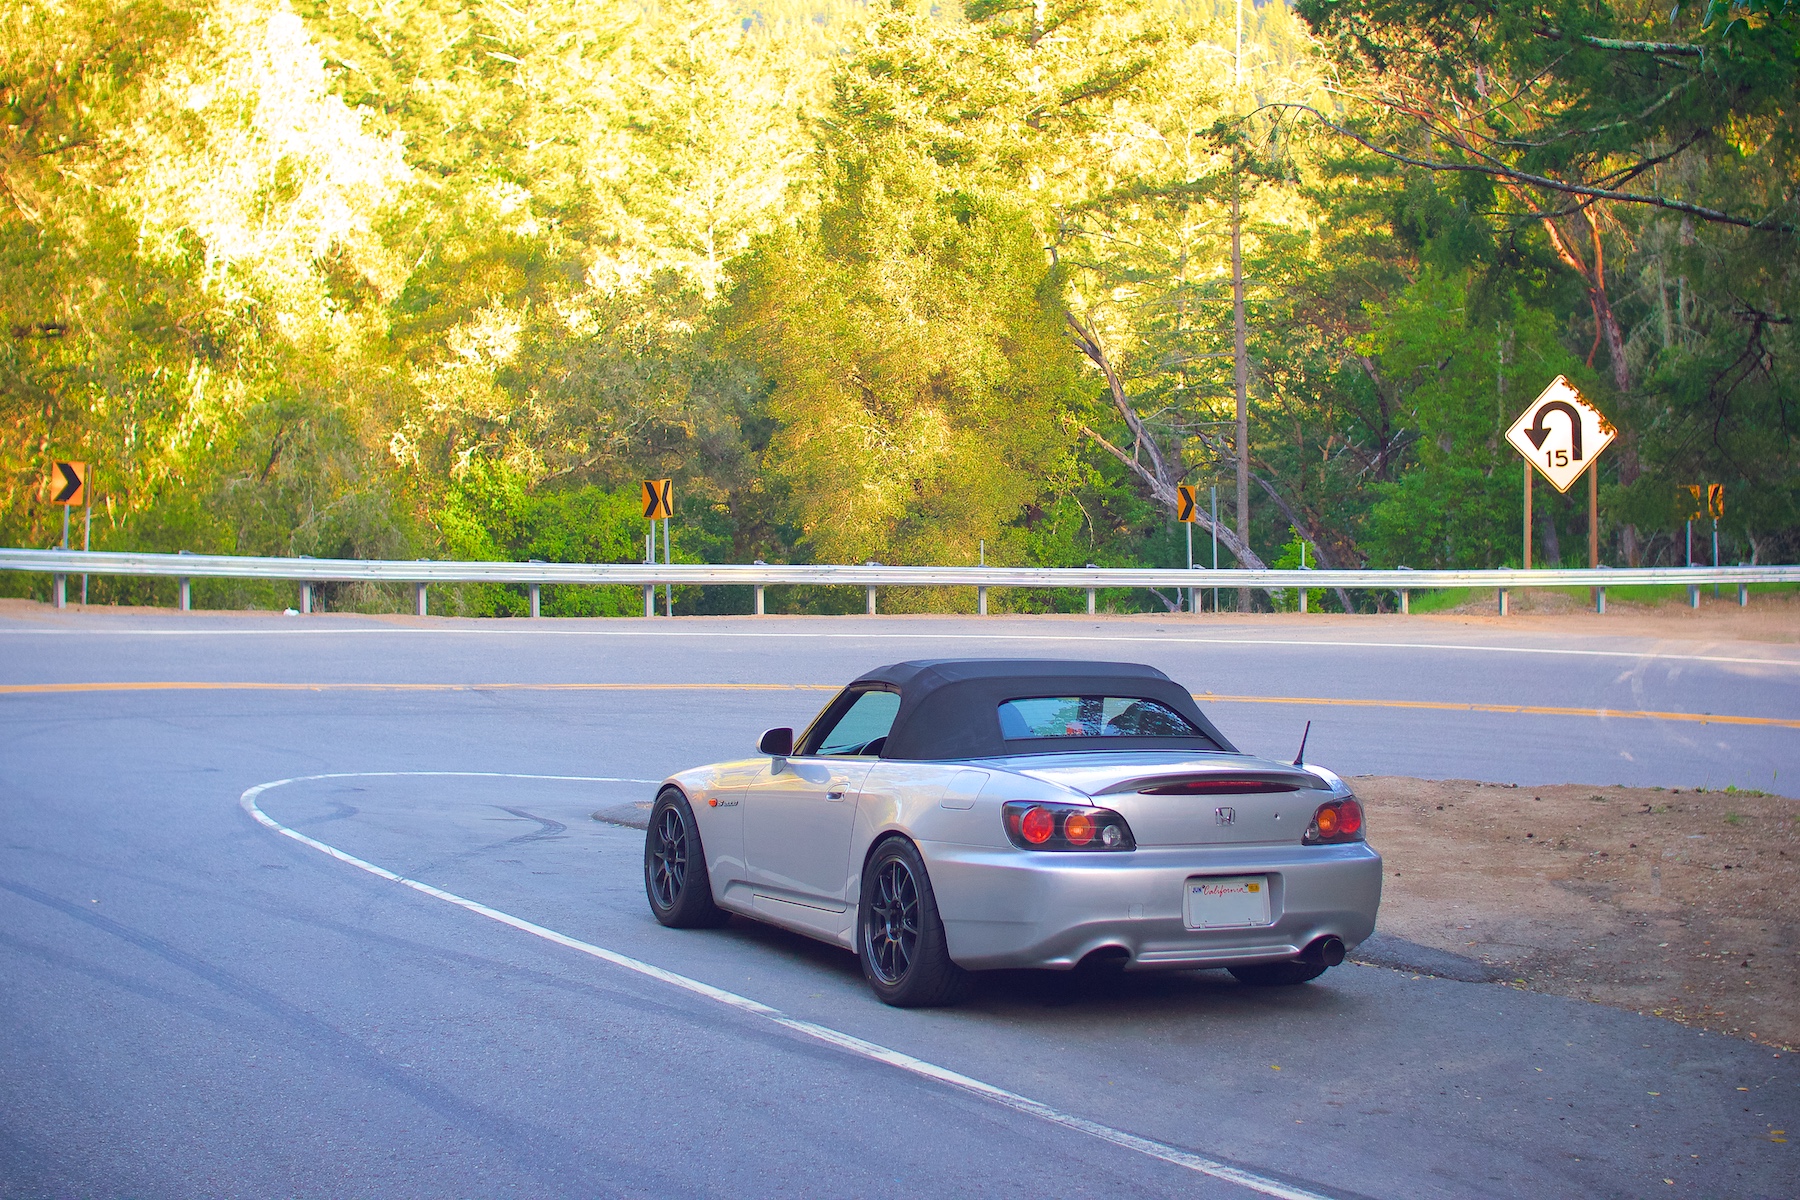
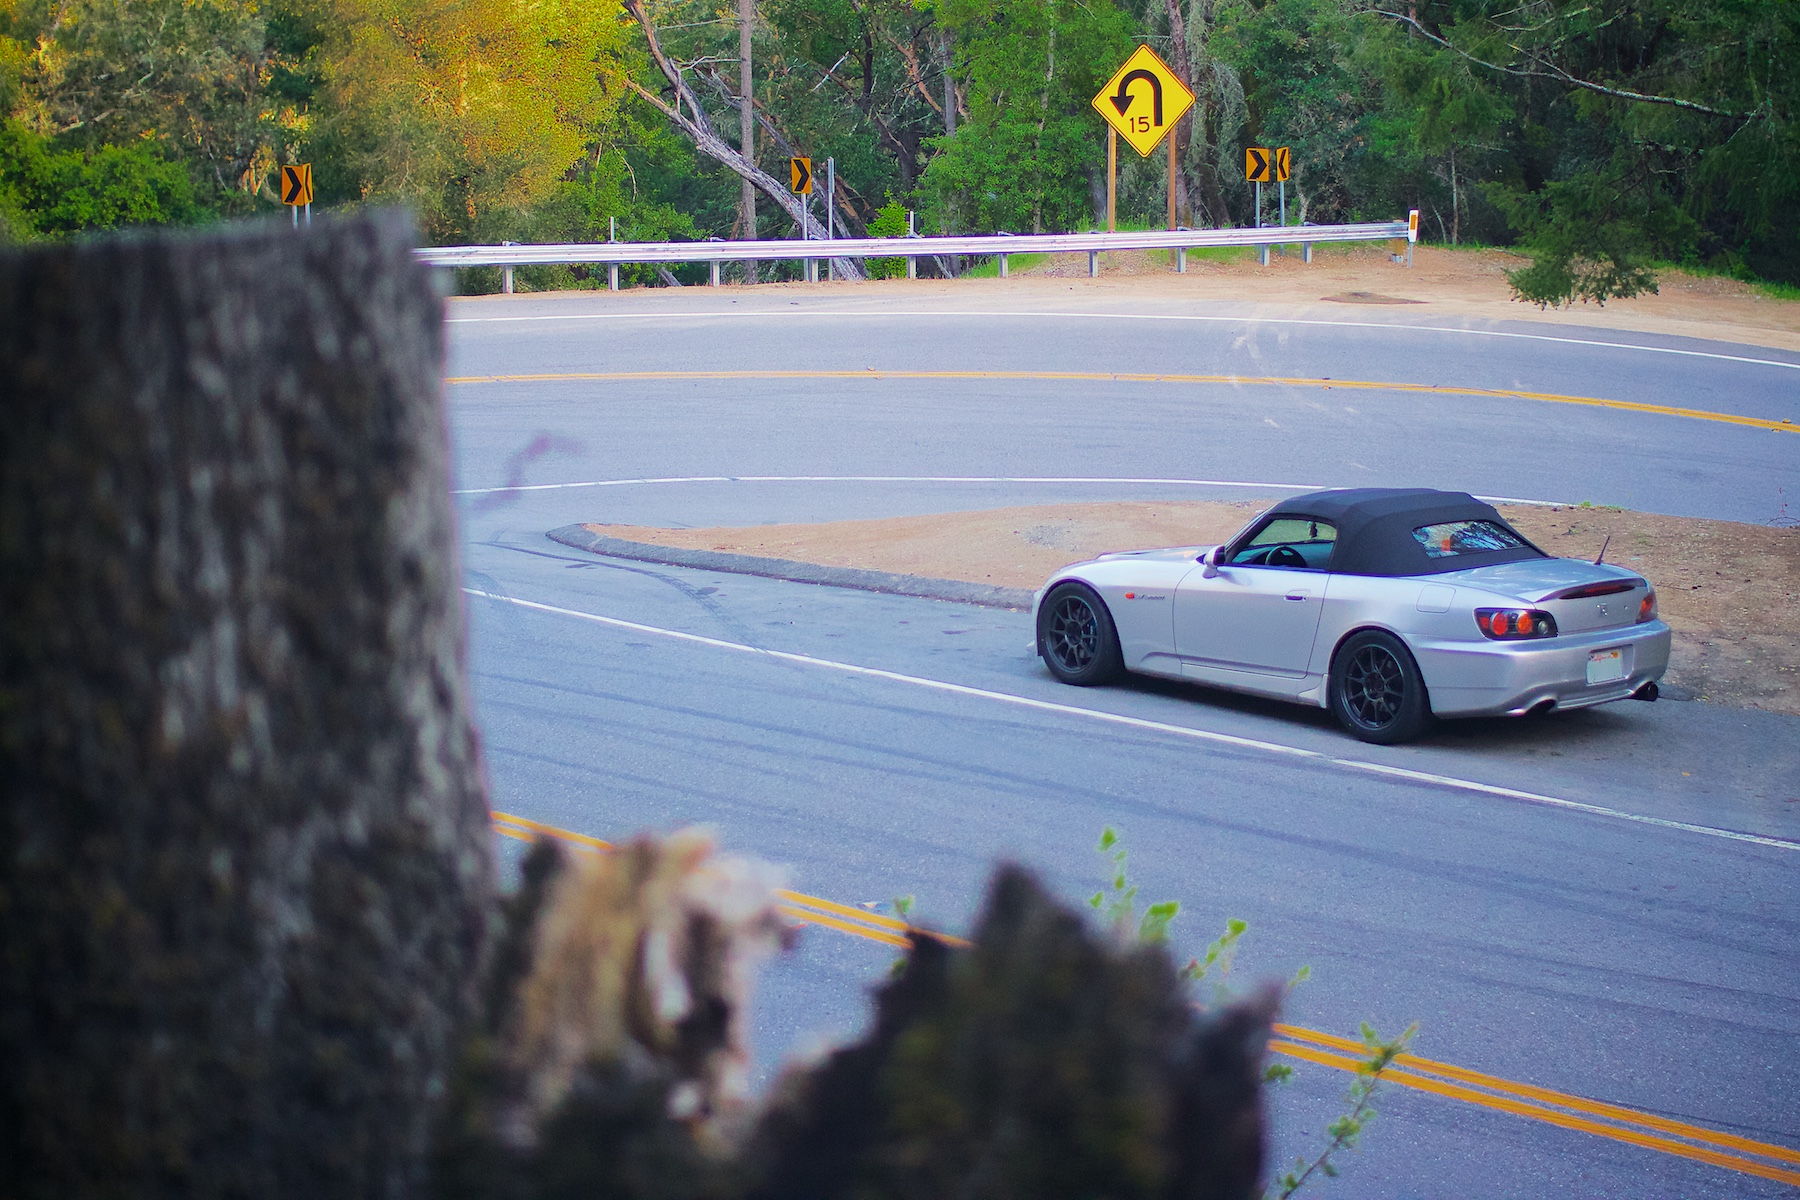
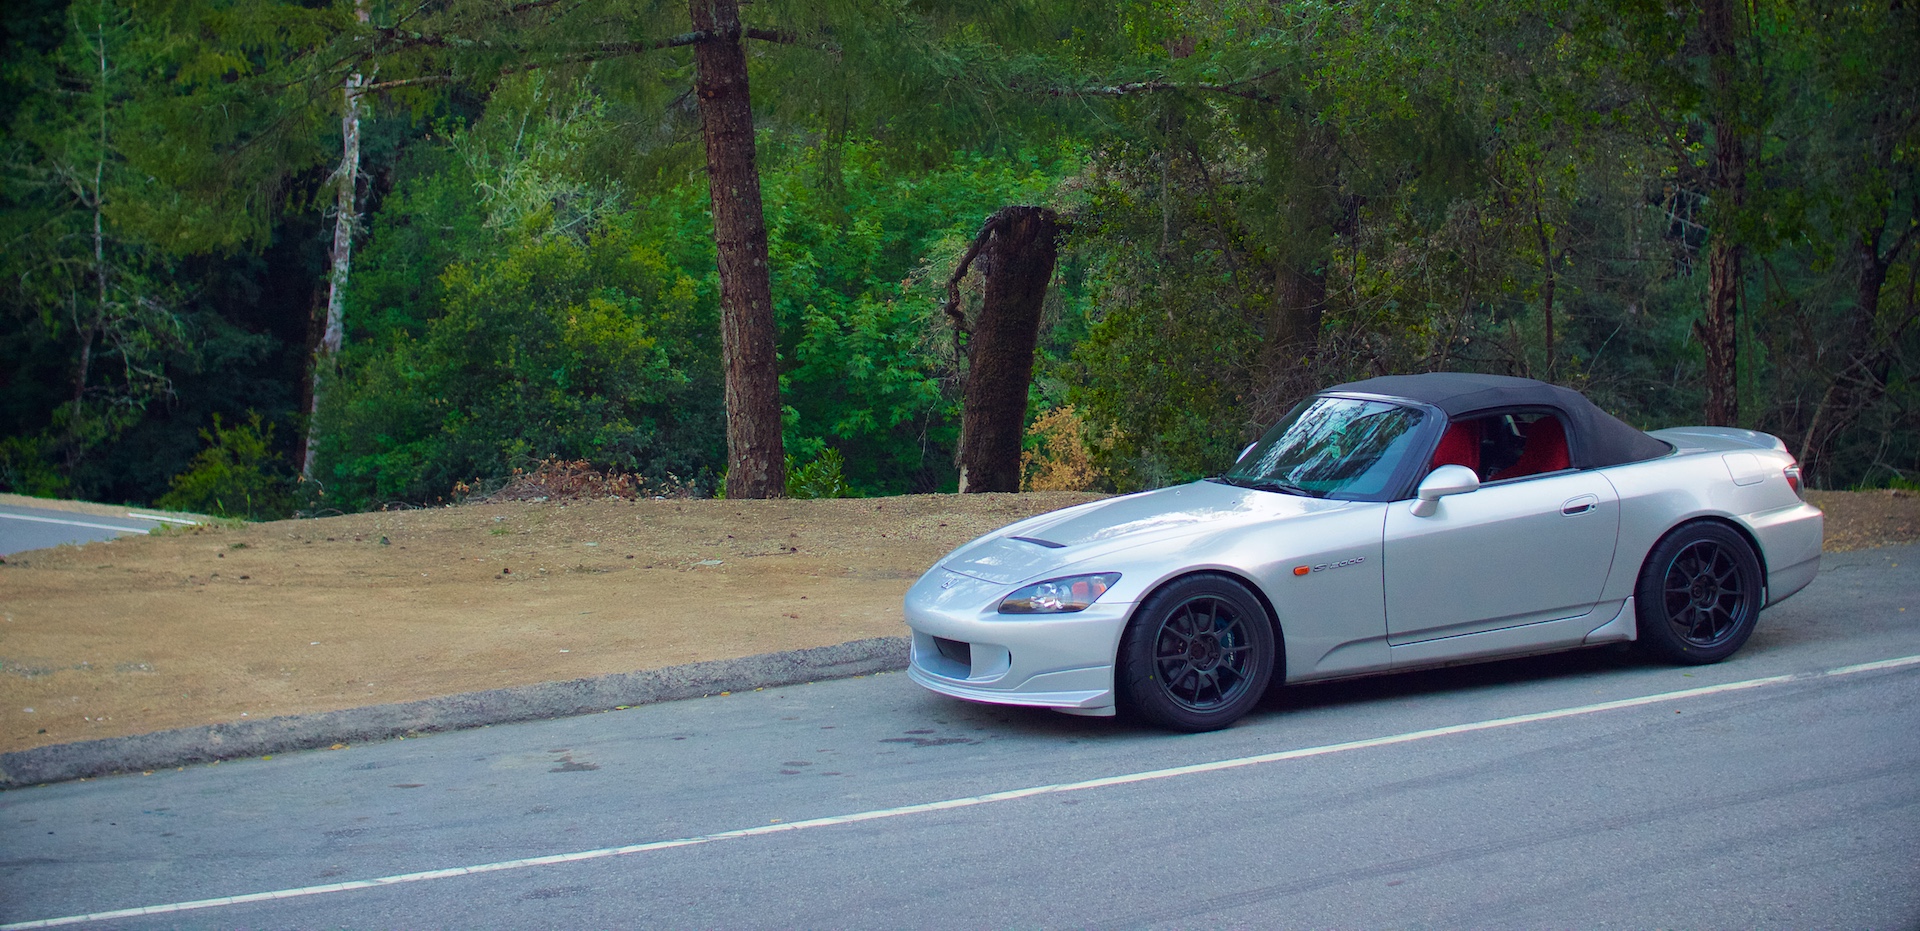
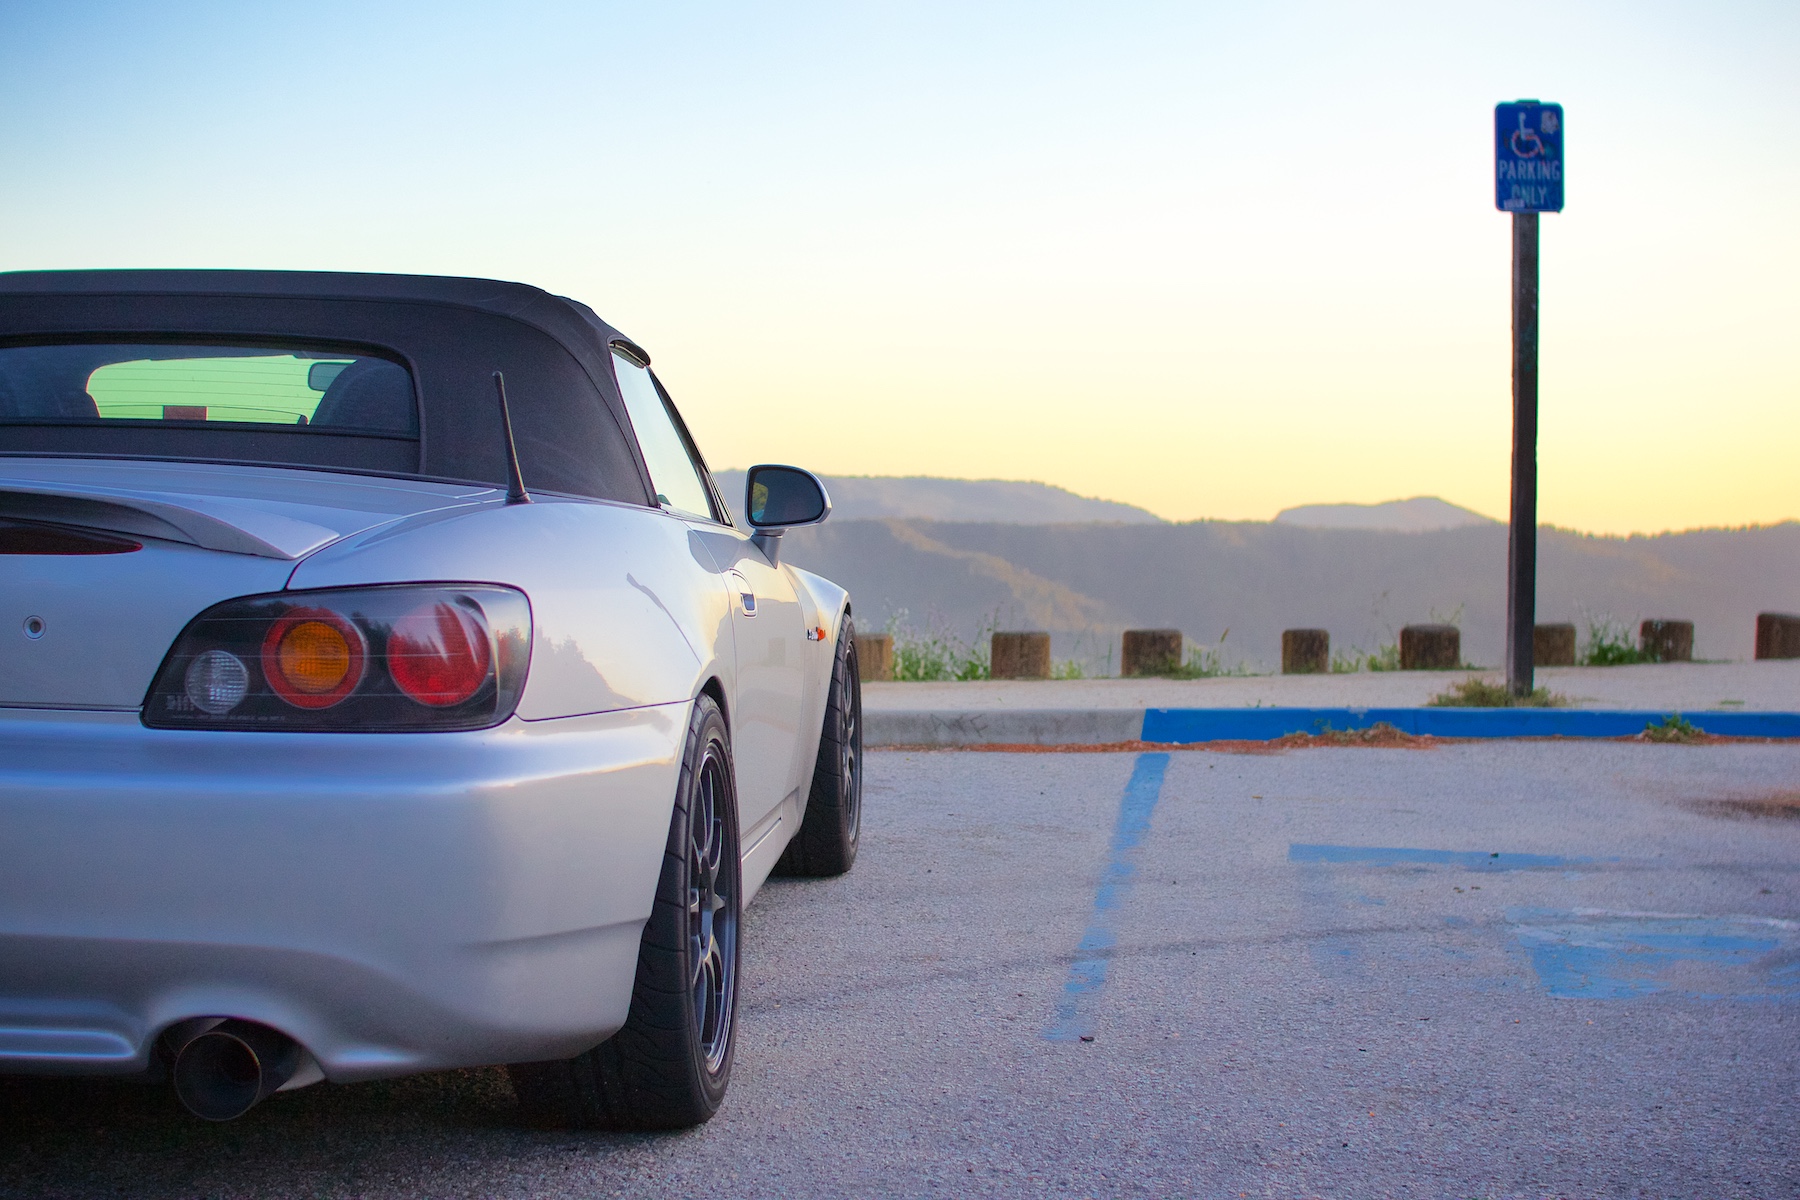
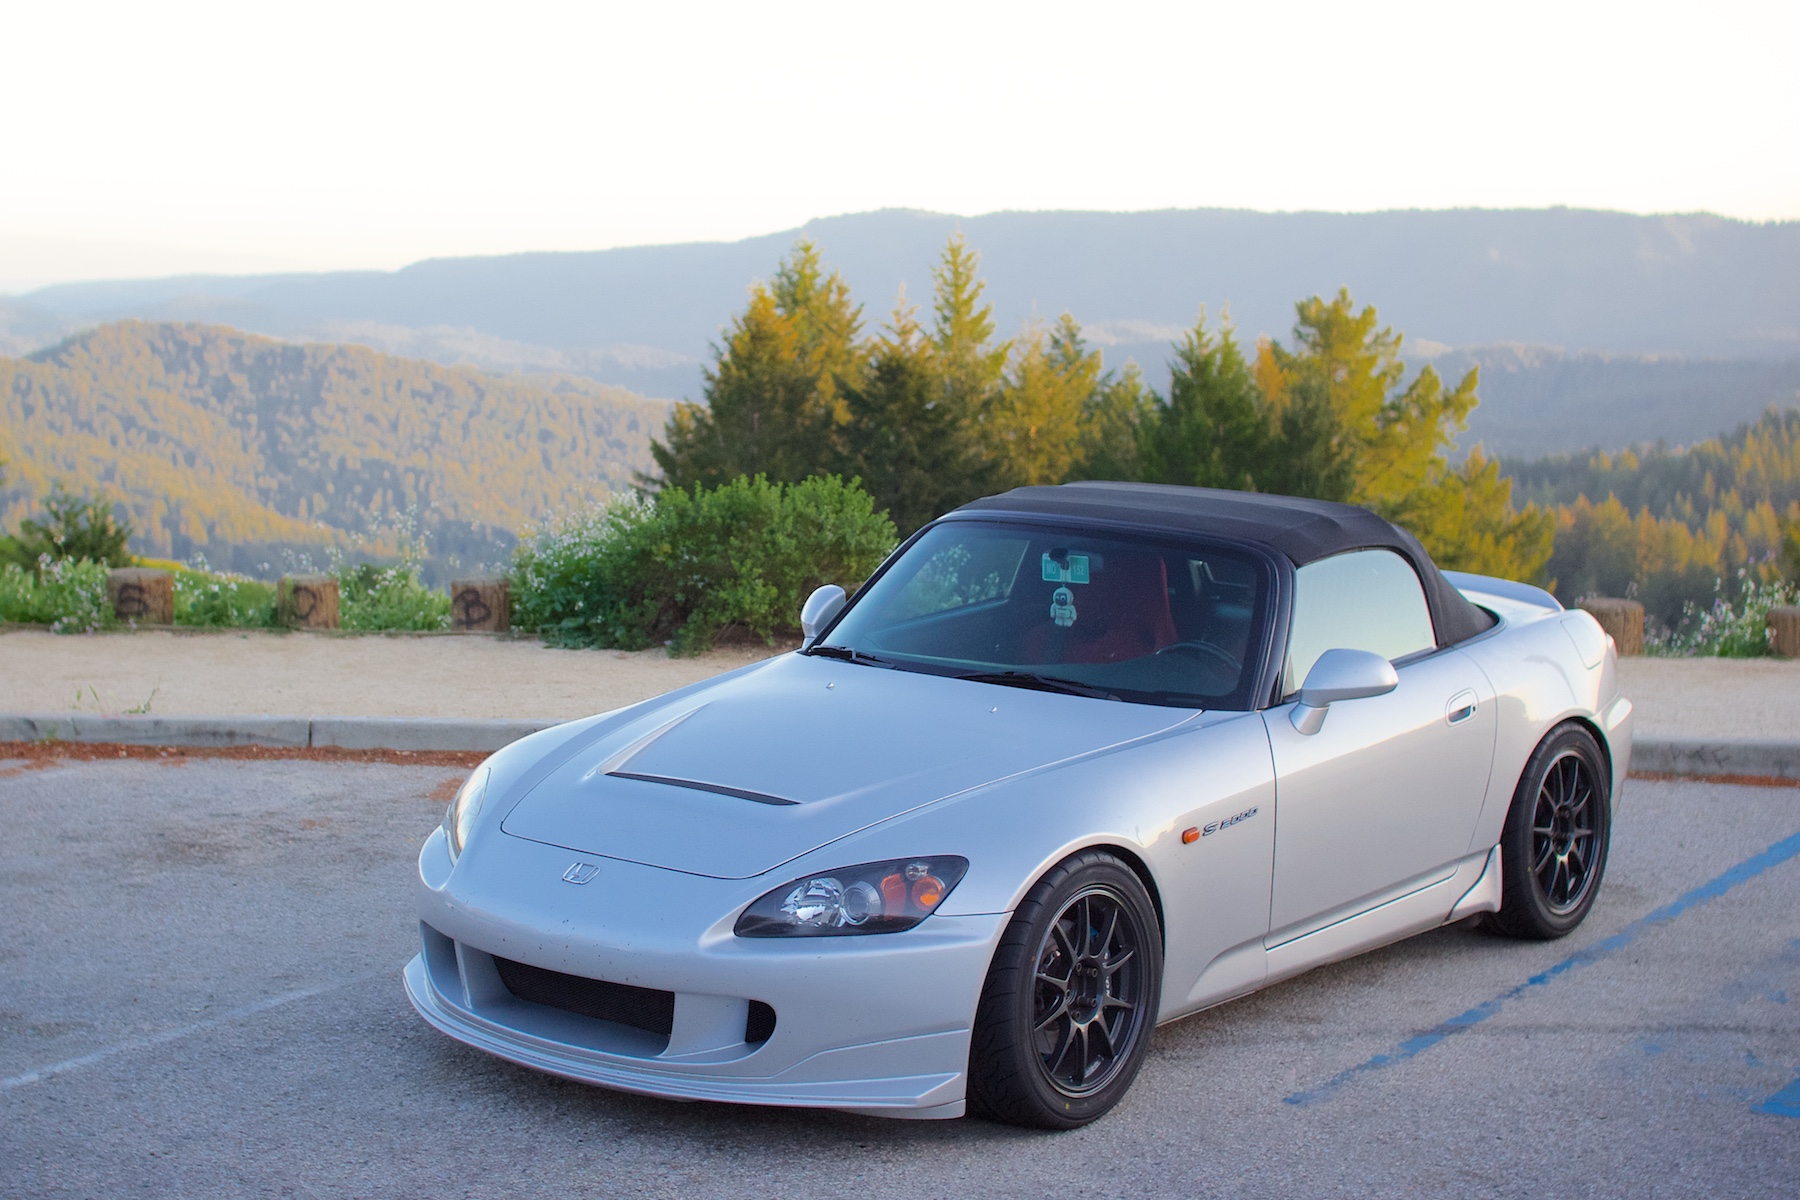
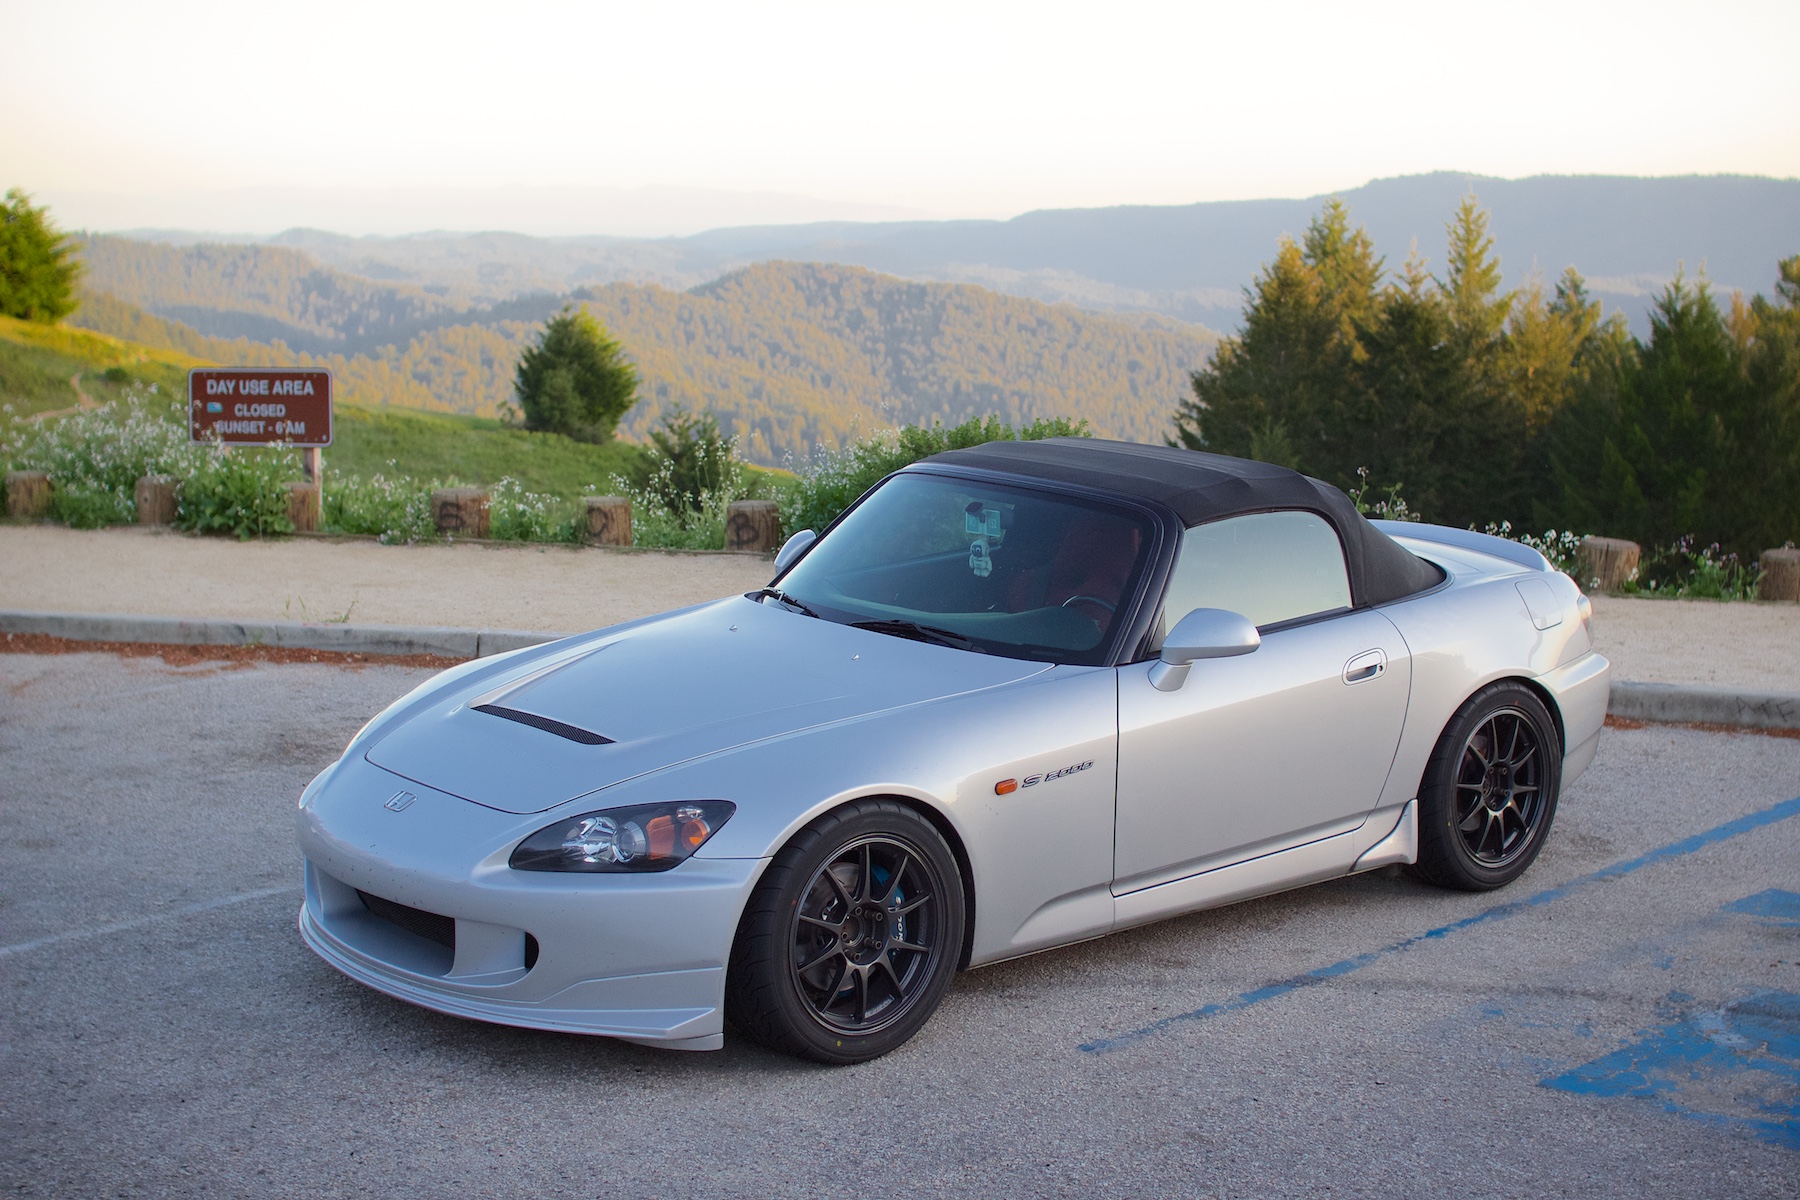
Here are some photos from the time I spent yesterday testing out the car:

Image

Image

Image

Image

Image

Image

Image

Image

Image

Image

Image

Image

Image

Image

Image

Image

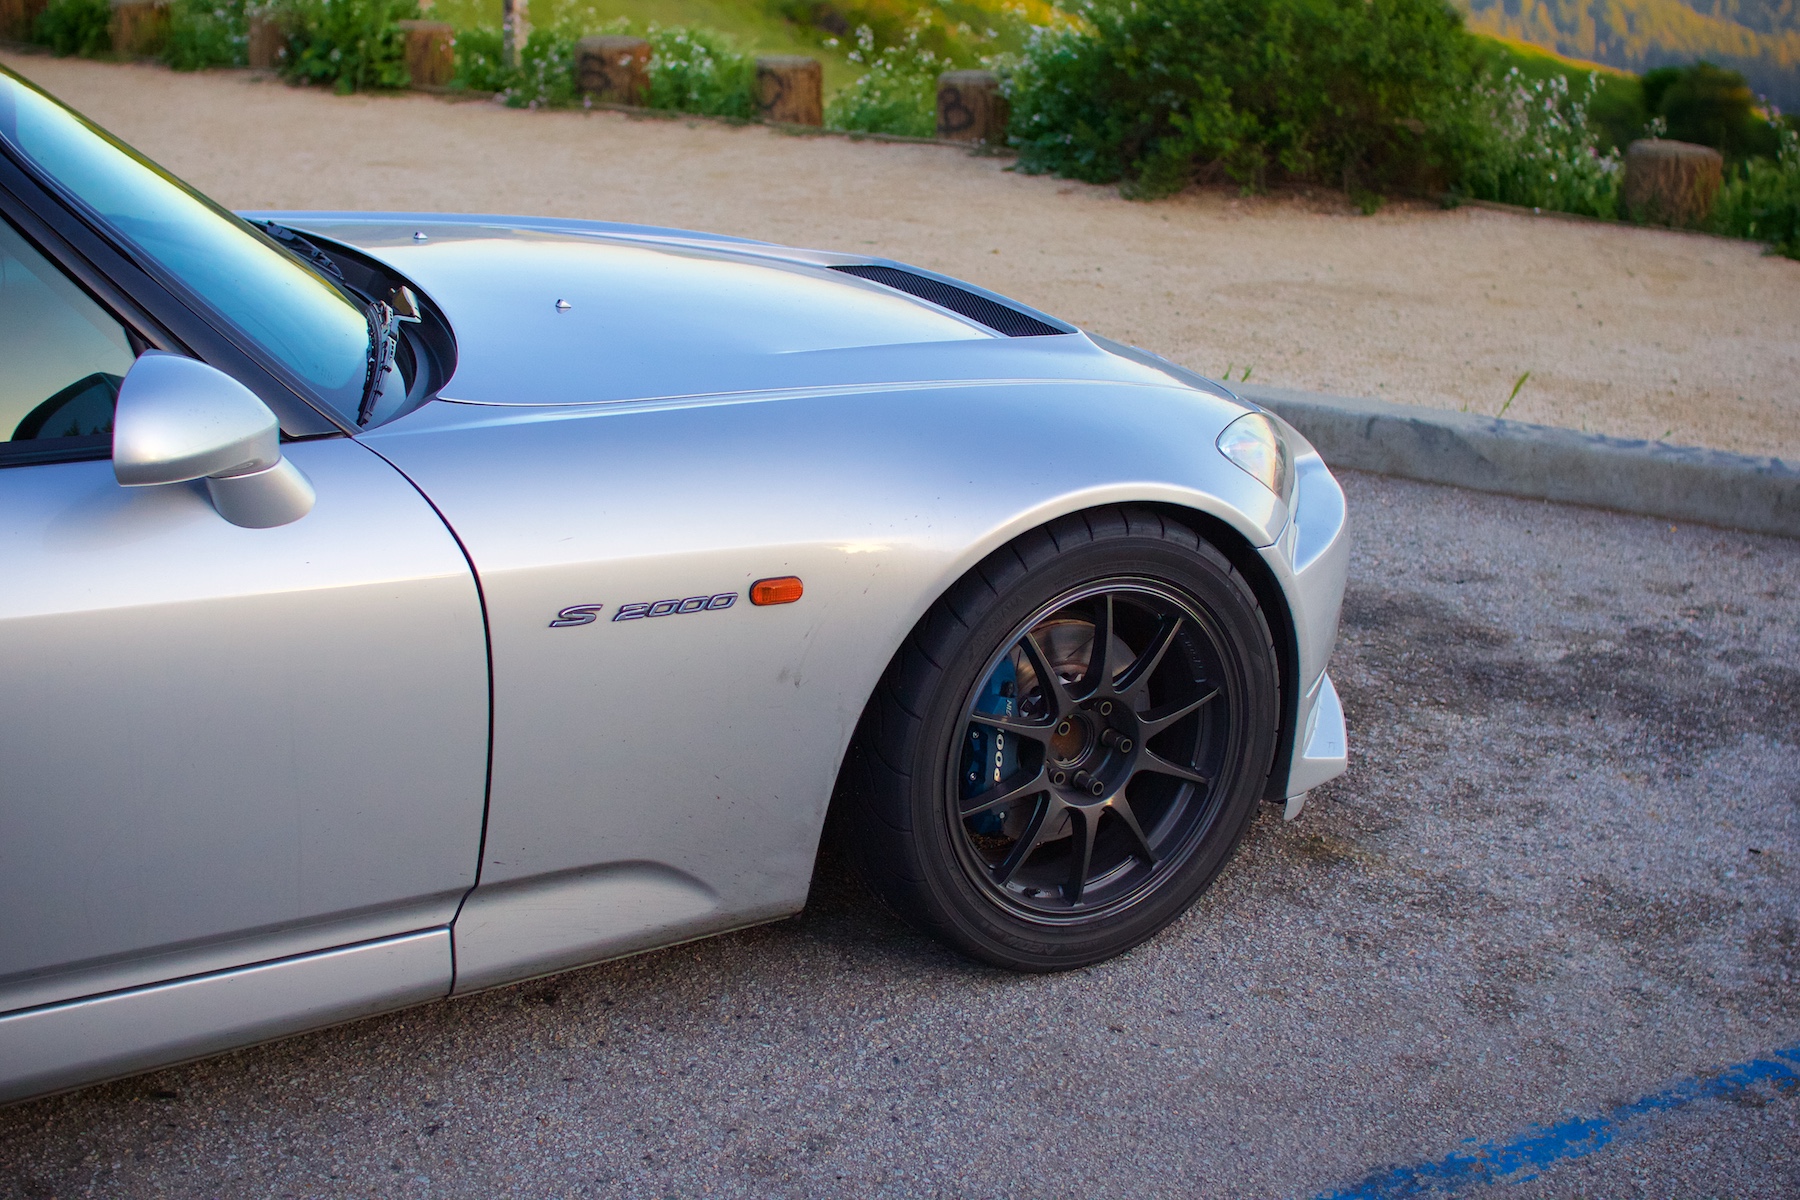
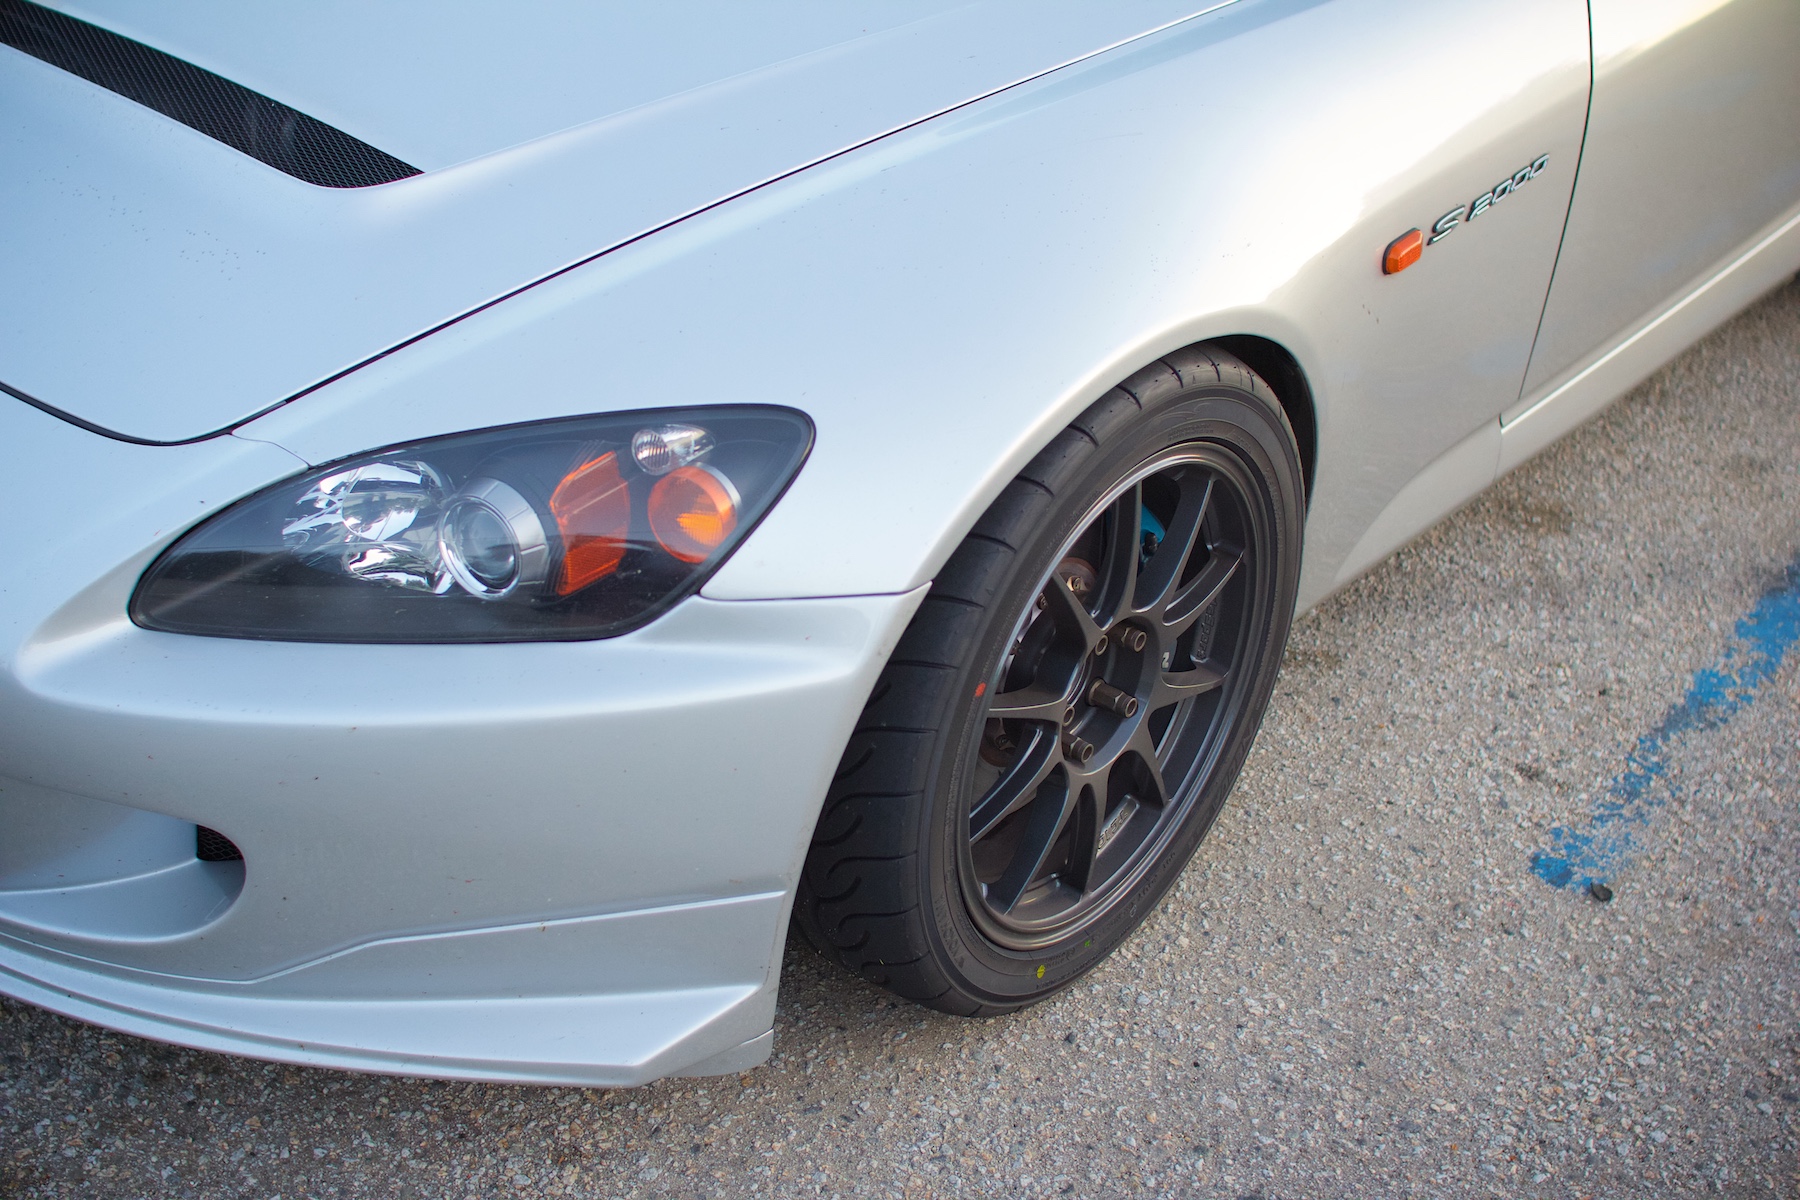
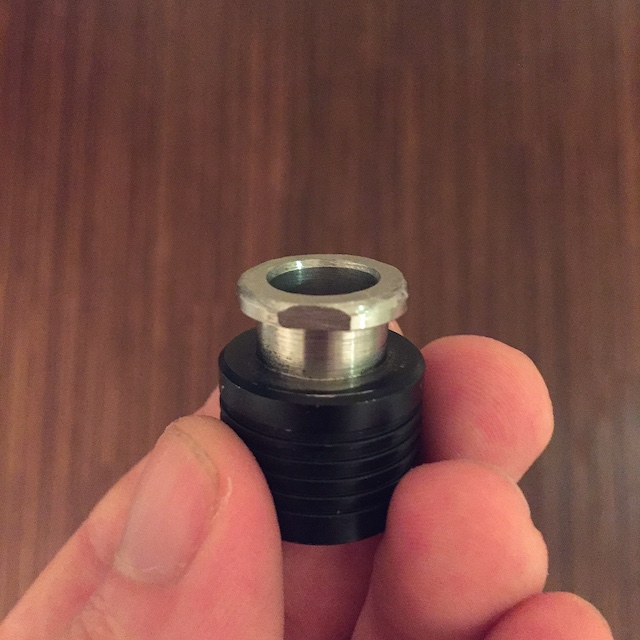
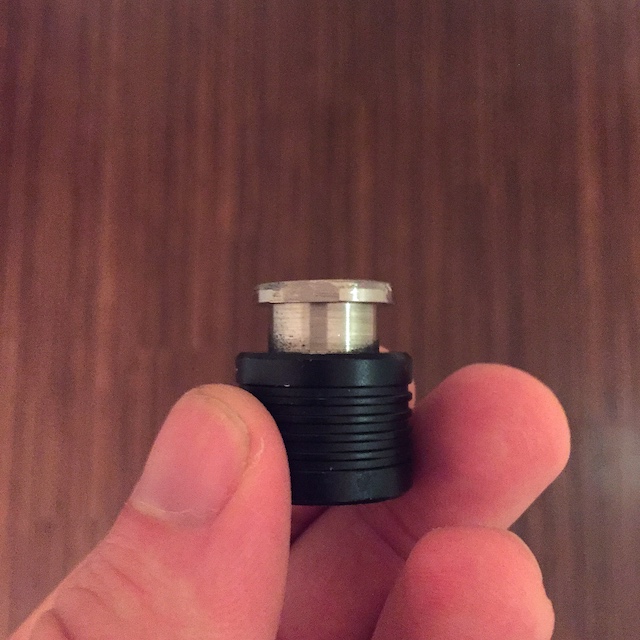
And now for the brakes. Look, I don't mean to be rude, but all the people who say the Spoon calipers are not worthwhile and don't make a difference are stupid f@#king idiots and they clearly don't drive enough and you shouldn't listen to anything they say about cars. If all you do is dick around driving the car around town you don't need better calipers, you just don't. If you do anything beyond that, and spend anytime exploring the limits of the car (the limits of the car, the S2000, not your limits of your ability) the one complaint you would have about the S2000 is the inconsistency in the front brakes. The feel of the brakes is actually quite good in the S2000 from the factory, but once you really get into it and understand what the car can do you will discover all of these little annoyances that can really start getting in the way of having fun driving the car hard. Number one being the play in the sliding caliper. I think what I experience with the OEM calipers is the entire floating portion of the caliper flopping around slightly under lateral load. Especially with well used pads. The g-force through those corners has now created a nice gap between the piston and pads, and when you brake hard after the long straight you are on the pedal will not be as consistent and there will be a slight delay before you are getting into the initial bite of the pad. Similar to when you are changing brake pads and push the piston back into the caliper further than needed and the pedal drops to the floor until the system is primed. It is either that or the pins consistently get gunked up and don't allow the caliper to properly 'float'. With the Spoon calipers this just doesn't happen. Driving the car for hours yesterday and I never once experienced the inconsistency I came to expect from the OEM single piston sliding calipers. I don't think the S2000 necessarily suffers from pad knock back like other cars that have fixed calipers due to various components flexing, I think the entire caliper just has too much free play, especially when pads are nearly finished.

The difference in pedal feel is quite noticeable as well under threshold braking, especially when getting into the ABS. There is never any vagueness as to what is going on with the brakes. The feel is good. It's real good. There isn't really anything I can complain about. Brakes still feel great under normal driving conditions, and remain totally consistent when pushing hard. The only thing you have to think about is the amount of heat in the pads, nothing more. I feel that I generally use less pedal travel to get the same amount of braking, which is probably due to both the calipers and increased front contact patch. I f@#king love these calipers. Highly recommended.

I got some pretty good video from yesterday as well I will get posted up for anyone that wants to check that out. Anyone in the bay area that would like to go for a ride in my car I would be happy to oblige.
o_O S2000 | Mark I Stage II...

That’s thirty minutes away. I’ll be there in ten.
User avatar

Topic Author
andrewhake
Admin
Posts: 580
Joined: Oct 2016
Location: Mt. __________
Contact: YouTube IG
United States of America
#137

05-16-2015

OEM hardtop installed!

The rare occasion where I get a part and it goes on immediately! Drove up to Sacramento to pickup a berlina black OEM hardtop this morning. Found a top that is in very good condition. Interior liner is perfect, and a few minor dings that I am going to have PDR'd out. The rear window is also tinted which I have already setup an appointment to remove. I am more of a fishbowl fan myself. Although having the rear tint would have some benefits for driving with my friends as we always run with brights on in the mountains. I think my preference for how the car looks without tint will win out though. I installed my new catchers before going to pickup the top and I installed the new hard top latches I had already purchased when I got home and everything fits beautifully with no rattles or wind noise or anything. Really makes the car feel incredibly solid even just closing the door. Feels like a little more headroom but that is probably just due to not having precarious metal framework around my head.

I went out with my camera to take some photos but I managed to forget an SD card so here are some phone pictures to tide everyone over for now:

Image

Image

Image

Image

Image

Image

Image

Image

Image

Image

Image

Image

Image

Image

The car looks incredible now. Definitely glad I went this route. The thing that really pushed me back towards the OEM top was having the large rear glass window. I was also thinking that if I get an OEM top I might be more motivated to pickup the Challenge OEM top and swap everything over. For some reason that seems like less of an undertaking when it is just swapping stuff from top to top and not doing it all from scratch. A 1x1 weave Challenge hard top is still a very likely possibility for this car. I think I would just keep this OEM shell with it's glass installed, get the Challenge and new glass and all the parts needed for the glass and rear seal. Then just swap over all the interior and other minor parts. I am fine with having an aluminum OEM shell if anything were to ever happen to the CF shell. Plus it would just motivate me more to get a second S2000. :)

I am thinking I might have to take some time and mount the Spoon mirrors while they are still black just to see how the full NSX-R style roof/mirror treatment would look on the car.
o_O S2000 | Mark I Stage II...

That’s thirty minutes away. I’ll be there in ten.
User avatar

Topic Author
andrewhake
Admin
Posts: 580
Joined: Oct 2016
Location: Mt. __________
Contact: YouTube IG
United States of America
#138

05-18-2015

For those interested here is the hardtop with rear tint removed:

Image

Image

Now that this has been taken care of I will go out and get some good pics with the real camera.
o_O S2000 | Mark I Stage II...

That’s thirty minutes away. I’ll be there in ten.
User avatar

Topic Author
andrewhake
Admin
Posts: 580
Joined: Oct 2016
Location: Mt. __________
Contact: YouTube IG
United States of America
#139

05-20-2015

Ray's CE28N 17x9.5 +47

Image

Image

Image

Image

The unicorn wheels arrived at long last! After nearly a year of looking for a used set of wheels in this spec and trying to make offers to people that had them, I realized that the best solution was to just find a way to get more made. And through some miracle that actually happened. Luckily there were plenty of others who have great taste in wheels and we were able to get them for a great deal.

I ended up getting an extra pair so I have spare wheels if anything ever happens to these. No they will never be for sale.

15.9lbs

Image
o_O S2000 | Mark I Stage II...

That’s thirty minutes away. I’ll be there in ten.
User avatar

Topic Author
andrewhake
Admin
Posts: 580
Joined: Oct 2016
Location: Mt. __________
Contact: YouTube IG
United States of America
#140

05-22-2015

Upgraded my sound recording setup with a new Rycote Lyre mount for my Tascam DR-100 MKII and a Rycote wind jammer as well.

Image

The plan is to try to get good sound from the Modifry wind screen mount in between the seats to get a much better stereo effect. I haven't been able to do this mounting the sound recorder to the Modifry mount directly because there is too much noise transferred into the recorder. This mount should take care of that and the wind jammer should help bring down the white noise a bit. Looking forward to testing this out tonight.
o_O S2000 | Mark I Stage II...

That’s thirty minutes away. I’ll be there in ten.
User avatar

Topic Author
andrewhake
Admin
Posts: 580
Joined: Oct 2016
Location: Mt. __________
Contact: YouTube IG
United States of America
#141

05-26-2015

I caught a pretty nice sunset while out for a drive today so I stopped and took some photos.

Image

Image

Image

Image

Image

Image

Image
o_O S2000 | Mark I Stage II...

That’s thirty minutes away. I’ll be there in ten.
User avatar

Topic Author
andrewhake
Admin
Posts: 580
Joined: Oct 2016
Location: Mt. __________
Contact: YouTube IG
United States of America
#142

06-18-2015

I wasn't on vacation I was traveling for work. My friend finished up detailing my car as well on the day I got back. He did a pretty thorough paint correction, applied a fancy new coating, steam cleaned the interior and set me up with a really simple regimen to keep the car clean from now on. I will get some much better photos with my real camera of course but the car is looking better than ever!

Image

Image

I will be trying to get the CEs on asap but not sure exactly when it will happen yet.

I made a gif of the before and after my friend took of the trunk.

Image

Swirls are definitely harder to see on a light silver car, but they definitely effect the way light reflects off the paint and make it much cloudier. It's pretty amazing how much everything pops after the correction and the coating.
o_O S2000 | Mark I Stage II...

That’s thirty minutes away. I’ll be there in ten.
User avatar

Topic Author
andrewhake
Admin
Posts: 580
Joined: Oct 2016
Location: Mt. __________
Contact: YouTube IG
United States of America
#143

07-02-2015

It's always frustrating to get the supporting parts before you get the main parts in. ASM steering hub.

Image

Getting parts from ASM always feels like you are getting a shipment of parts for your F1 car. Everything always exceeds expectations. It looks like they worked with Works Bell on this hub. The main section of the hub is clearly labeled the same as other WB hubs, but ASM's own unique design.

I should get the other parts of this puzzle tomorrow if the shipping info is accurate.
o_O S2000 | Mark I Stage II...

That’s thirty minutes away. I’ll be there in ten.
User avatar

Topic Author
andrewhake
Admin
Posts: 580
Joined: Oct 2016
Location: Mt. __________
Contact: YouTube IG
United States of America
#144

07-10-2015

Woop woop woop woop! Finally got the steering wheel in.

Momo Monte Carlo 350mm (red stitch) w/ NSX-R horn button

Image

Image

I got the horn button and these other bits awhile back, but actually got shipped the wrong steering wheel. They shipped me a Momo Tuner instead.

Image

I prefer the look of the Monte Carlo over the tuner. I just like the sort of triangular shape of the center of the wheel and I prefer how the Momo logo is etched into the bottom instead painted in yellow.

If all goes to plan I should get this bad boy installed tonight and get some pics of it installed. I am thinking this slightly smaller 350mm wheel (vs. 360mm OEM) should give me the little bit of extra leg clearance I am after. If not I am going to get a 10 or 15mm WorksBell spacer to bring the wheel a little bit closer to me and providing even more leg clearance. I am going to see how it sits with the ASM hub and decide if I need a spacer or not.

I got the Project µ reservoir covers to see if they will last longer than the Spoon covers have for me. Usually after about 4-6 months of use the Spoon covers lose all of their elasticity and get all slouchy on the reservoir. These Project µ covers are much taller, and seem to have much stronger elastic so maybe they will do the trick. I like to keep my reservoir topped off and the reservoir covers always end up sopping up a bit of fluid. So to me it is worth running them. Even a small bit of fluid dripping down on the paint below is generally bad news.

That other little thing in the picture is a FD2-R shift boot collar. After testing it out it won't directly fit the S2000 shift lever without some modification, but with a little work I should be able to get it to fit well. It basically just takes up the extra space between the shift knob and boot so the lever isn't exposed. I realize I could just do something to bring the shift boot up all the way to the knob, but I just think that looks dumb and makes grabbing the knob weird.
o_O S2000 | Mark I Stage II...

That’s thirty minutes away. I’ll be there in ten.
User avatar

Topic Author
andrewhake
Admin
Posts: 580
Joined: Oct 2016
Location: Mt. __________
Contact: YouTube IG
United States of America
#145

07-13-2015

Momo Monte Carlo 350mm (red stitch) + NSX-R horn button + ASM steering hub installed!

Image

o_O It's so beautiful! I have to say this is surprisingly one of my new favorite changes I have made to the car. Not only do I love the way it looks, the new amount of legroom is a revelation for me. It finally completely opened up my ability to heel and toe and brake fully with my leg completely perpendicular to the pedal. After installing the seats I was already very close to this, but this was the exact last little bit that was necessary.

Image

Image

The ASM hub definitely puts the steering wheel closer to the driver by about 10-15mm so no spacer necessary for me, it is the exact amount I was looking for without being too far away from the dash that the stalks are hard to reach. I can still easily reach them without removing my hands from the wheel. It always takes a little bit of time adjusting to a new steering wheel but I really like the feel of the Monte Carlo, it is slightly thinner than the OEM wheel in some places, but has much more prominent grips and the leather has a very nice feel to it. Love this setup! I had no issues with a VSA light or anything weird like that. The OEM 06+ steering wheel only has 2 notches like some of the hubs so I doubt that is the issue people are having. I would guess some have just slightly misaligned the hub or possibly damaged the reel if they didn't carefully remove the OEM steering wheel.

Installing this was dead easy.

1. Disconnect the battery.

2. Pop the little plastic pieces on each side of the wheel with your bare hands.

3. Remove each Torx T30 bolt on each side.

4. Disconnect the yellow SRS harness on the left hand side and carefully remove the airbag and set it aside. Carefully disconnect the cruise harness plug at the top and the horn ground plug on the right and gently remove all the wires from their little clips.

5. Remove the 14mm bolt with a deep socket and extension on a breaker bar, making sure the socket is fully seated on the steering wheel. Hold the wheel and snap the bolt free. Loosen the bolt enough turns to give the steering wheel some space to pop free on the splines.

6. Give the steering wheel a few gentle but firm Bruce Lee palm strikes and 9 and 3 (towards the steering wheel), and then grab it from both sides and pull it towards yourself with some force and gentling rocking it side to side. It will pop forward with some force and stop at that bolt that you didn't fully remove yet. Remove the bolt and steering wheel and set them aside.

5. It isn't possible to mis-align the ASM hub since it has the two little holes on the carbon backing plate that line up to little pegs on the reel. Just align those and seat the hub into splines and make sure it is fully seated down and reinstall the bolt at 29ft/lbs. You also need to run the 3 harness plugs through the square opening at the bottom of the hub. I used some electrical tape to tape up all the wires so it looked a bit neater and taped up the cruise and SRS plugs as well since I won't be needing them anymore. I didn't bother with the SRS plug resistor as I will throw the light anyway due to my passenger seat weight sensor being gone. You then push up the plugs into the metal hub (the cruise plug takes a little force as it is a bit wider).

6. Put the center horn ring onto the hub.

7. Install the steering wheel onto the hub and get the bolts all tightened up going around in a star pattern a few times and being careful not to scratch anything.

8. And finally just connect the horn plug directly into the horn button and push the horn button into place. The NSX-R button has the little ground prong offset into the center so it can easily accommodate the entire plug with none of the little additional wire extensions needed. If you are using a different horn button then use the included ground wire extension to connect the horn to the black ground plug on the harness.

9. Reconnect the battery and everything should be good to go.

The weight of the OEM steering wheel is 6.4lbs:

Image

The weight of the Monte Carlo with ASM hub and NSX-R horn button is 3.0lbs:

Image

Another 3.4lbs saved which puts me at 173.1lbs saved, so once I pull the soft top I should easily hit my goal of 200. Saved some weight, great look and feel, simple install, and all the extra leg room I needed. Couldn't really ask for more!
o_O S2000 | Mark I Stage II...

That’s thirty minutes away. I’ll be there in ten.
User avatar

Topic Author
andrewhake
Admin
Posts: 580
Joined: Oct 2016
Location: Mt. __________
Contact: YouTube IG
United States of America
#146

07-15-2015

Civic Type R FD2 shift knob collar modified to fit the S2000 shift lever

Image

Very simple to modify to fit. The S2000 shift lever starts tapering out pretty quickly once past the threaded section, so the collar would hit against it and keep it from going down far enough to fully seat. All I had to do was remove the bottom section of 6-8mm. I left the little lip section on the bottom of the collar so I would have something to put the rubber grommet on to hold up the shift boot. The rubber piece I am using is from an S2000 rear caliper rebuild kit I believe and fits perfectly on this collar. I was able to trim this piece with a cordless Dremel no problem.

Image

Image

Image

This does cause the shift knob to sit just a few threads higher than it does with the regular nut which isn't the end of the world. The collar replaces the nut and seats directly up agains the shift knob. I put some flat notches in that bottom lip so I can easily remove the collar later with a wrench if needed. I don't really notice the slight height difference so far. It also adds a little bit more weight to the very light FD2-R shift knob which is definitely a good thing.
o_O S2000 | Mark I Stage II...

That’s thirty minutes away. I’ll be there in ten.
User avatar

Topic Author
andrewhake
Admin
Posts: 580
Joined: Oct 2016
Location: Mt. __________
Contact: YouTube IG
United States of America
#147

07-16-2015

Up next for the interior is getting the car properly wired up for sound. :)

Image

I picked up a pair of Audio-Technica Pro35 instrument condenser mics recently and am going to start testing out mic placement to see what setup gets me the best sound. For years I have been using my trusty Tascam DR-100 MKII placed in the passenger cargo net to record sound for my videos. This works well but only picks up sound from the cabin or firewall depending on which way I am facing the recorder. I am going to try setting up these two instrument mics as a stereo pair in the cabin, and another option with one of the mics mounted in the trunk to pickup exhaust noise, and one mounted right up against the firewall for engine bay and cabin noise. Getting a good stereo effect is cool, but once everything starts getting loud it sort of gets cancelled out so I am thinking the front and rear setup mic be a good option.

I also have a pair of Roland - CS-10EM in ear binaural mics/earphones that I have been testing that essentially just record whatever sound would normally be coming into my ears. This works very well with the windows rolled up, but with them down the wind noise drowns everything out. The effect when listening to the recorded audio back with headphones on is so real it's creepy. The idea is to test out these different setups, if I like the stereo pair mounted option in the cabin I will probably stick with that and pickup one more of these mics to mount in the trunk as well. Once I find a setup I like I will just keep the mics permanently mounted in the car, ready to plug them into my portable recorder. Sound recording is another hobby of mine so I have quite a bit of random gear I wouldn't have otherwise. If you want better audio from your GoPro videos, just get The Frame mount and use it instead of the waterproof housing, and don't put your camera where it is windy.
o_O S2000 | Mark I Stage II...

That’s thirty minutes away. I’ll be there in ten.
User avatar

Topic Author
andrewhake
Admin
Posts: 580
Joined: Oct 2016
Location: Mt. __________
Contact: YouTube IG
United States of America
#148

07-18-2015

Updated alignment to -3.0 F, -3.0 R, 6.4 caster, 1/16th total rear toe-in. The guy's at BlackTrax dialed in everything in exactly to the specs I wanted. I thought something up front might be bent or something after a previous alignment was only getting me -2.7 up front on the left. Likely just a calibration issue with the last shop to align it, or steering may have been off or something. Anyway good to know it was no problem to get -3.0 up front with 6.4 caster.

Image

The additional camber up front does provide a tiny bit more clearance up front as well which is good.

After a quick test I think this setup will work wonders. I did slightly less camber up front last time mainly because of the limit of the front left, so good to now have the spec I was really after. I have said this plenty of times before, but small changes in camber make a BIG difference folks. The car feels even more neutral at low speed turn-in. Try out different alignments, even if you think your car feels wonderful, you can still probably make it better with small adjustments. If I was building a dedicated track car I would rely much more on data and numbers, carefully gathering tire temp data and data logging everything, but for me this car is all about making it as fun as I possibly can to drive. And it is more rewarding for me to rely on feedback through the car and my instincts based on what I feel to make adjustments to it. There really is no perfect setup you can come up with that will work in the most ideal way in every condition, so focusing on the big picture instead of the details can be beneficial in the long run. At the moment I don't think I will be doing any additional roll center correction up front, the car is phenomenal to drive.
o_O S2000 | Mark I Stage II...

That’s thirty minutes away. I’ll be there in ten.
User avatar

Topic Author
andrewhake
Admin
Posts: 580
Joined: Oct 2016
Location: Mt. __________
Contact: YouTube IG
United States of America
#149

07-19-2015

Shane from http://alloutdent.com took care of some dents in my hardtop today. Extremely happy with the results. Luckily the dents were in spots that could be accessed with just the side liner panels removed.

Image
o_O S2000 | Mark I Stage II...

That’s thirty minutes away. I’ll be there in ten.
User avatar

Topic Author
andrewhake
Admin
Posts: 580
Joined: Oct 2016
Location: Mt. __________
Contact: YouTube IG
United States of America
#150

08-22-2015

Zoom Engineering TS rearview mirror

Image

Image

Image

Image

Image

Image

I also picked up a Zoom Engineering rearview mirror. Everyone goes for the Monaco version but I prefer a simpler one closer to the OEM shape and size. The Monaco mirror is also clearly made for a RHD car and it doesn't seem like they ever made a LHD version. The glass in this mirror is fantastic and it has a very mellow convex curve to it that doesn't create too much distortion. The carbon fiber is very nicely laid as well. The mount on this looks much nicer than the OEM arm with better hardware and I like that the tension is adjustable. The weight is the same as OEM at .7lbs, with the Zoom mirror being around 255mm at it's widest point and the OEM 235mm. Just a bit bigger without being annoying. Should have this mounted up tonight with some pictures of it in the car.
o_O S2000 | Mark I Stage II...

That’s thirty minutes away. I’ll be there in ten.

Return to “Projects”