
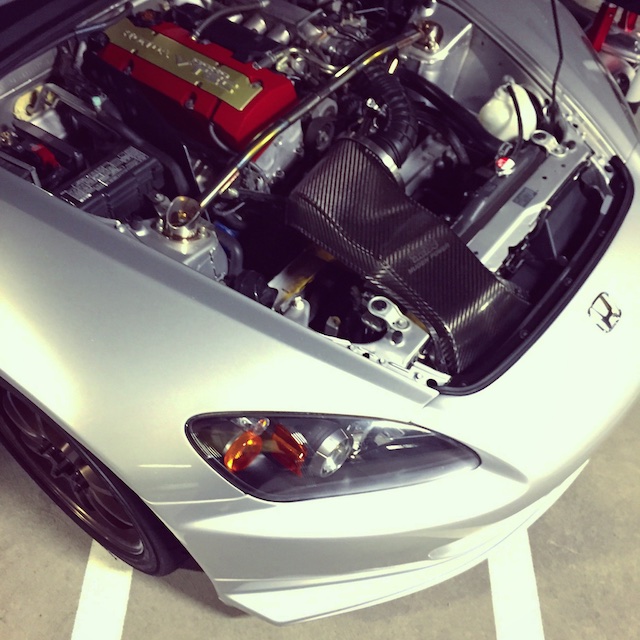
Mugen intake installed

Got the Mugen intake installed last night. After having it since November 2013 it is pretty damn satisfying to finally install it. There is tons of clearance with the Amuse hood. Was pretty straight forward but it took me for ever because I was trying to remove the radiator air guide without removing the bumper. Once I removed the bumper it was very straight forward.
I fitted the ASM radiator plate do see what adjustments I might need to make, and it looks like I will need to make some small adjustments to get it fitting properly with the hood. The nuts that hold the metal “U” latch to the hood crash into plate. I will have to see how much I can adjust the latch side to side to see if it will fit. I also still need to trim the OEM airguide as well. I think I am going to run it even if I run the ASM radiator plate because it looks like it does a great job forcing air directly through the radiator. It doesn’t allow any weird pockets to build up anywhere. Hopefully I will be able to run the ASM plate with no issues with just some adjustments to the latch. But I might have to modify the plate slightly. I think I can make it work. If not I might go for the CF version as I can probably trim it a bit easier.
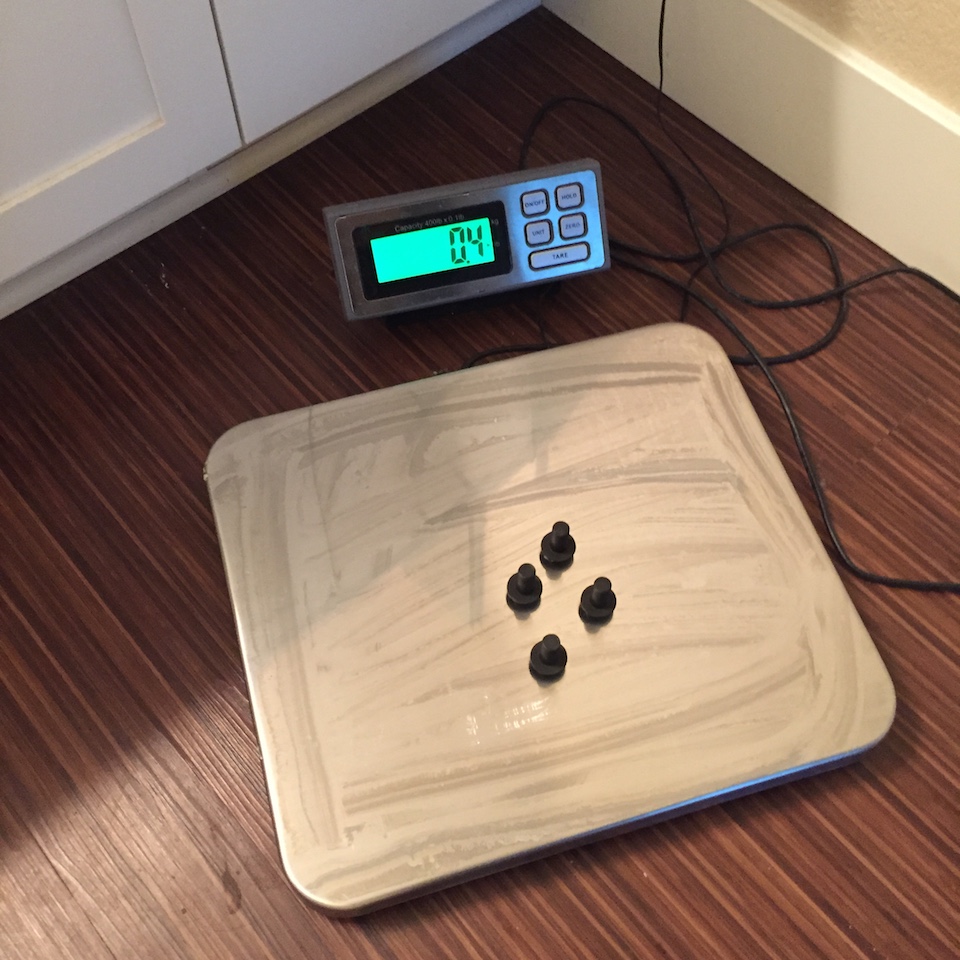
I always assumed the little cross brace at the front of the car had to be removed to run this intake, but that isn’t the case at all. Plenty of space for it. Mounting the main bracket to the crossbeam was very easily luckily. Just drilled small pilot holes and used self tapping screws to secure it down. It isn’t going anywhere. I got some black socket cap bolts for mounting the intake at the front part of the car since I didn’t like the little hex head bolts that came with it. They also use the same hex size as the filter clamp so makes it easy to take apart. The clamp is kind of a bitch to fit, but I might just have been tired.
Thanks to Hanzel for getting me the info from the install instructions on how to mount the main bracket on the cross beam! :thumbup:
I will get some better photos and post them up when I have some time. This really makes the car sound great with the Amuse hood. It brought some more bass and growl into the engine sound. It sounds glorious ripping through the gears now, where with just the hood and stock airbox where the inductions noise actually started to get drowned out by the mechanical noise of the engine. This is a very good balance.
I trimmed the radiator air guide to fit with the Mugen intake and got it reinstalled. Was pretty straightforward with the Dremel. I just used the basic lines that already exist on the argued as a template for how to cut it. I cut it in a way that allows me to keep the small AC access panel. I am undecided on whether or not I will use the ASM radiator plate. I really like how it looks but getting it fitted will be quite a pain. There will be minimal improvement in cooling with the ASM plate I would guess, with an increase in annoyance when taking stuff apart. We’ll see ASM radiator plate, we’ll see.
I also removed the small bracket at the left of the engine bay that is used to mount the OEM airbox.
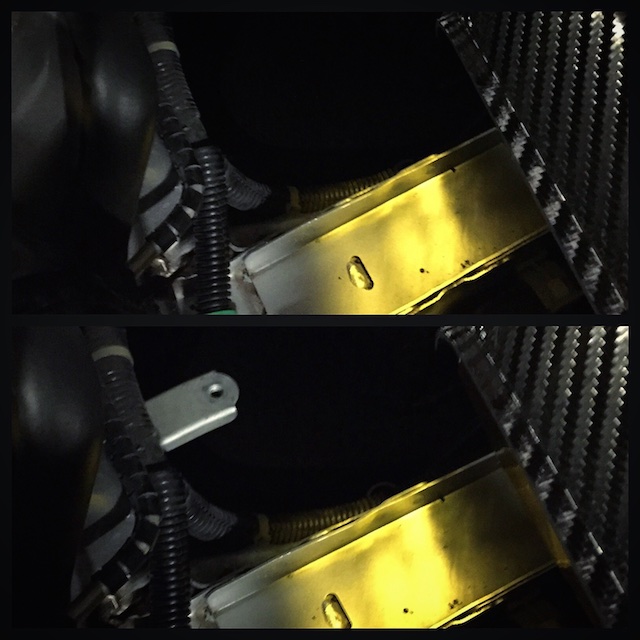
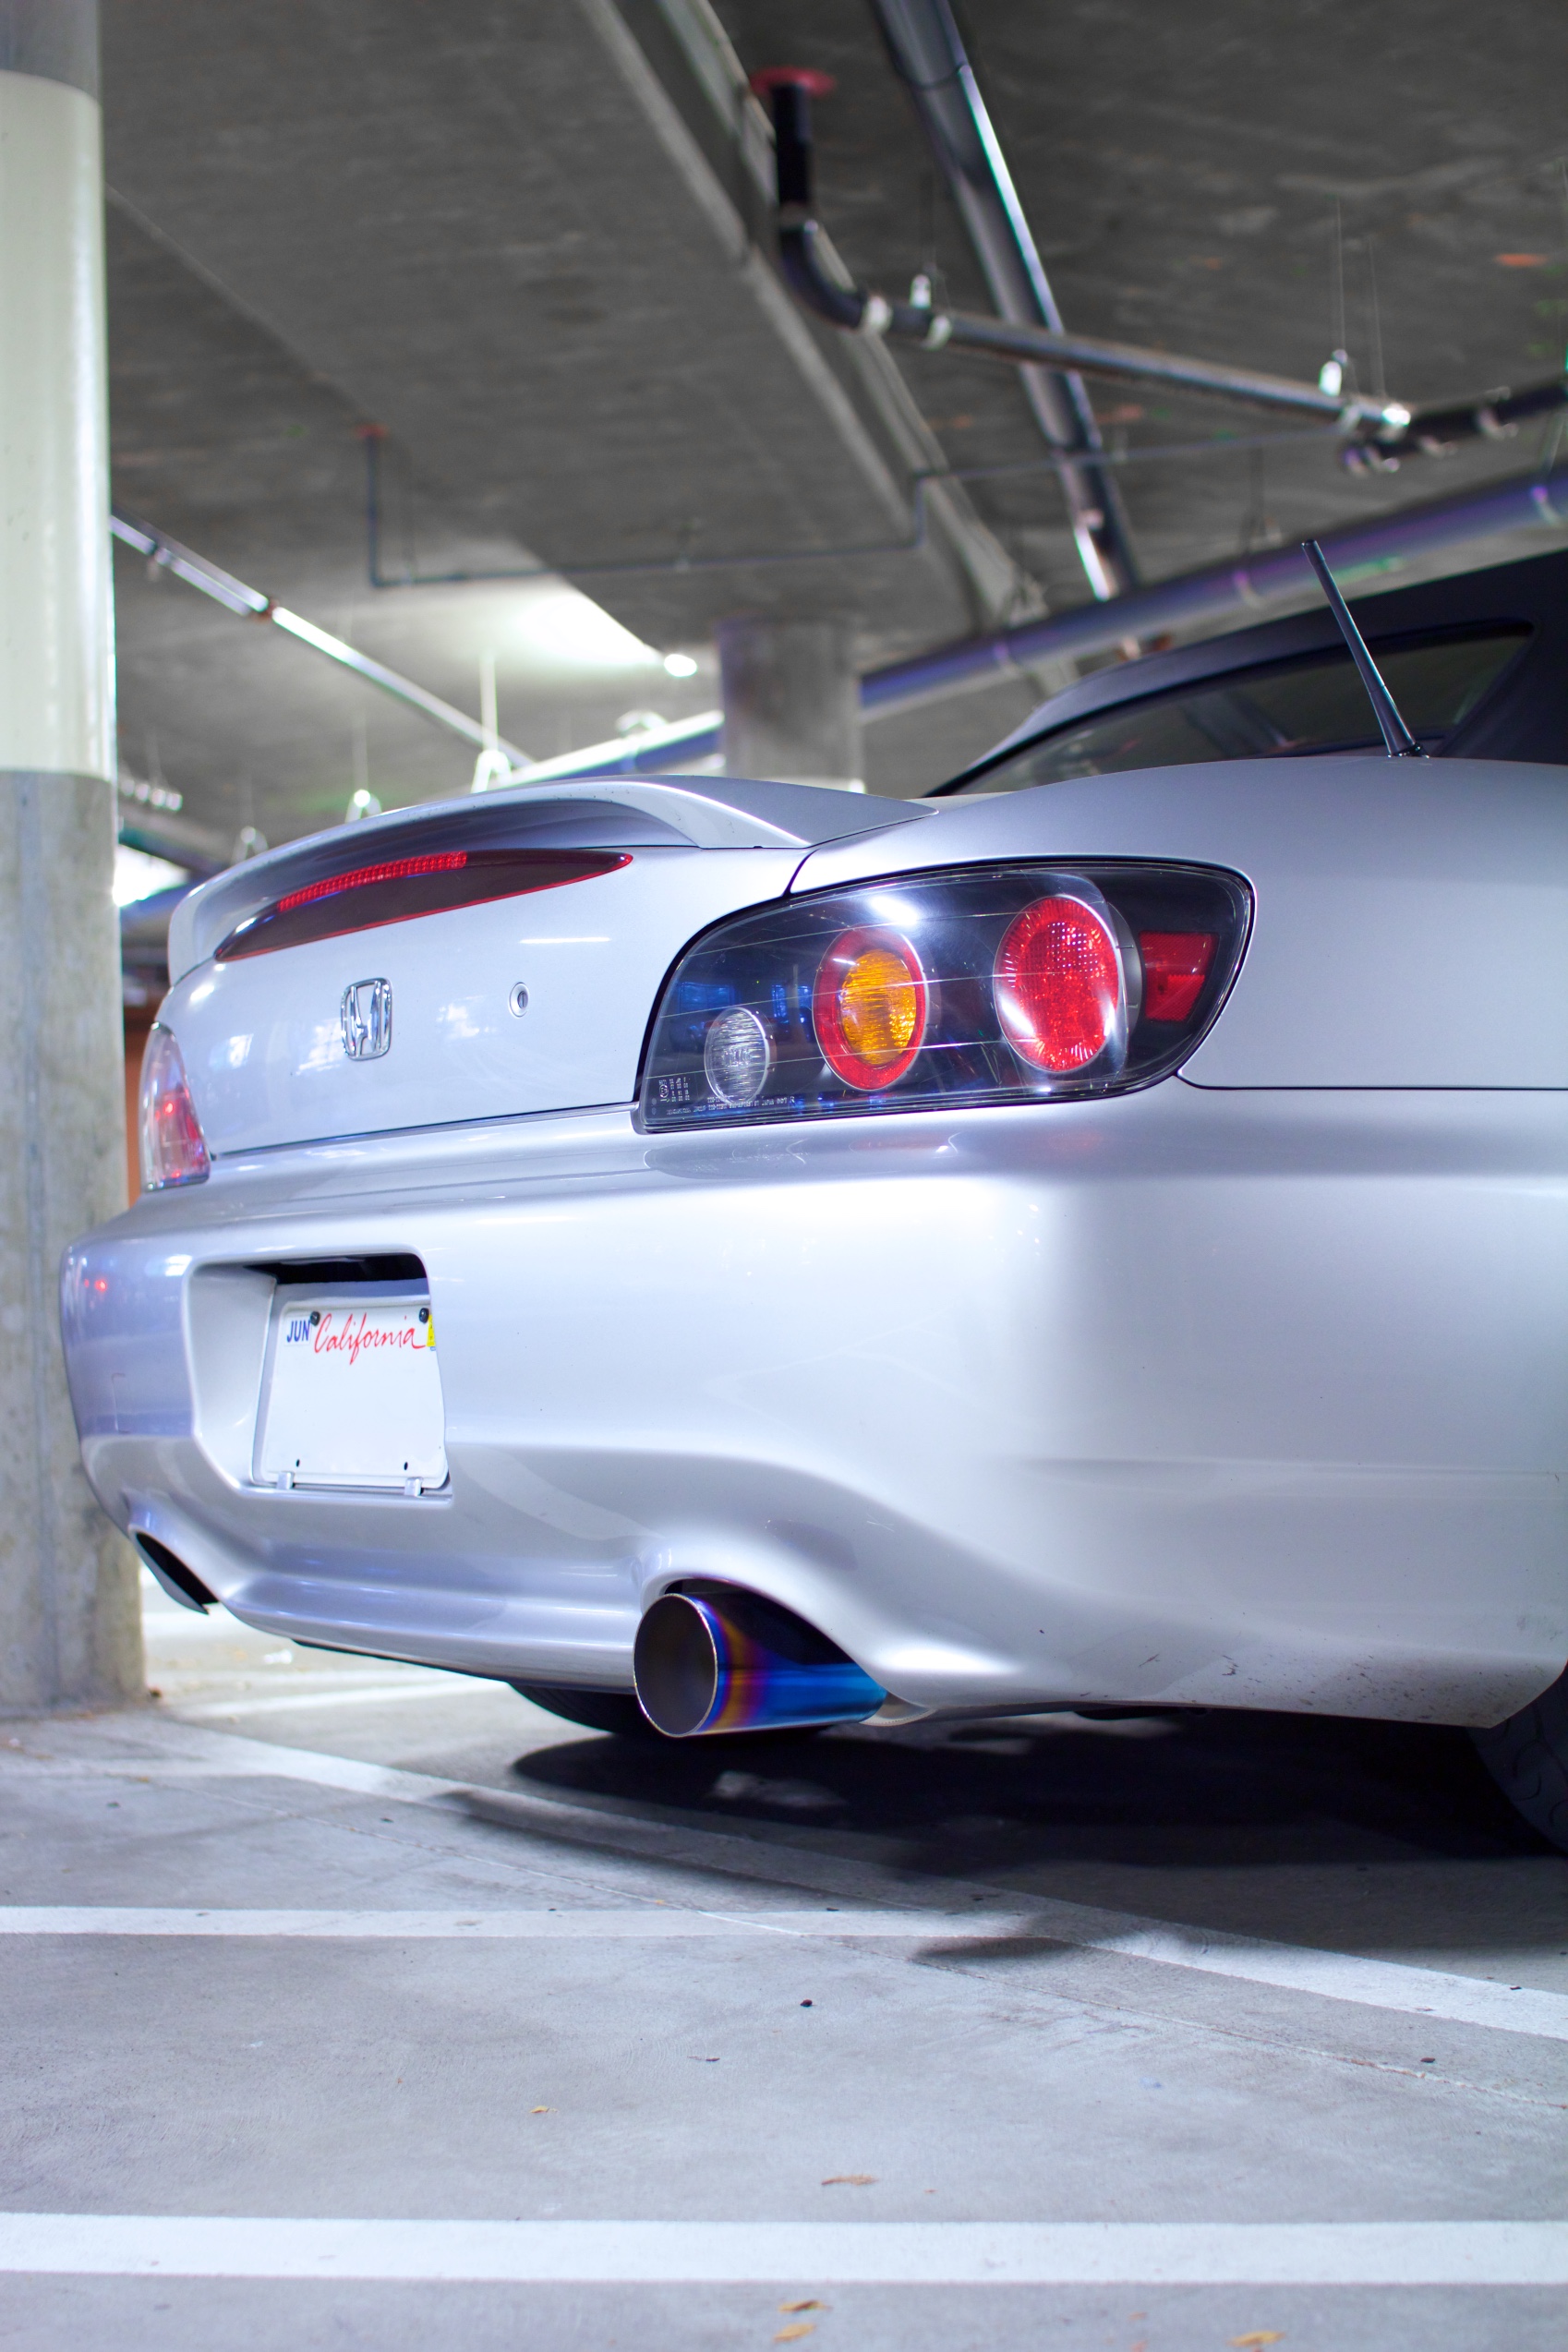
The gold heat tape on the bottom of the intake does some amazing things with light in the engine pay from the right angles.
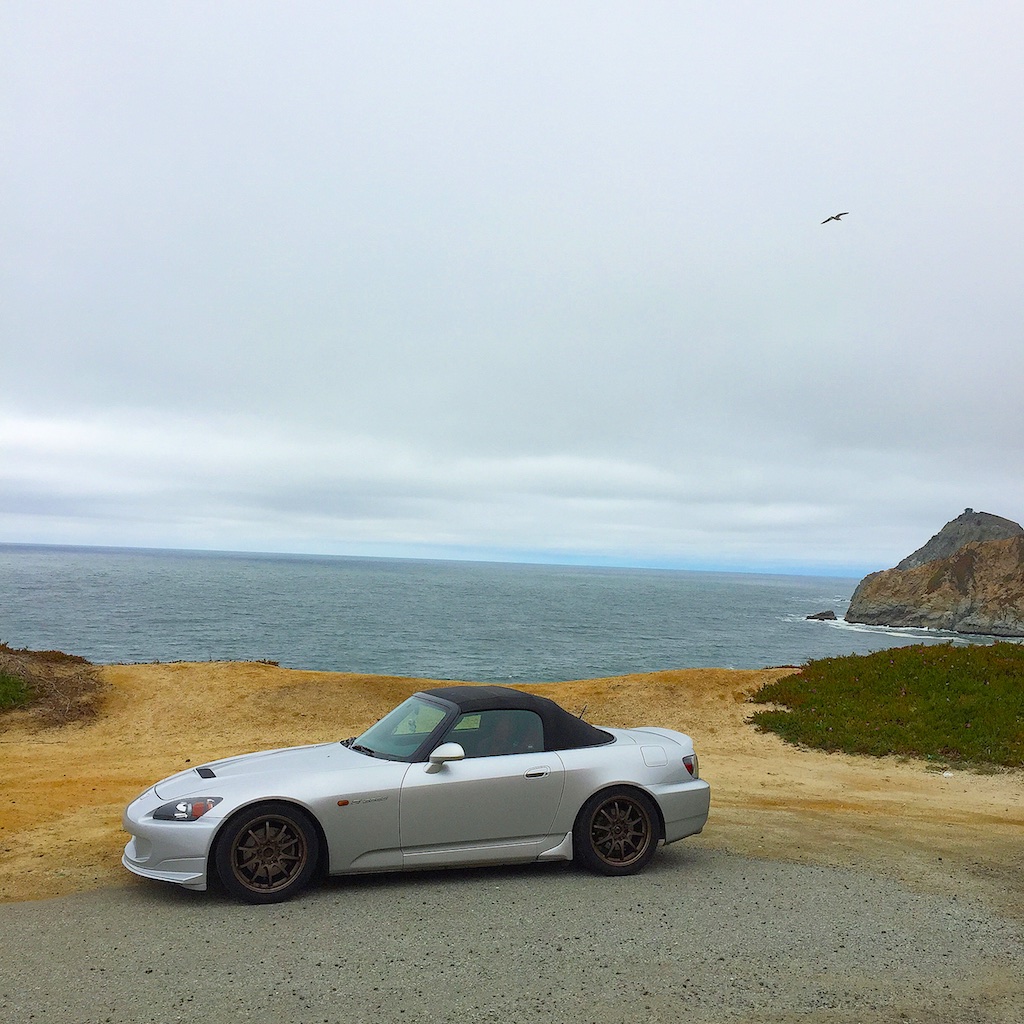
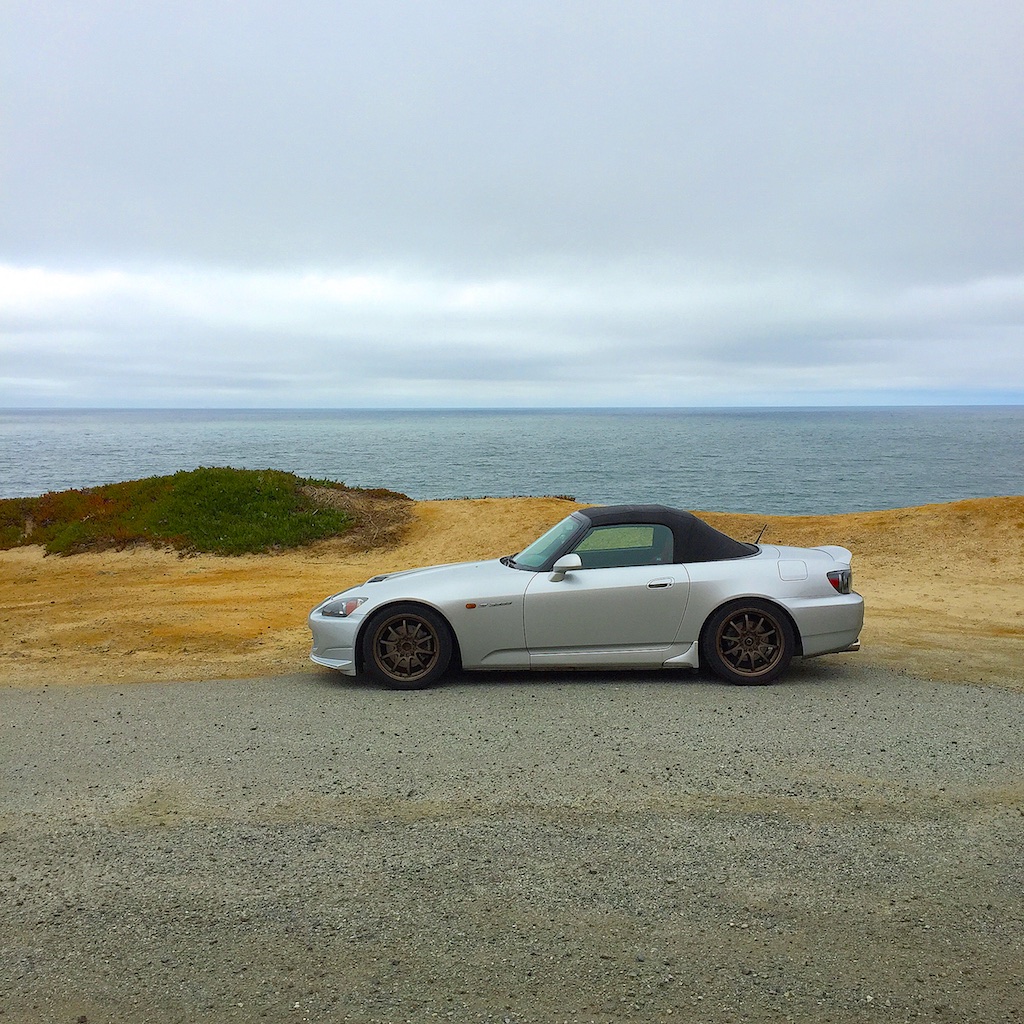
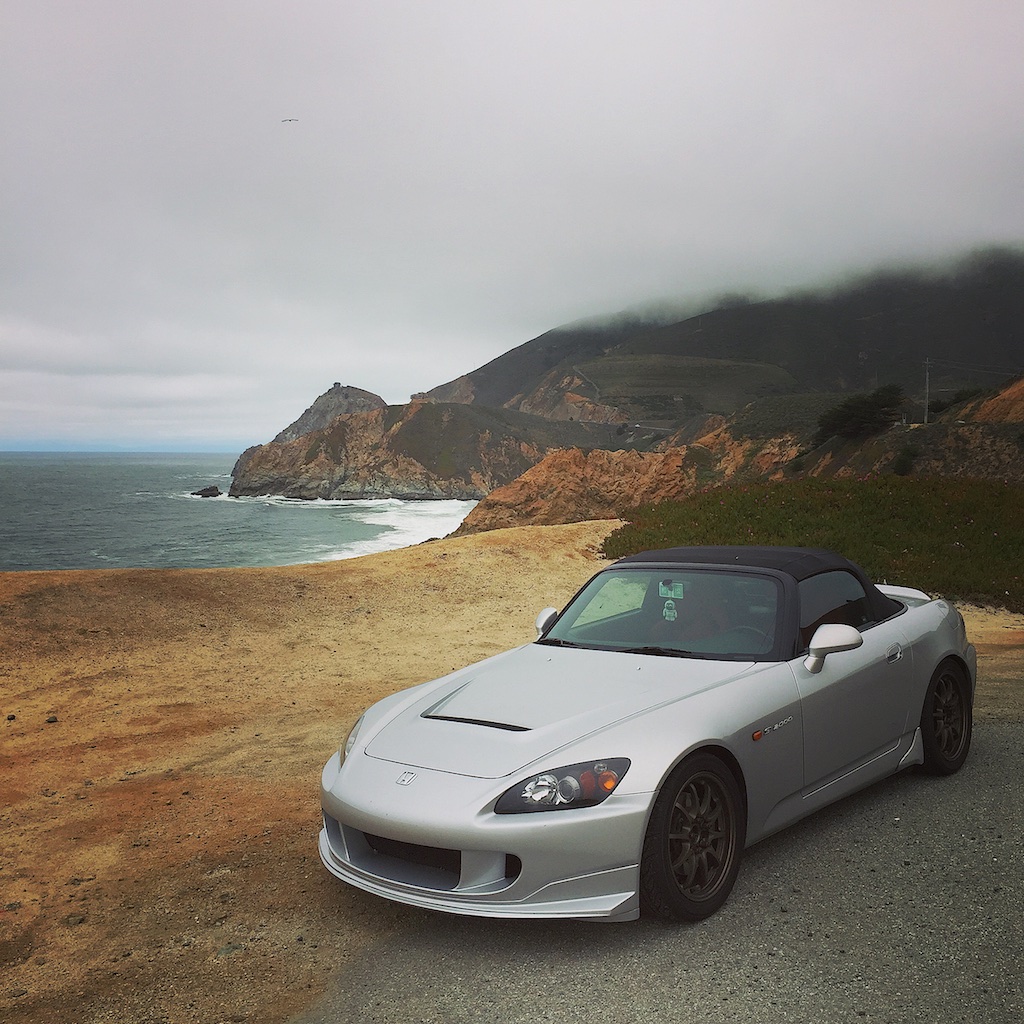
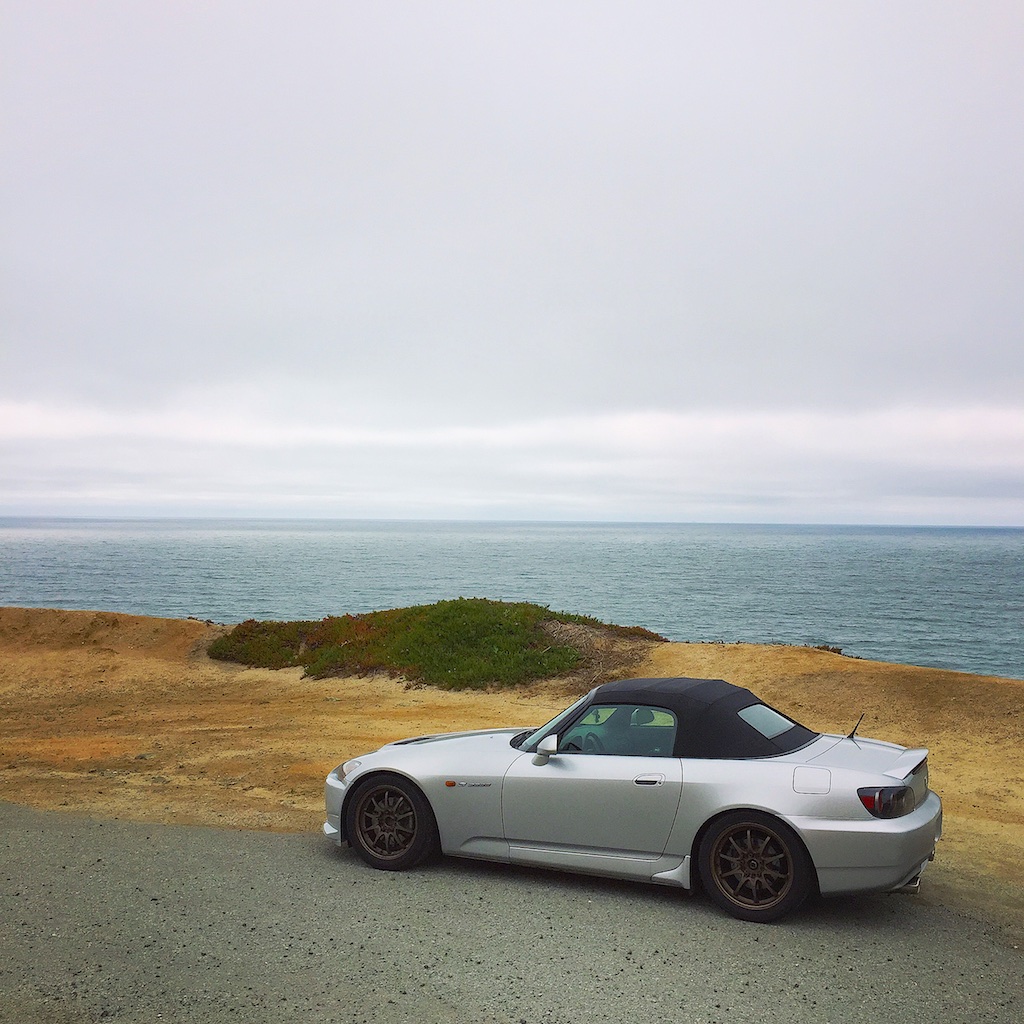
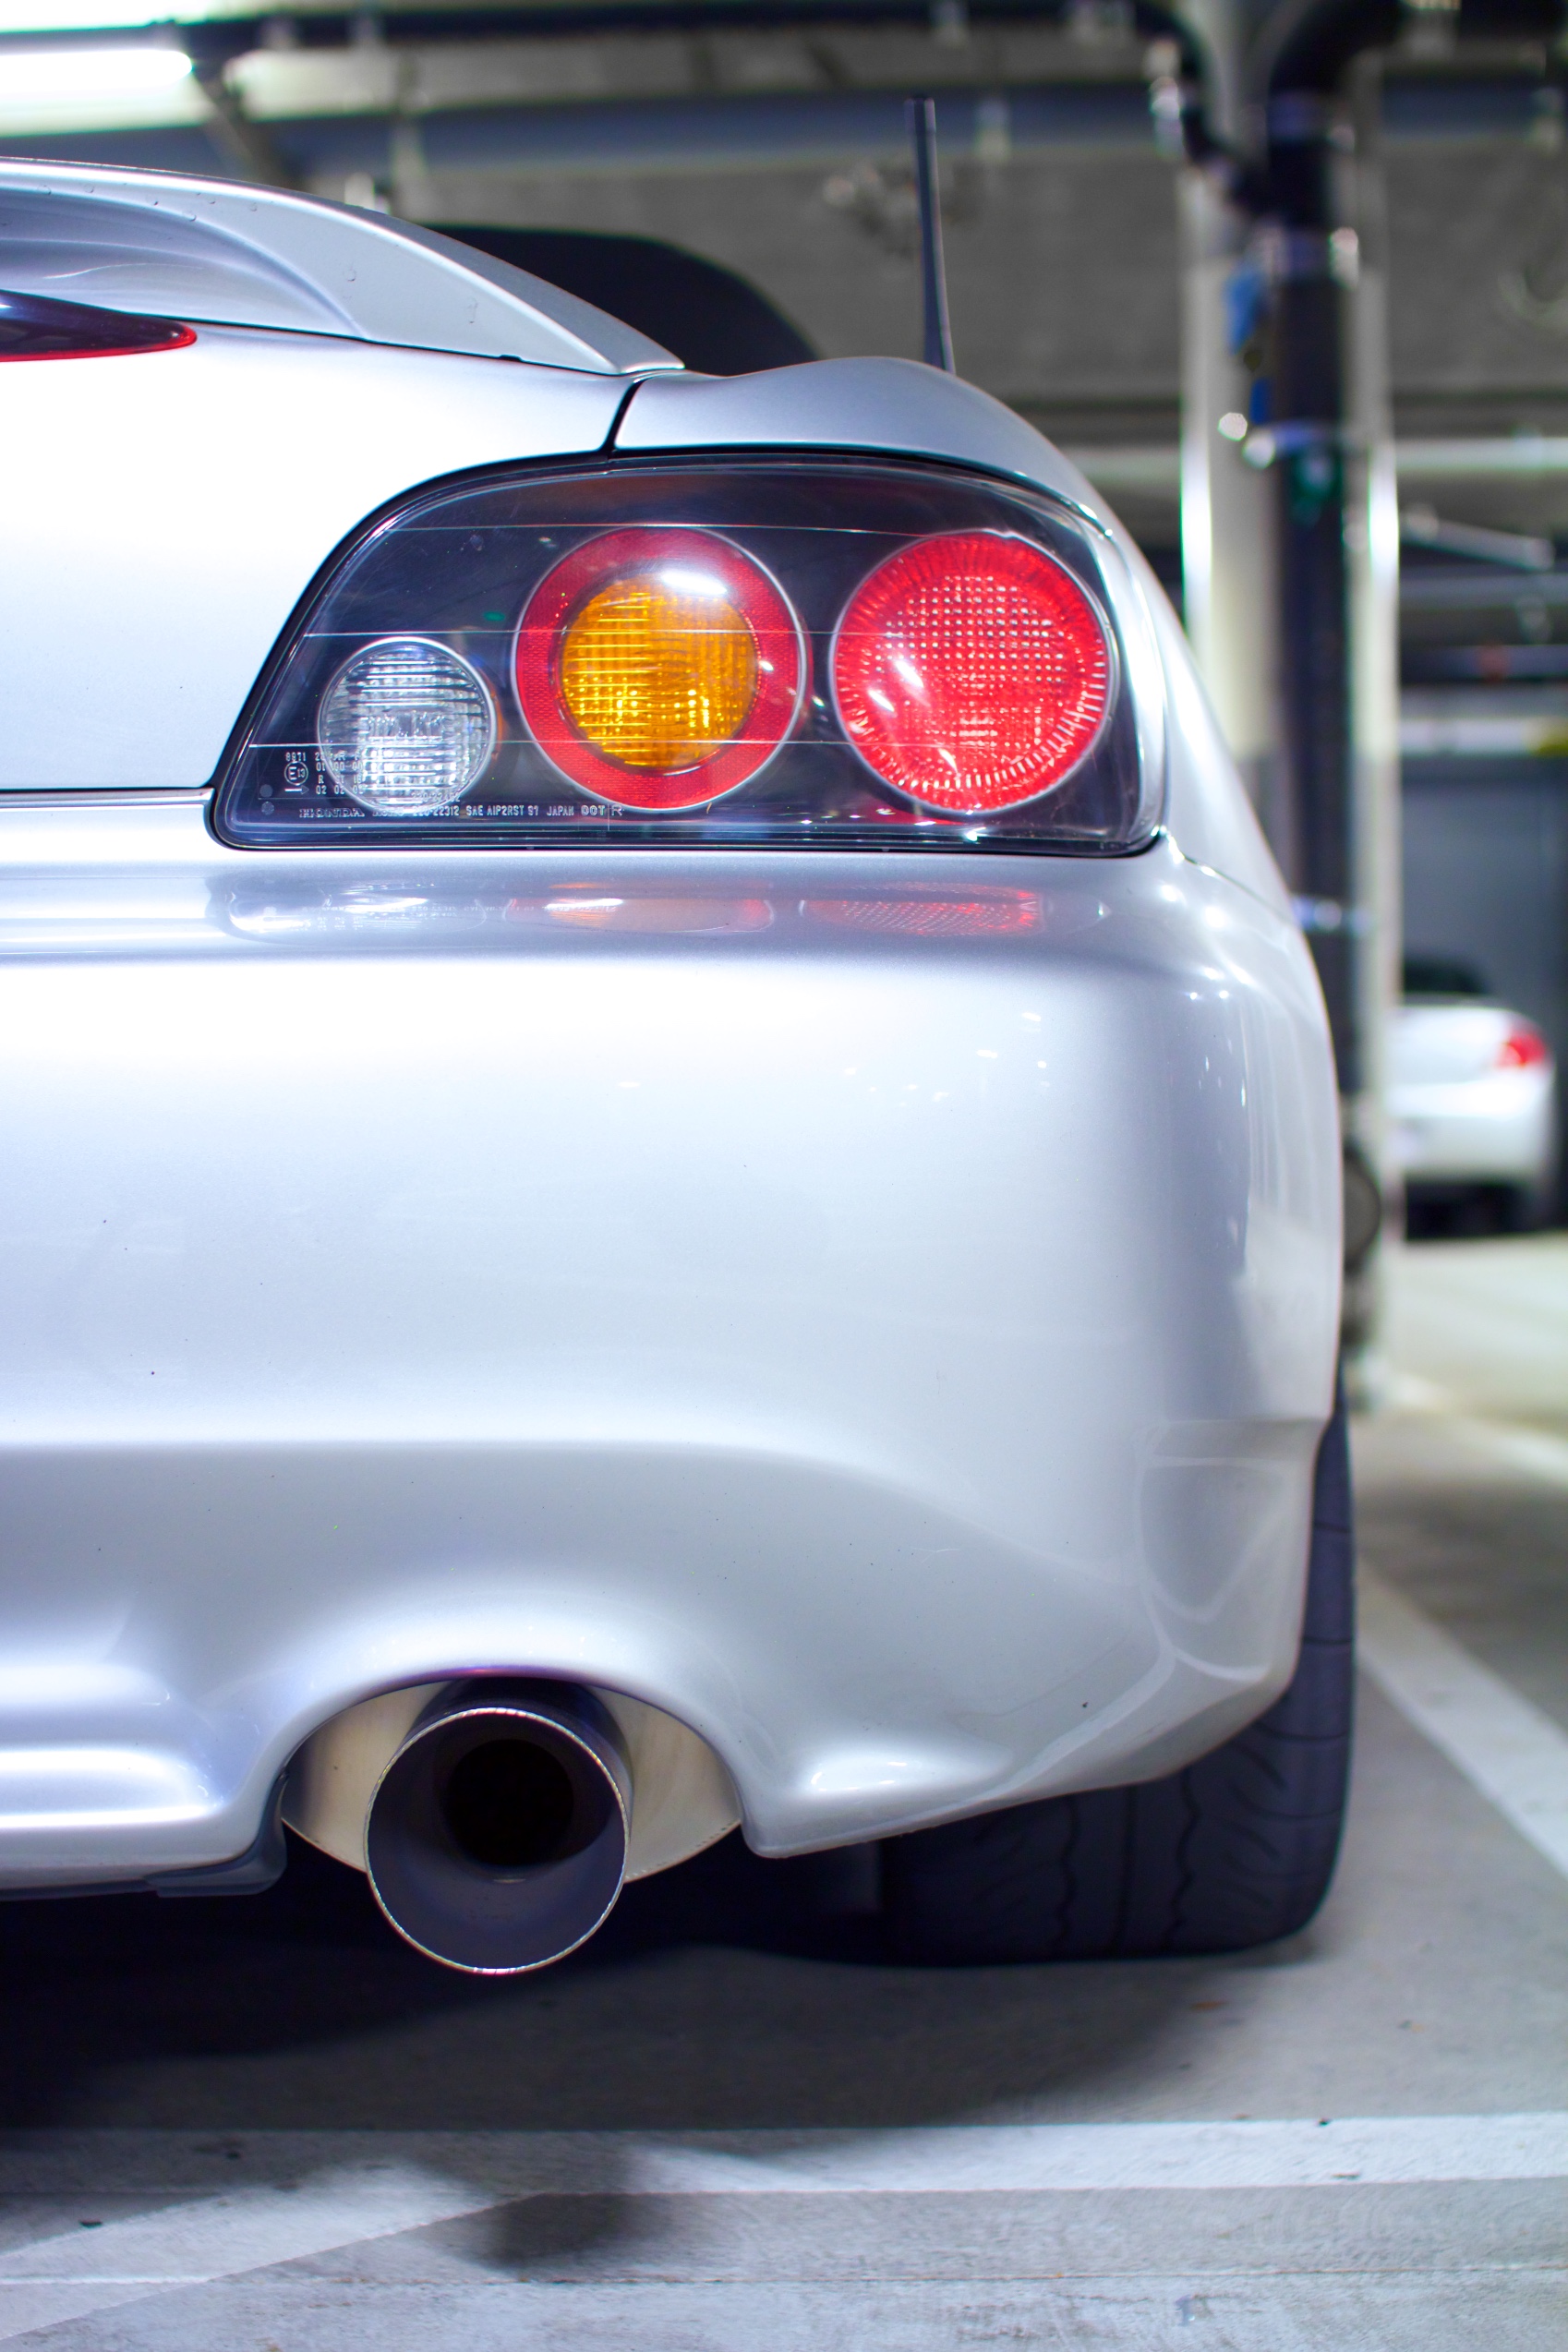
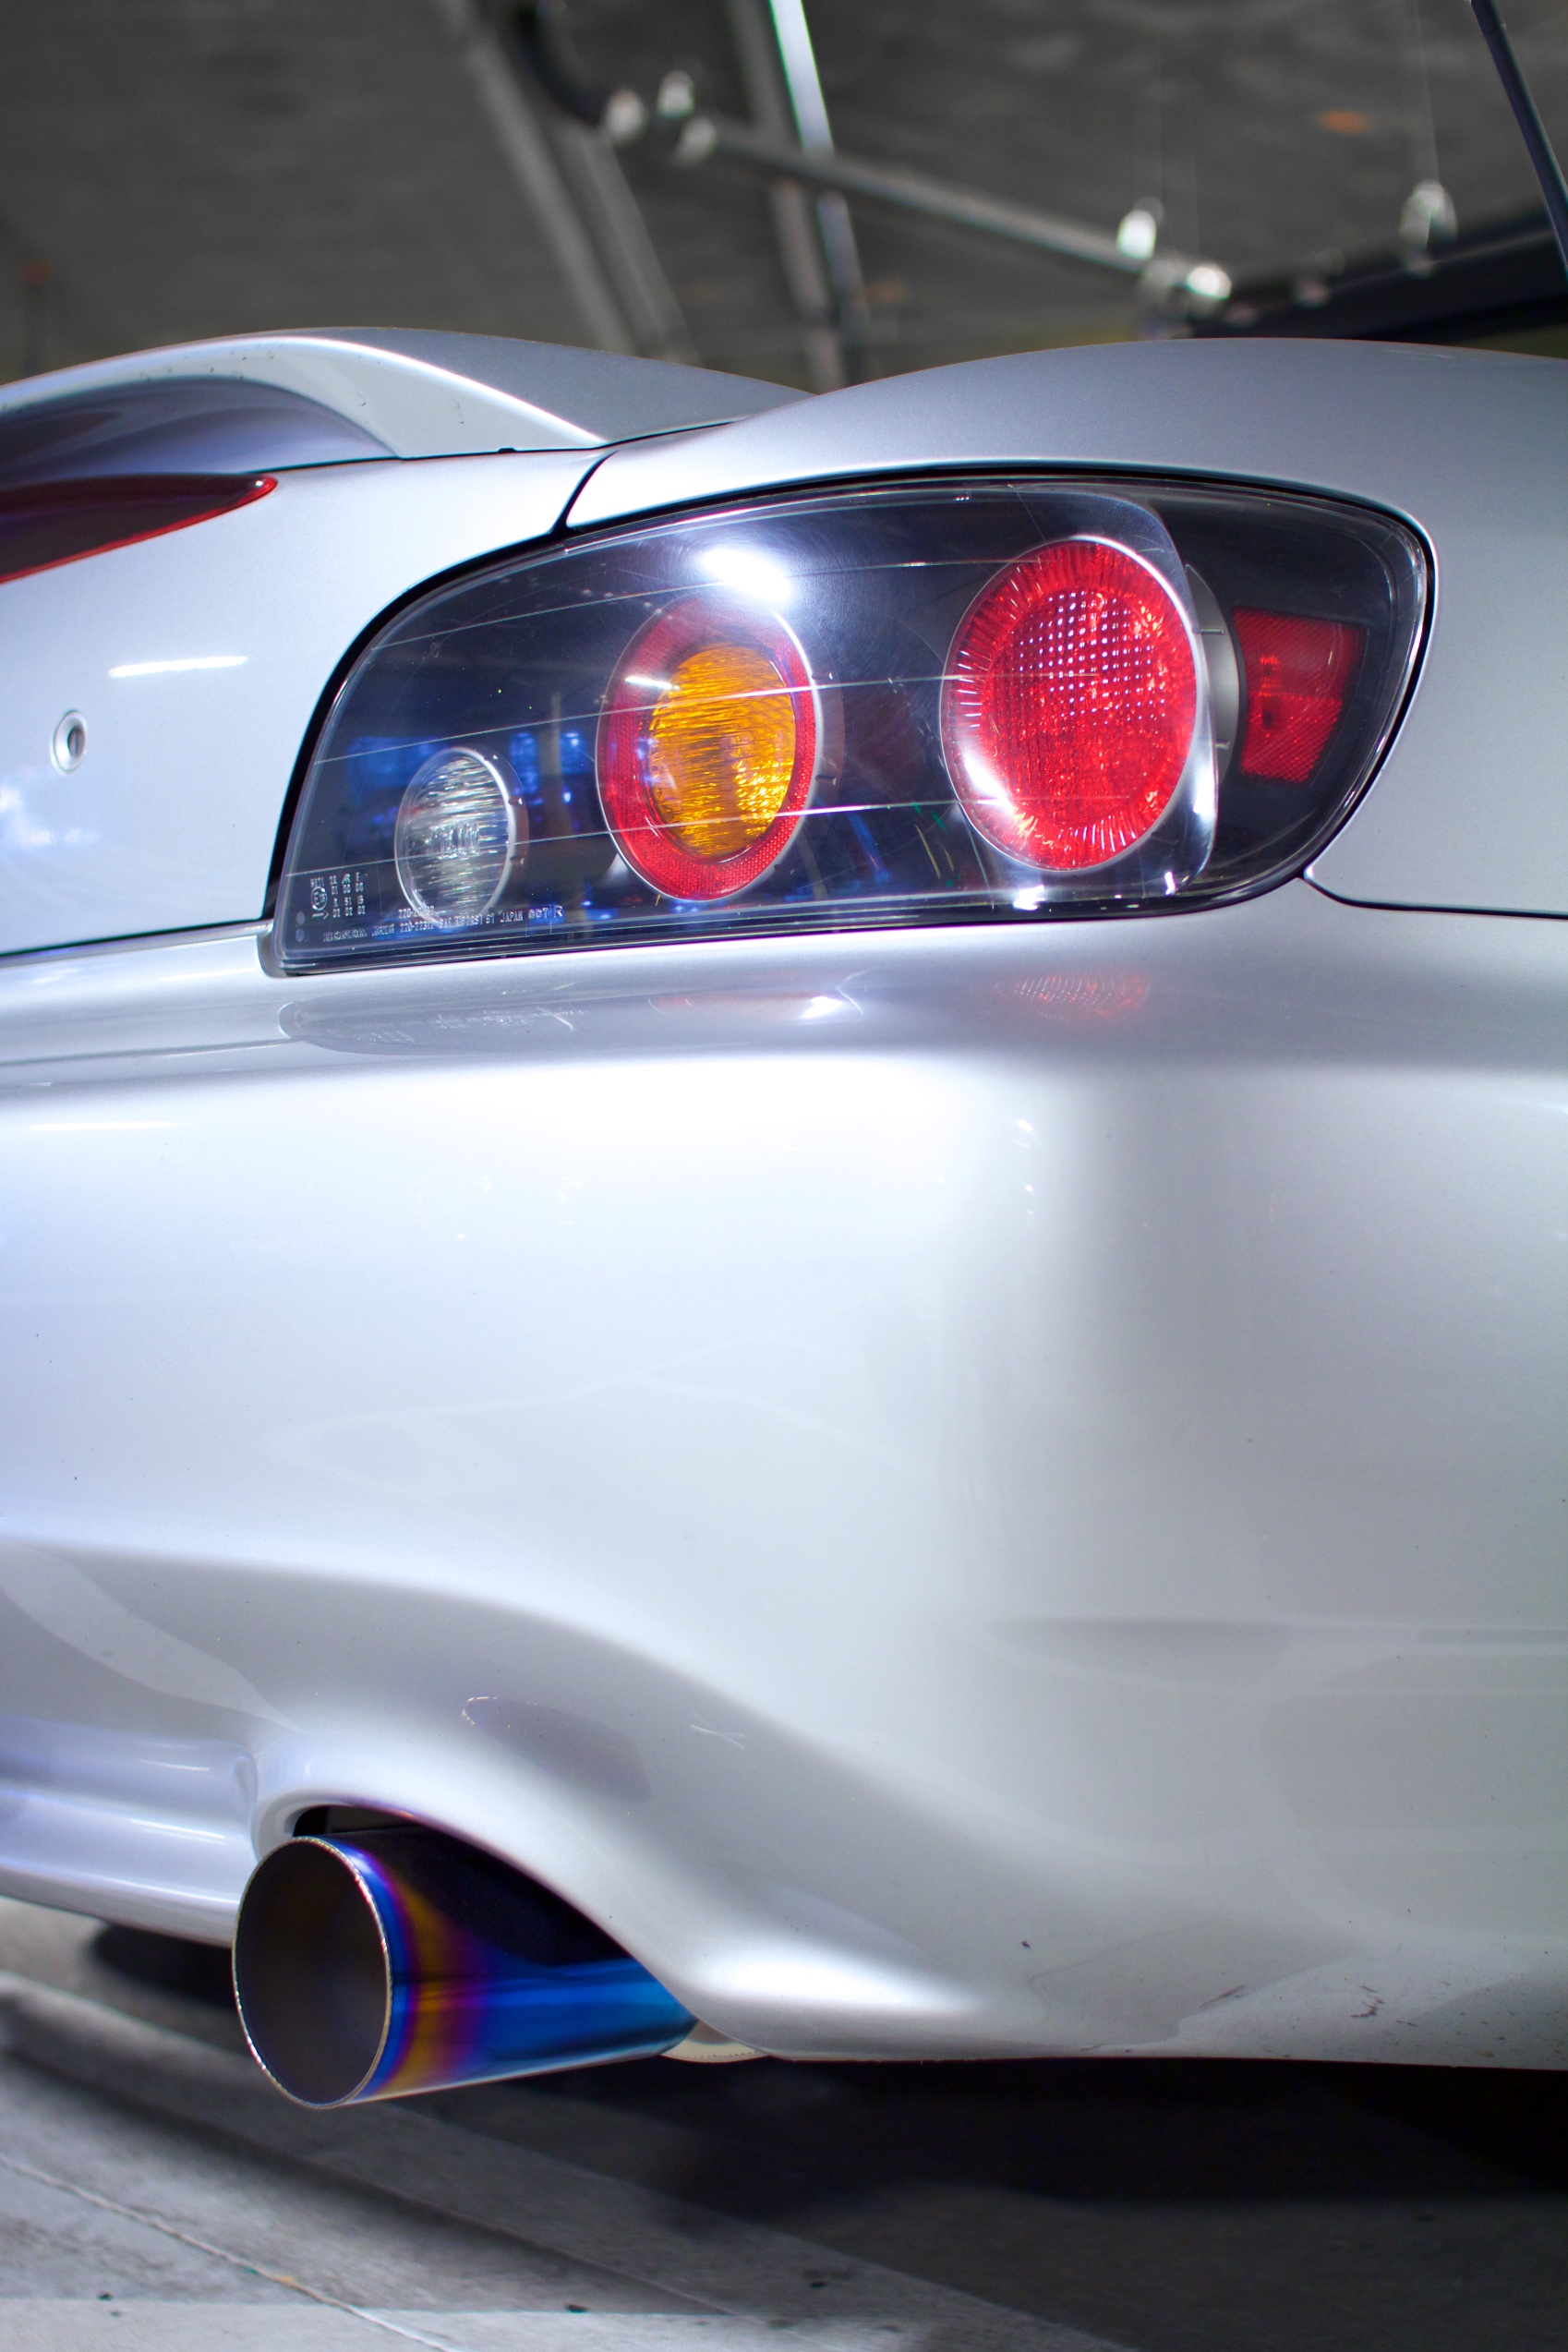
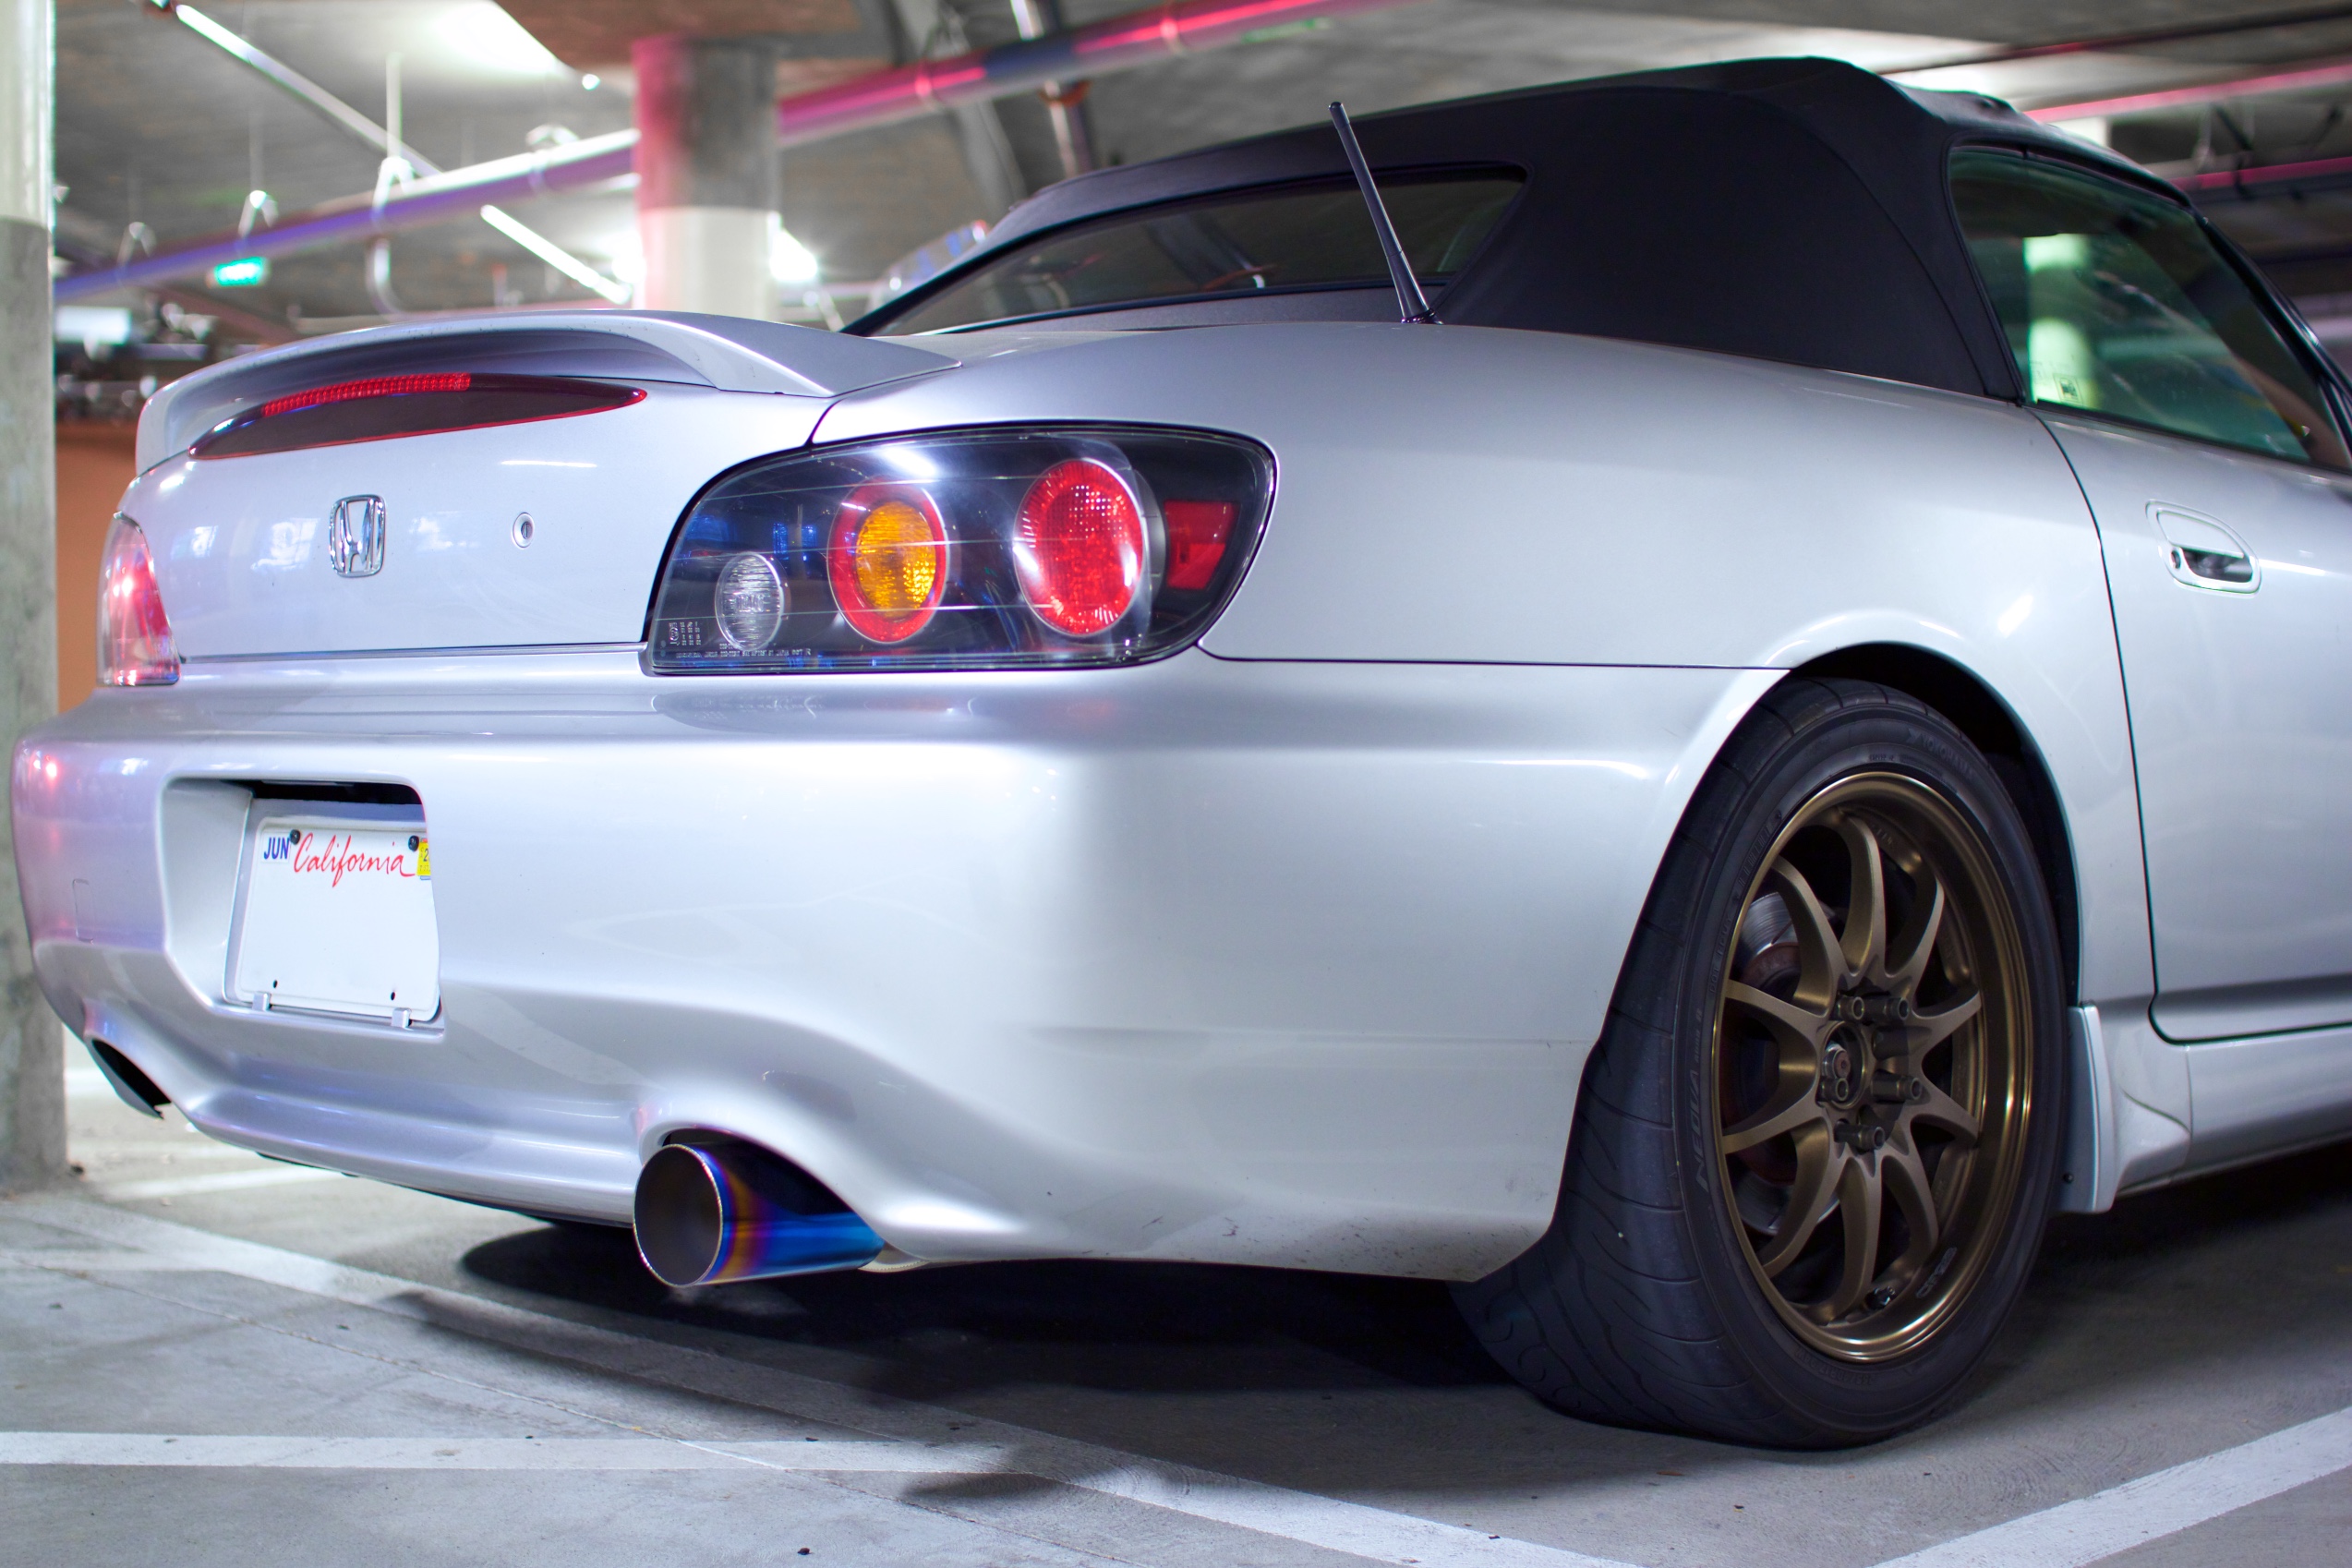
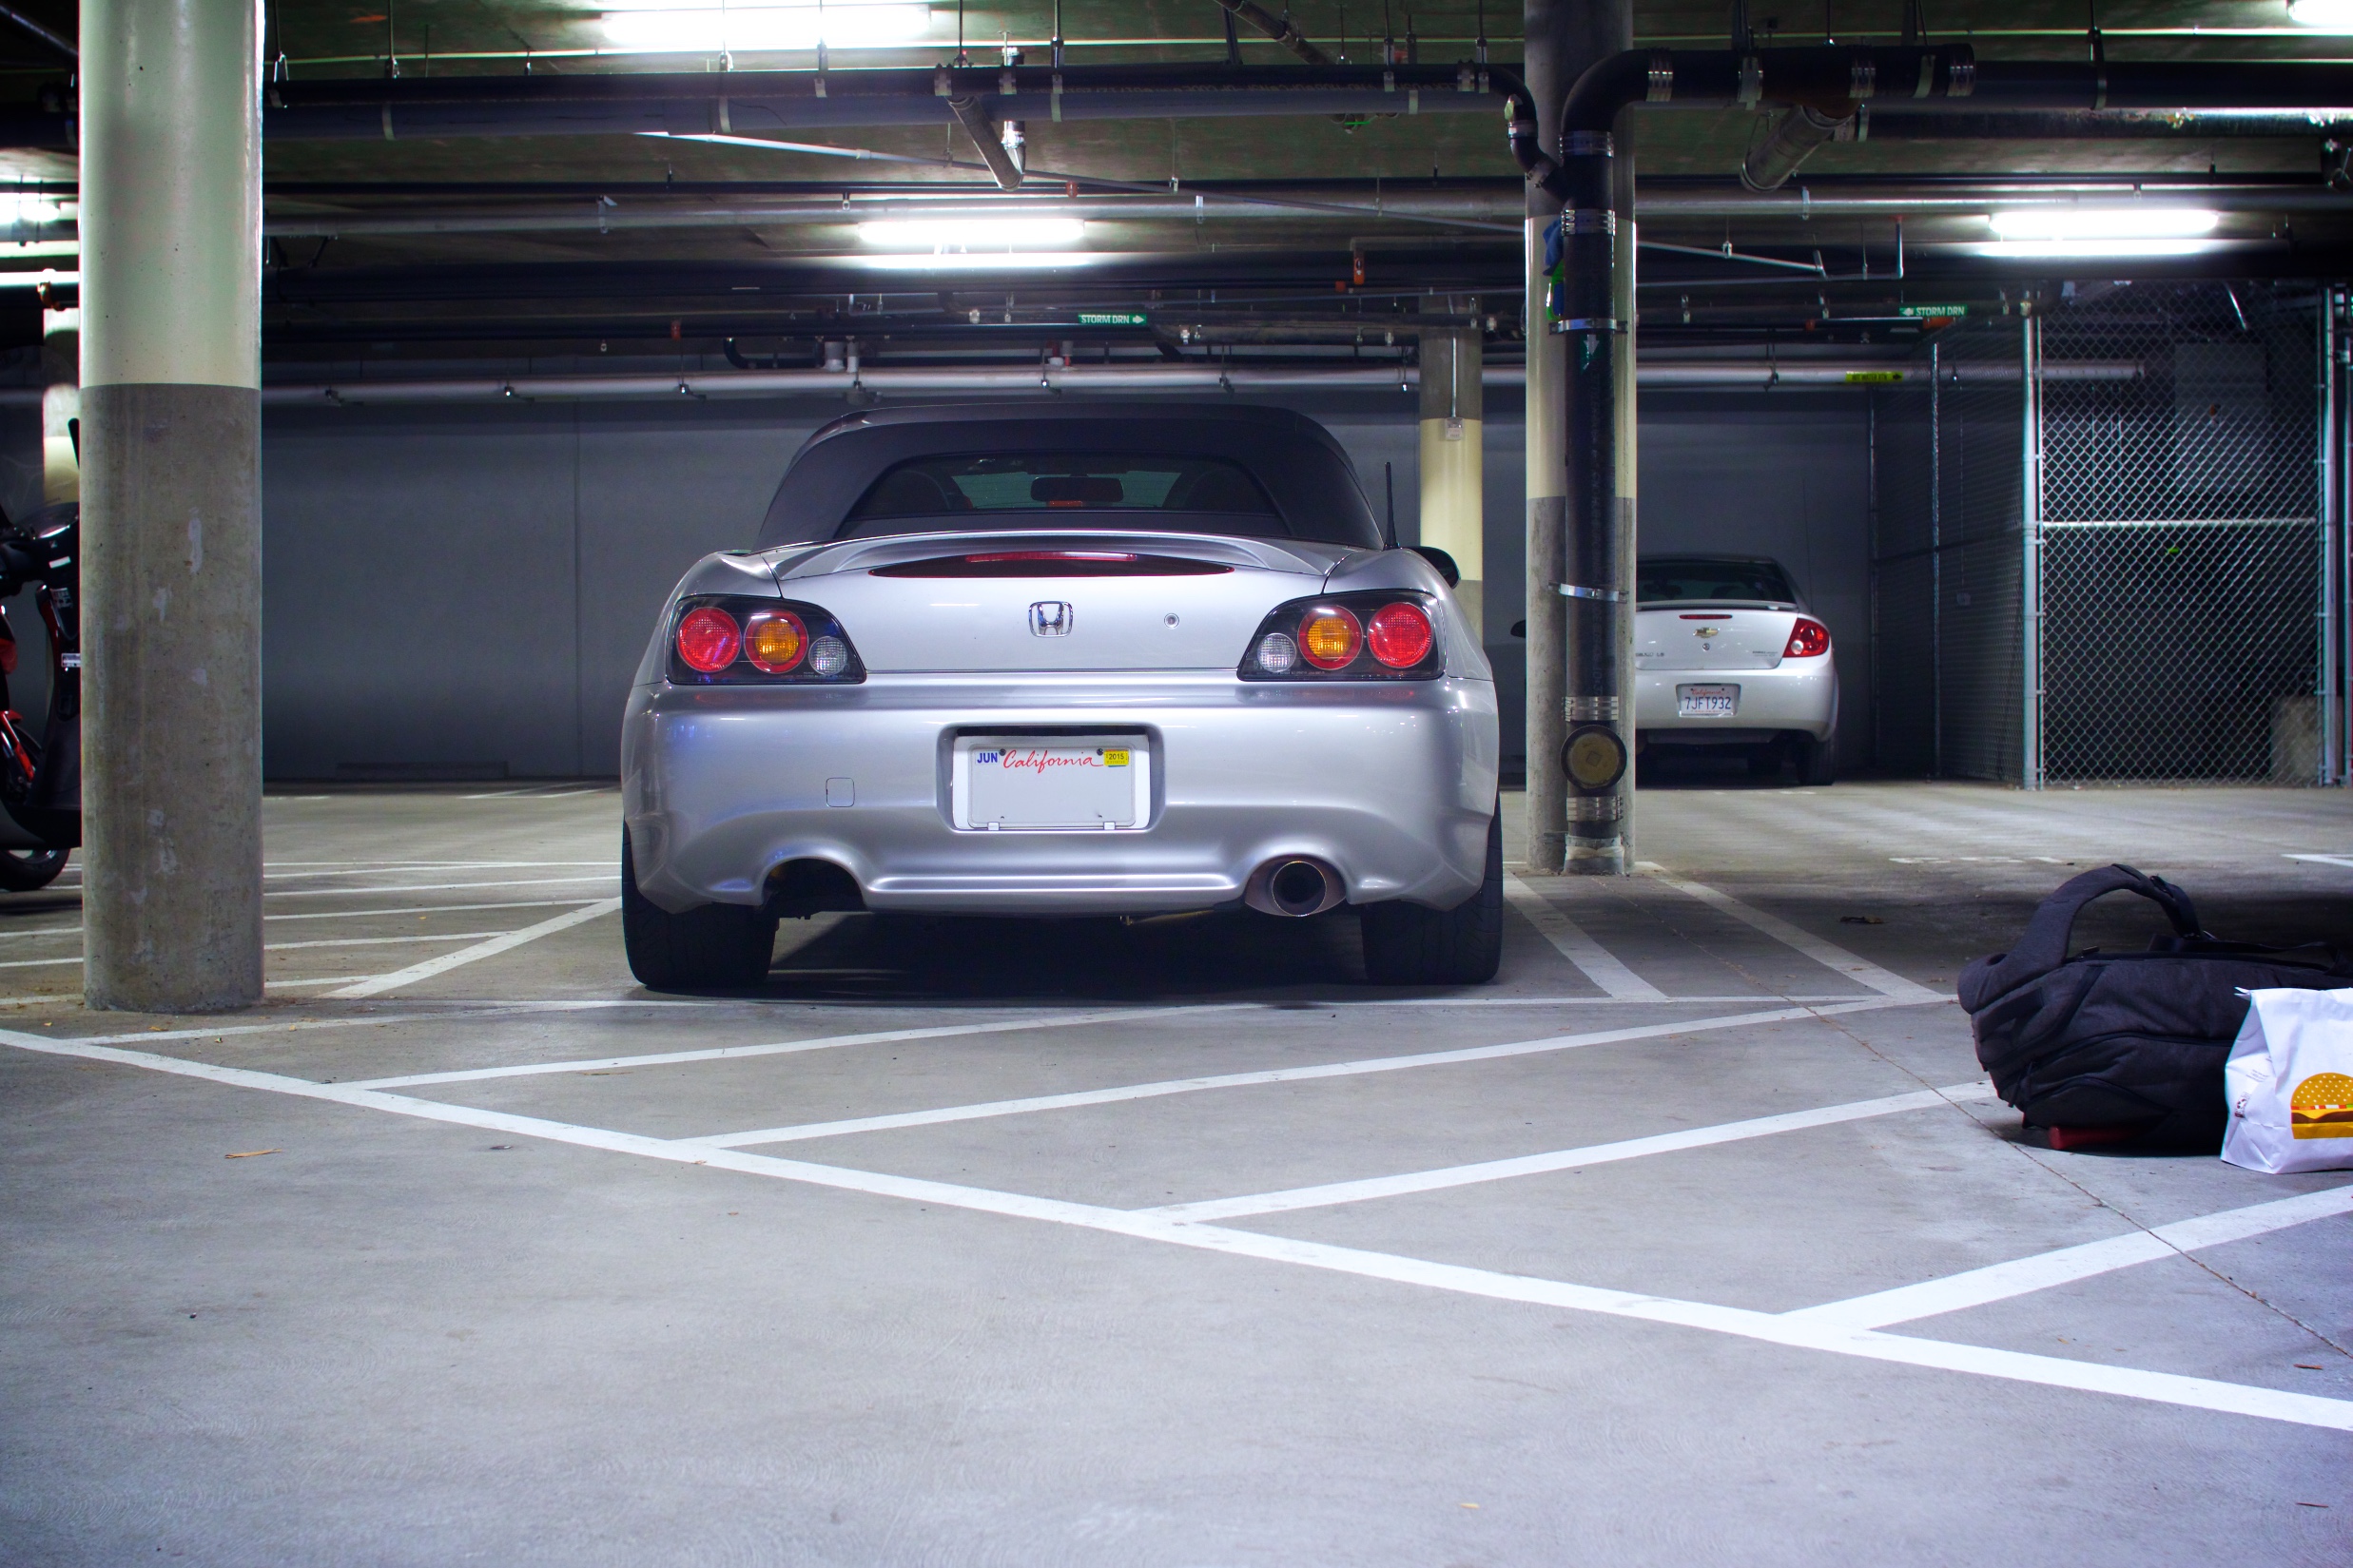
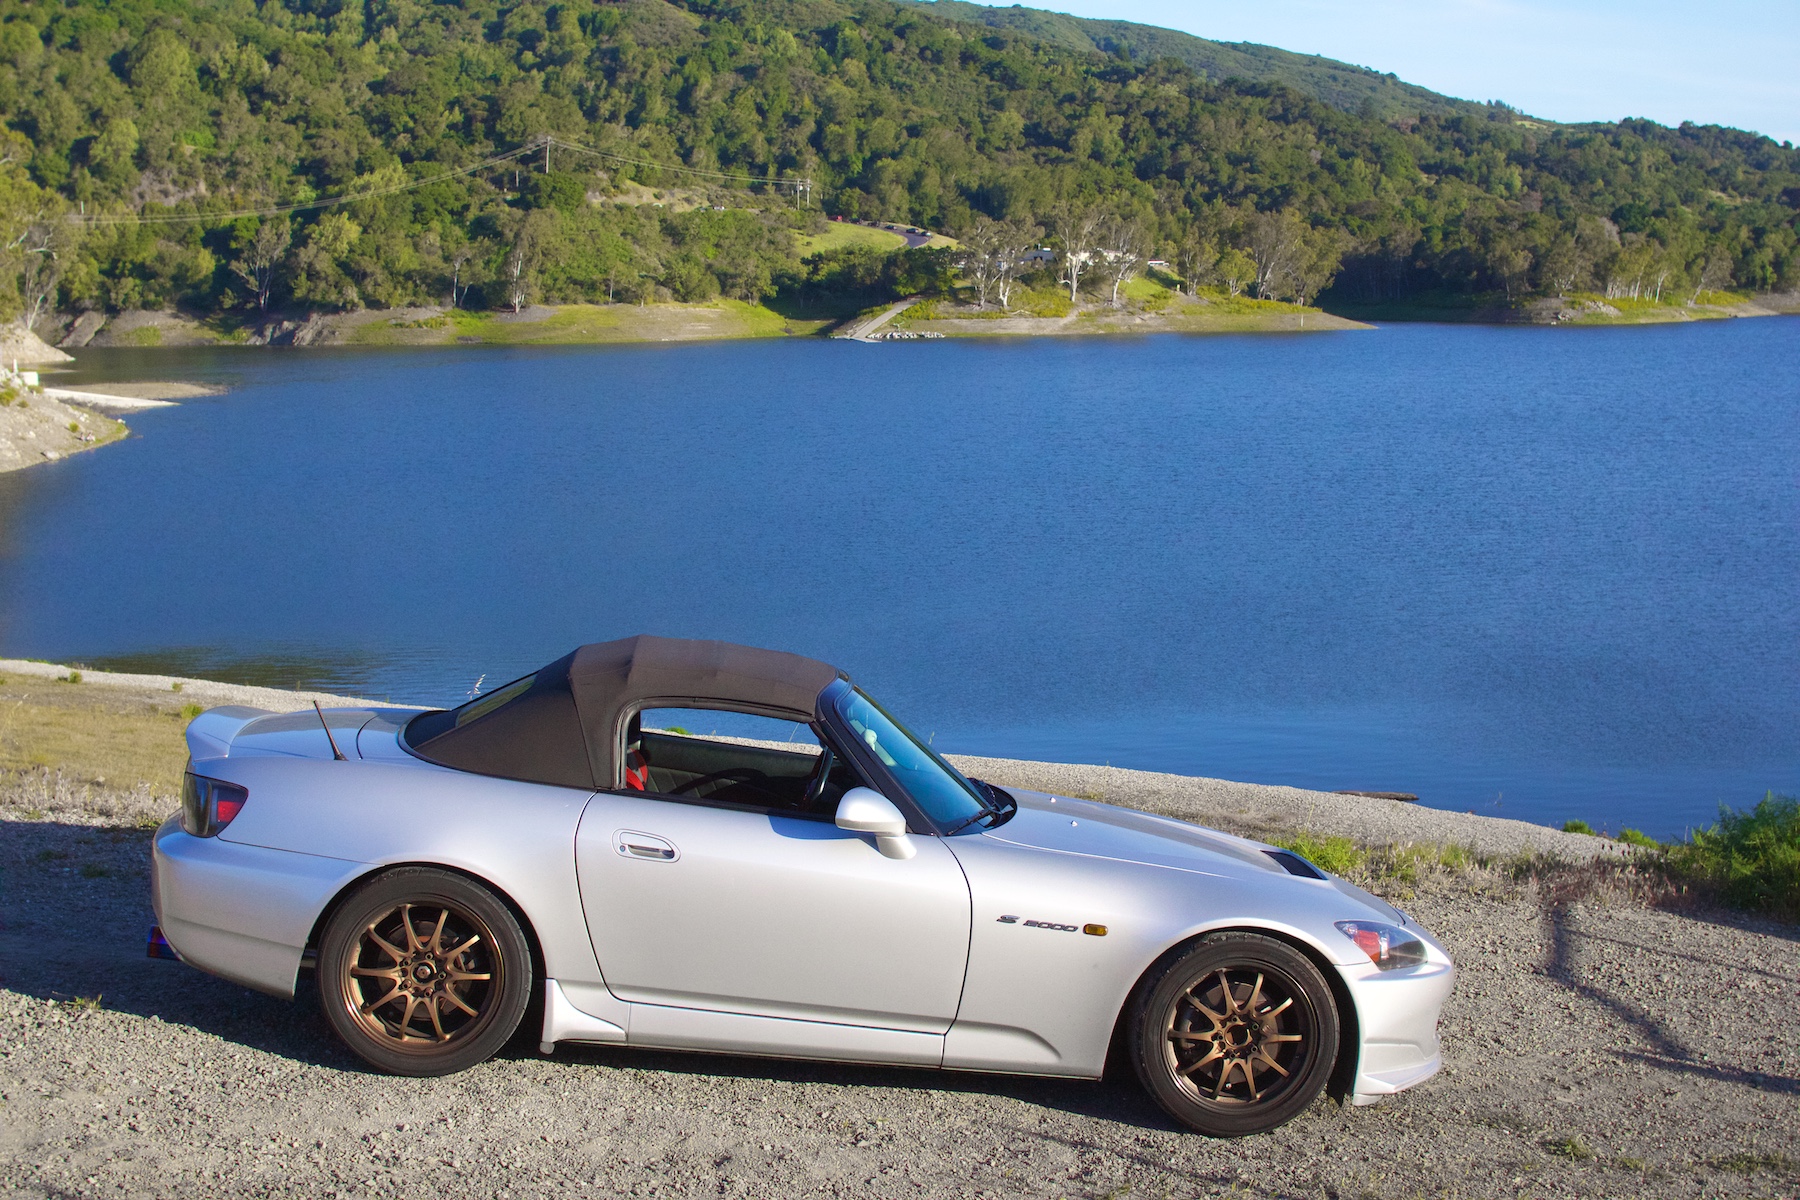
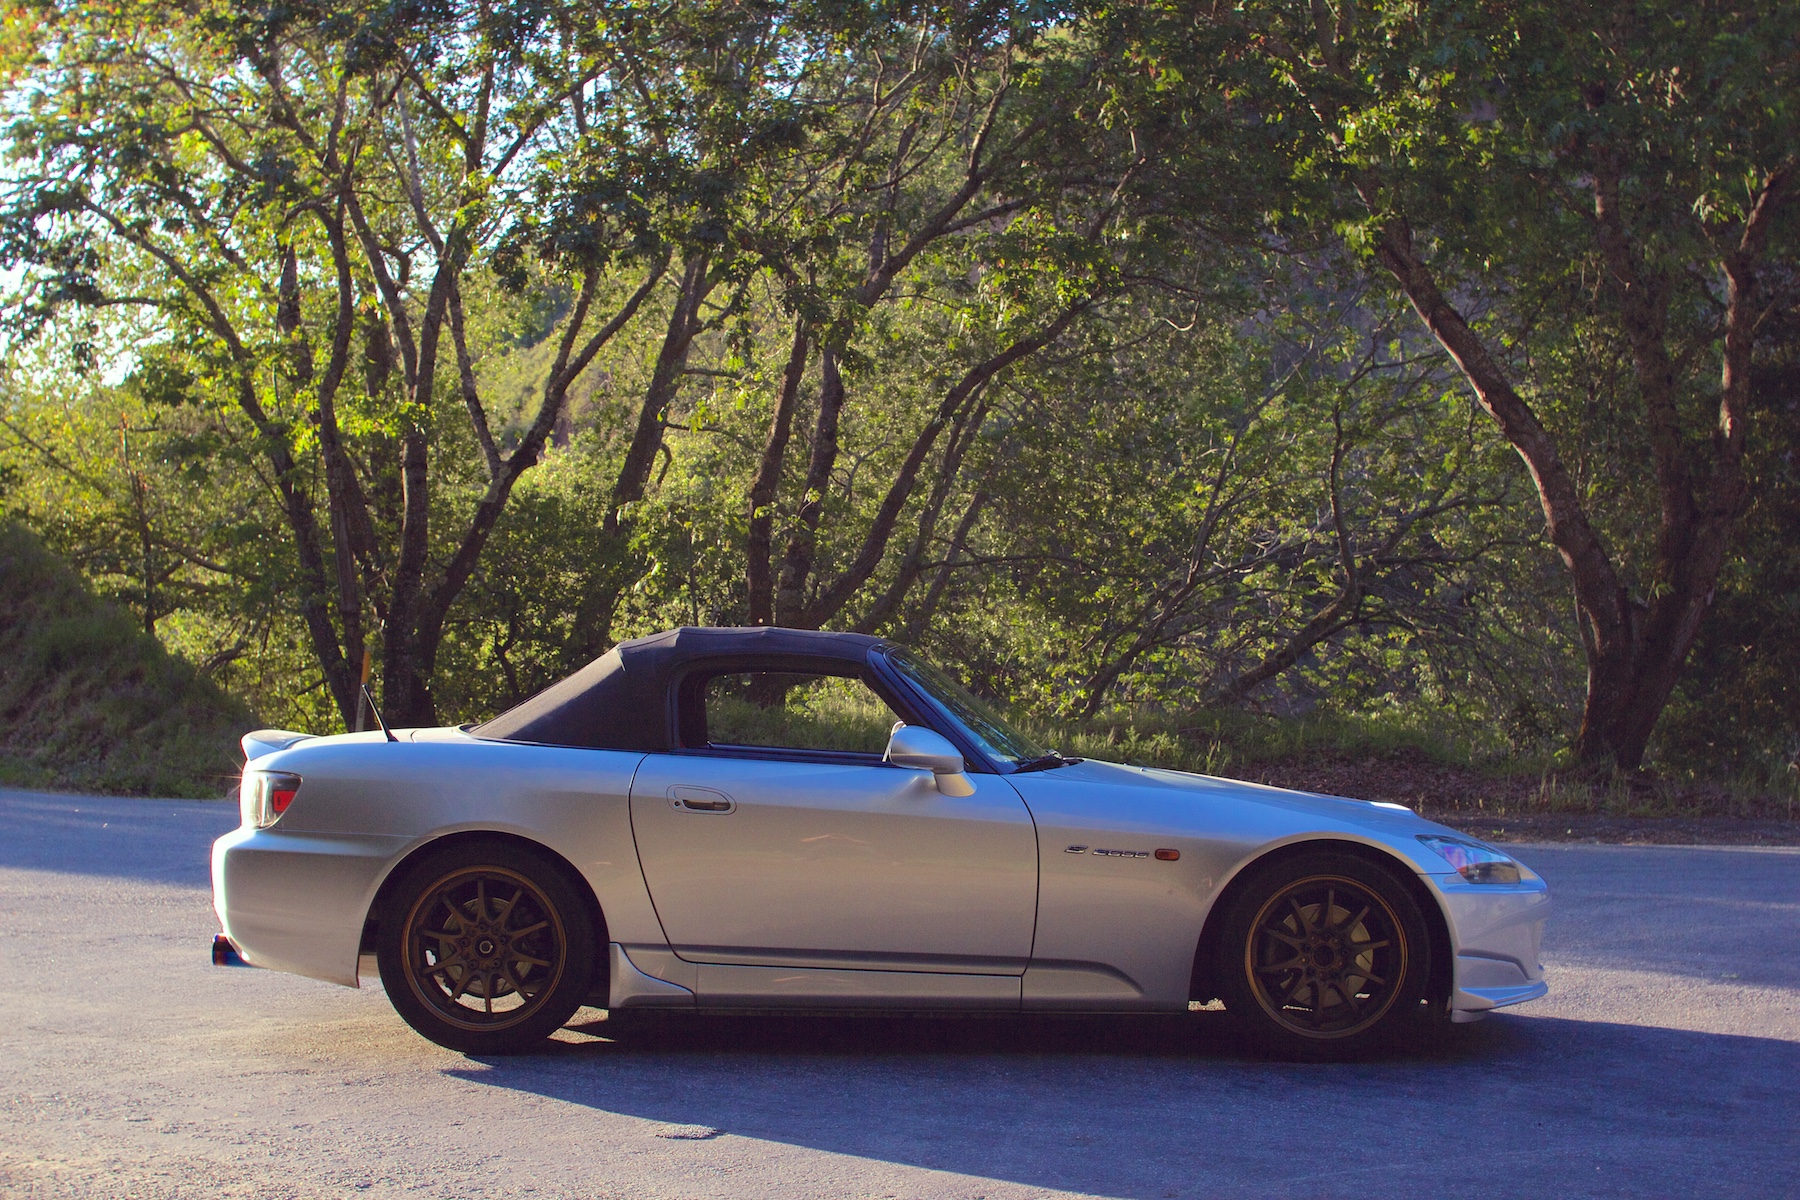
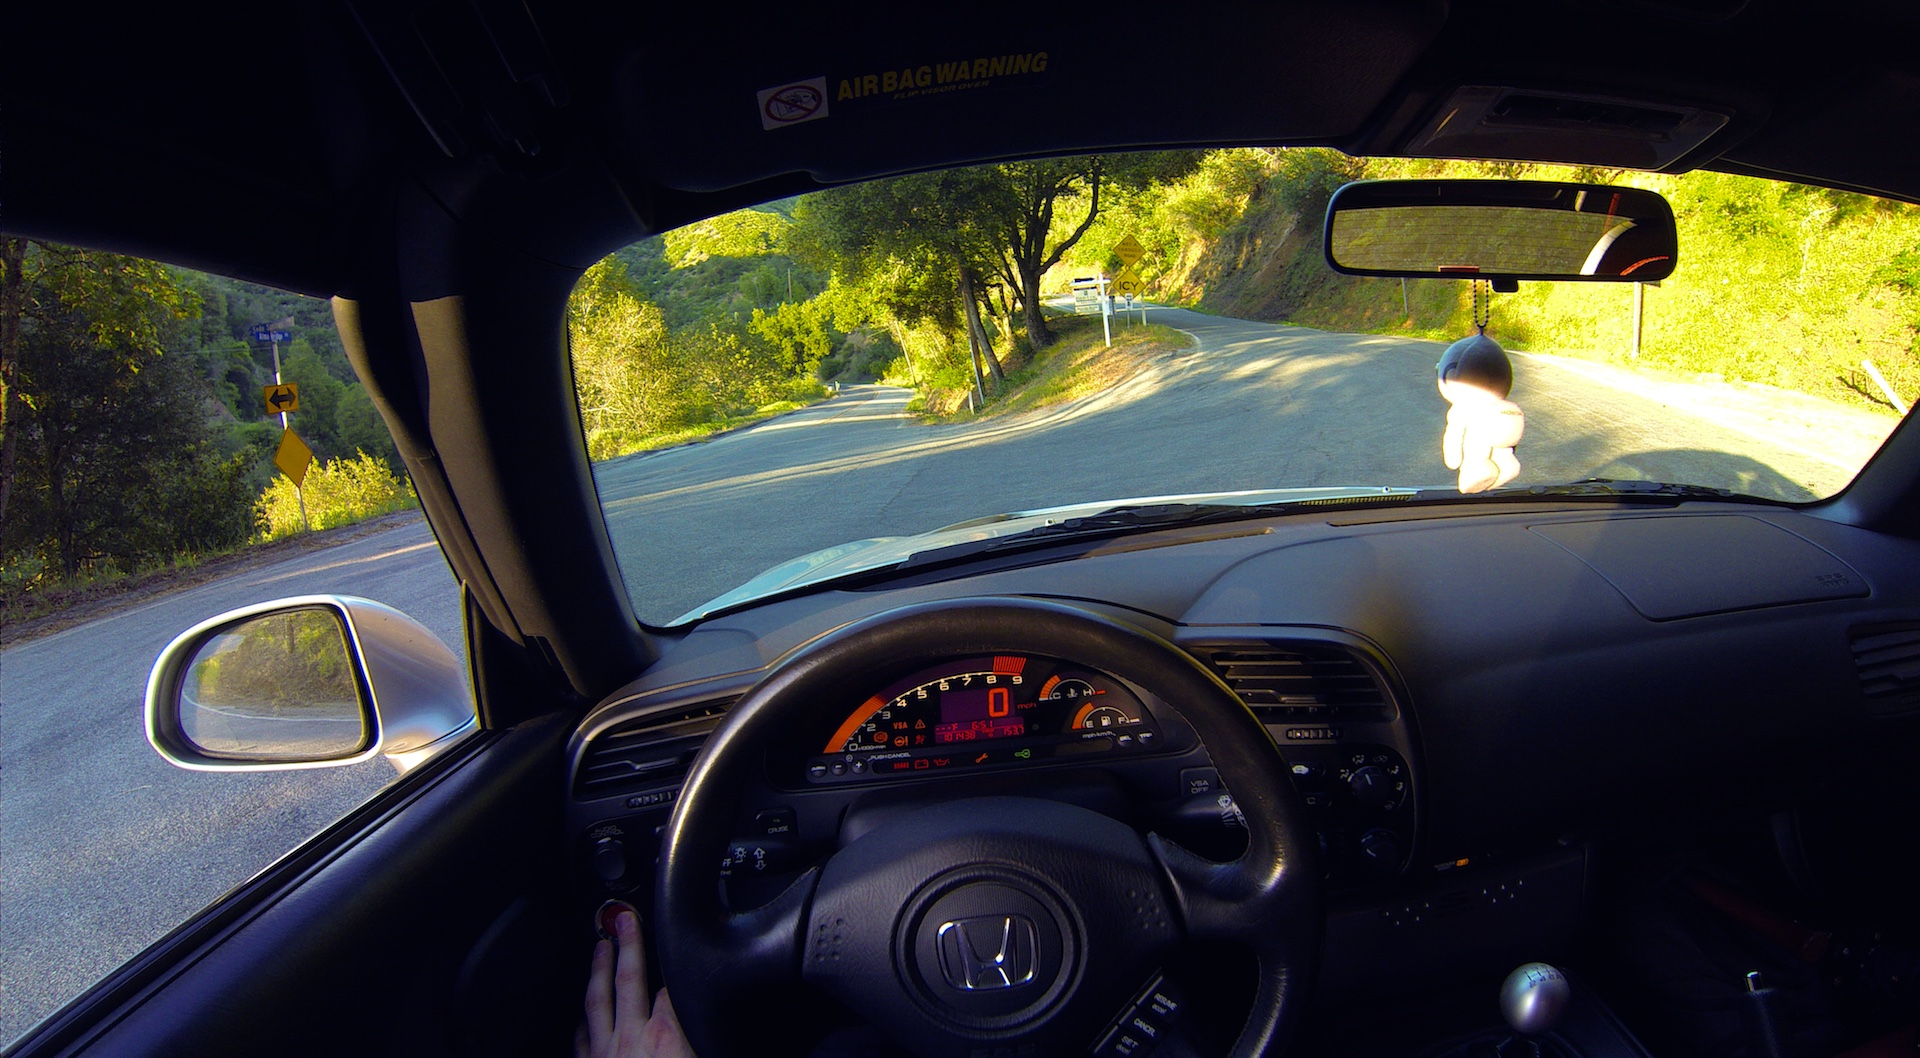
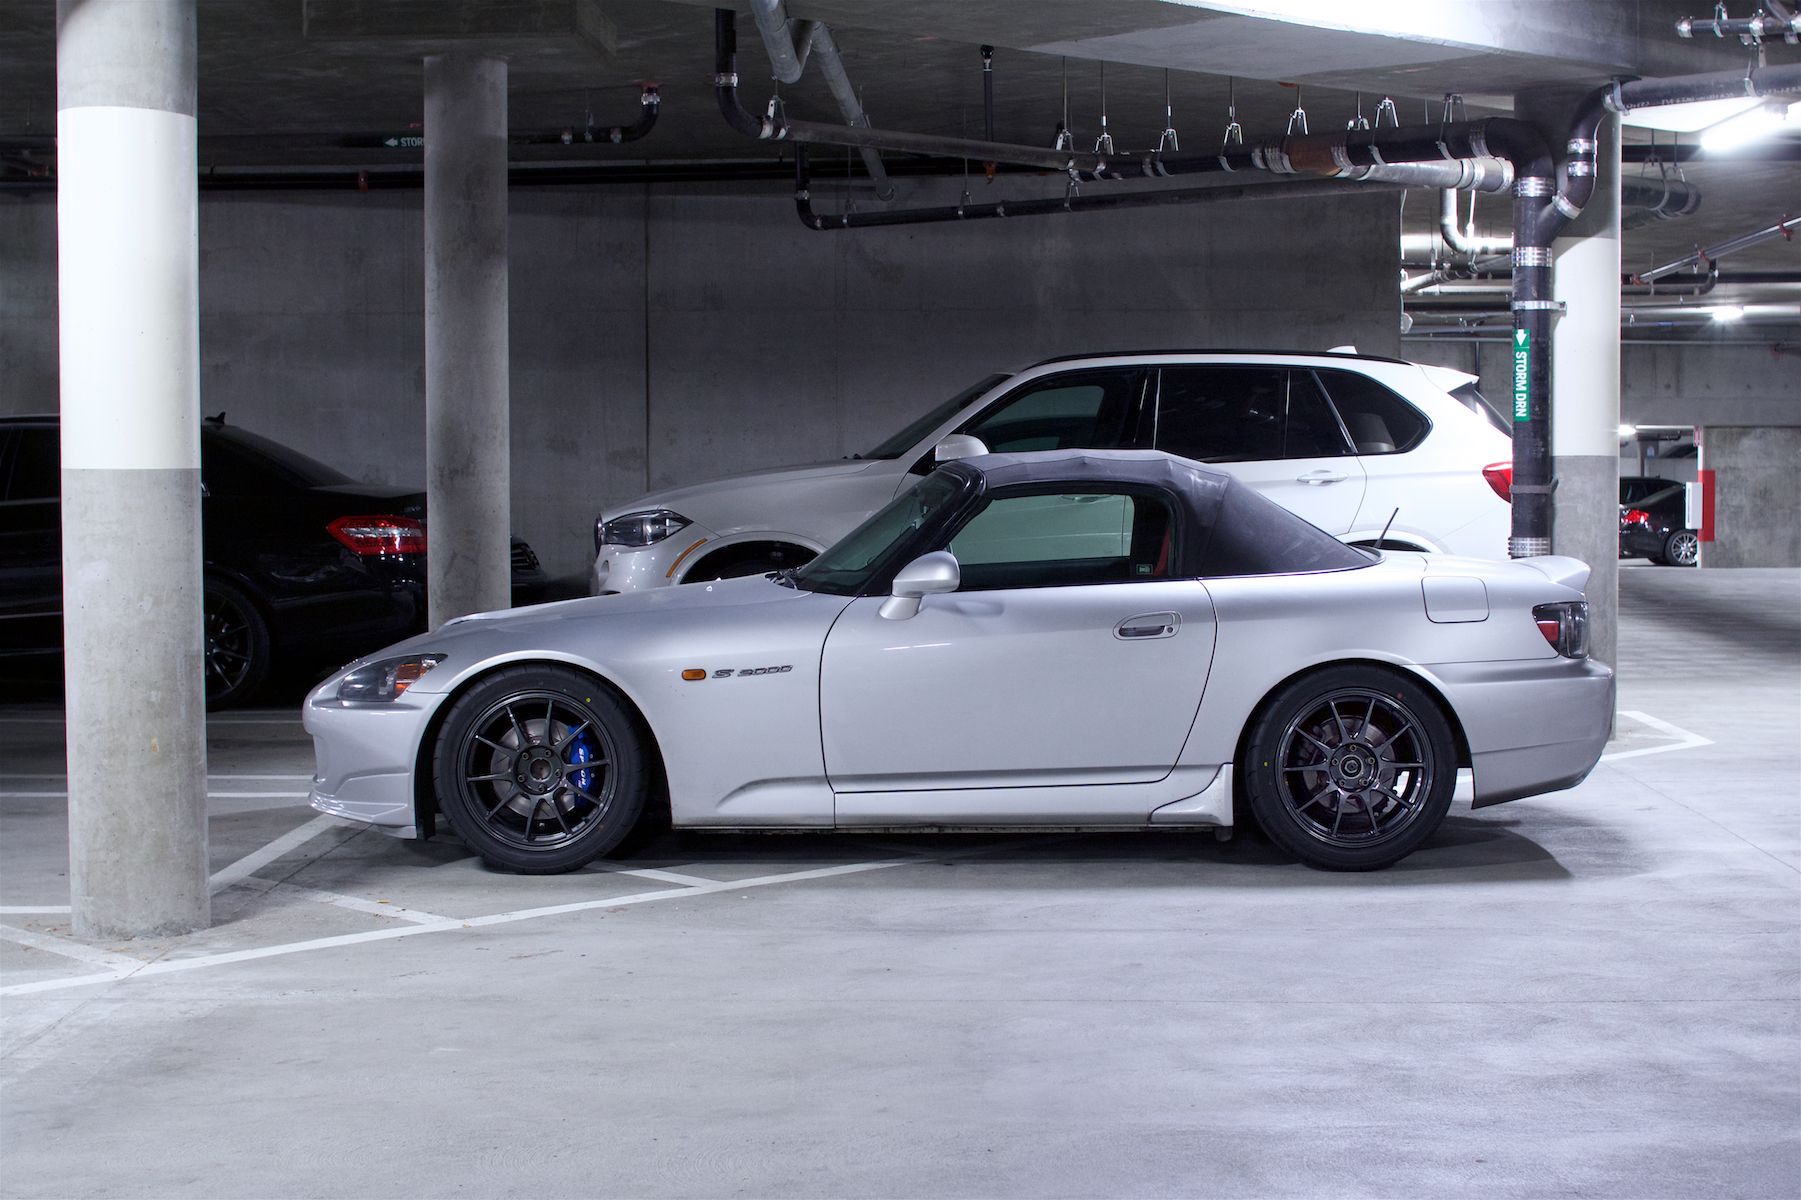
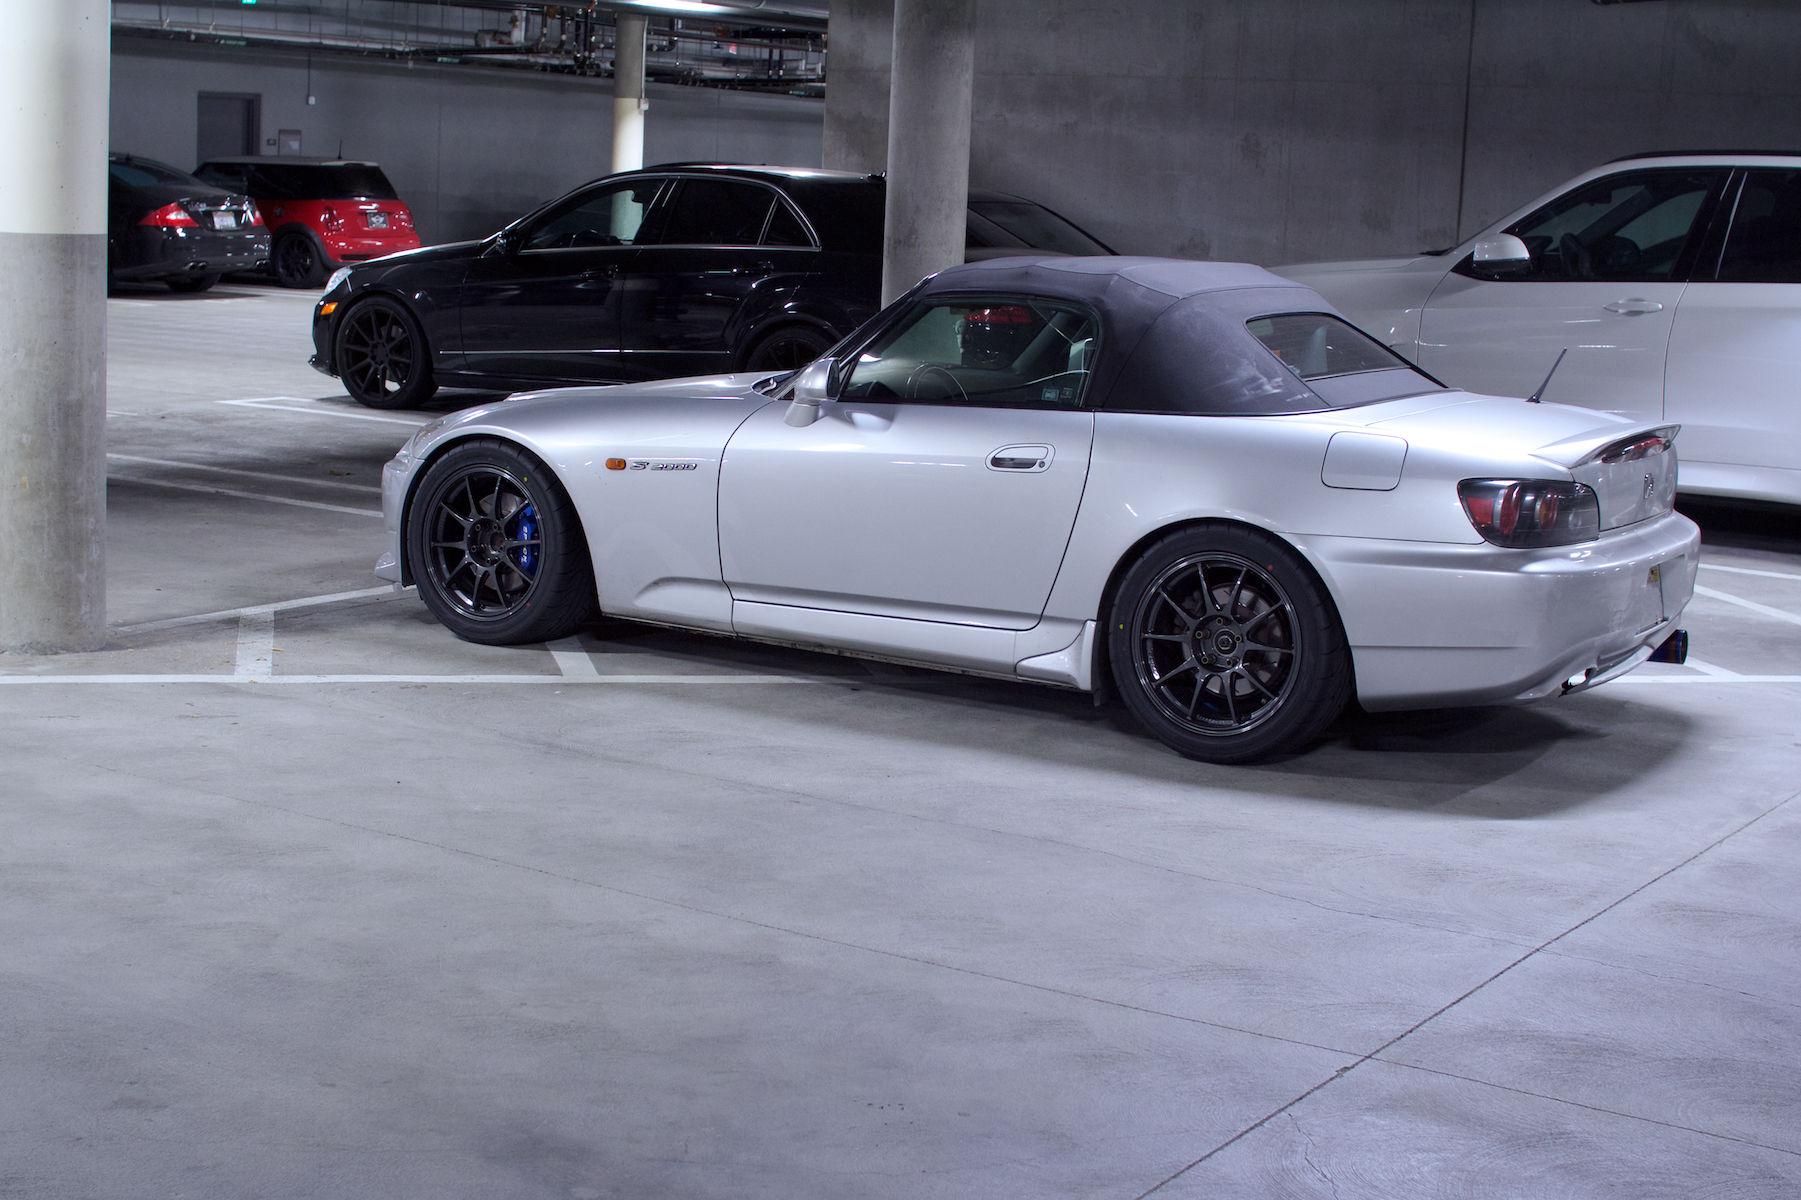
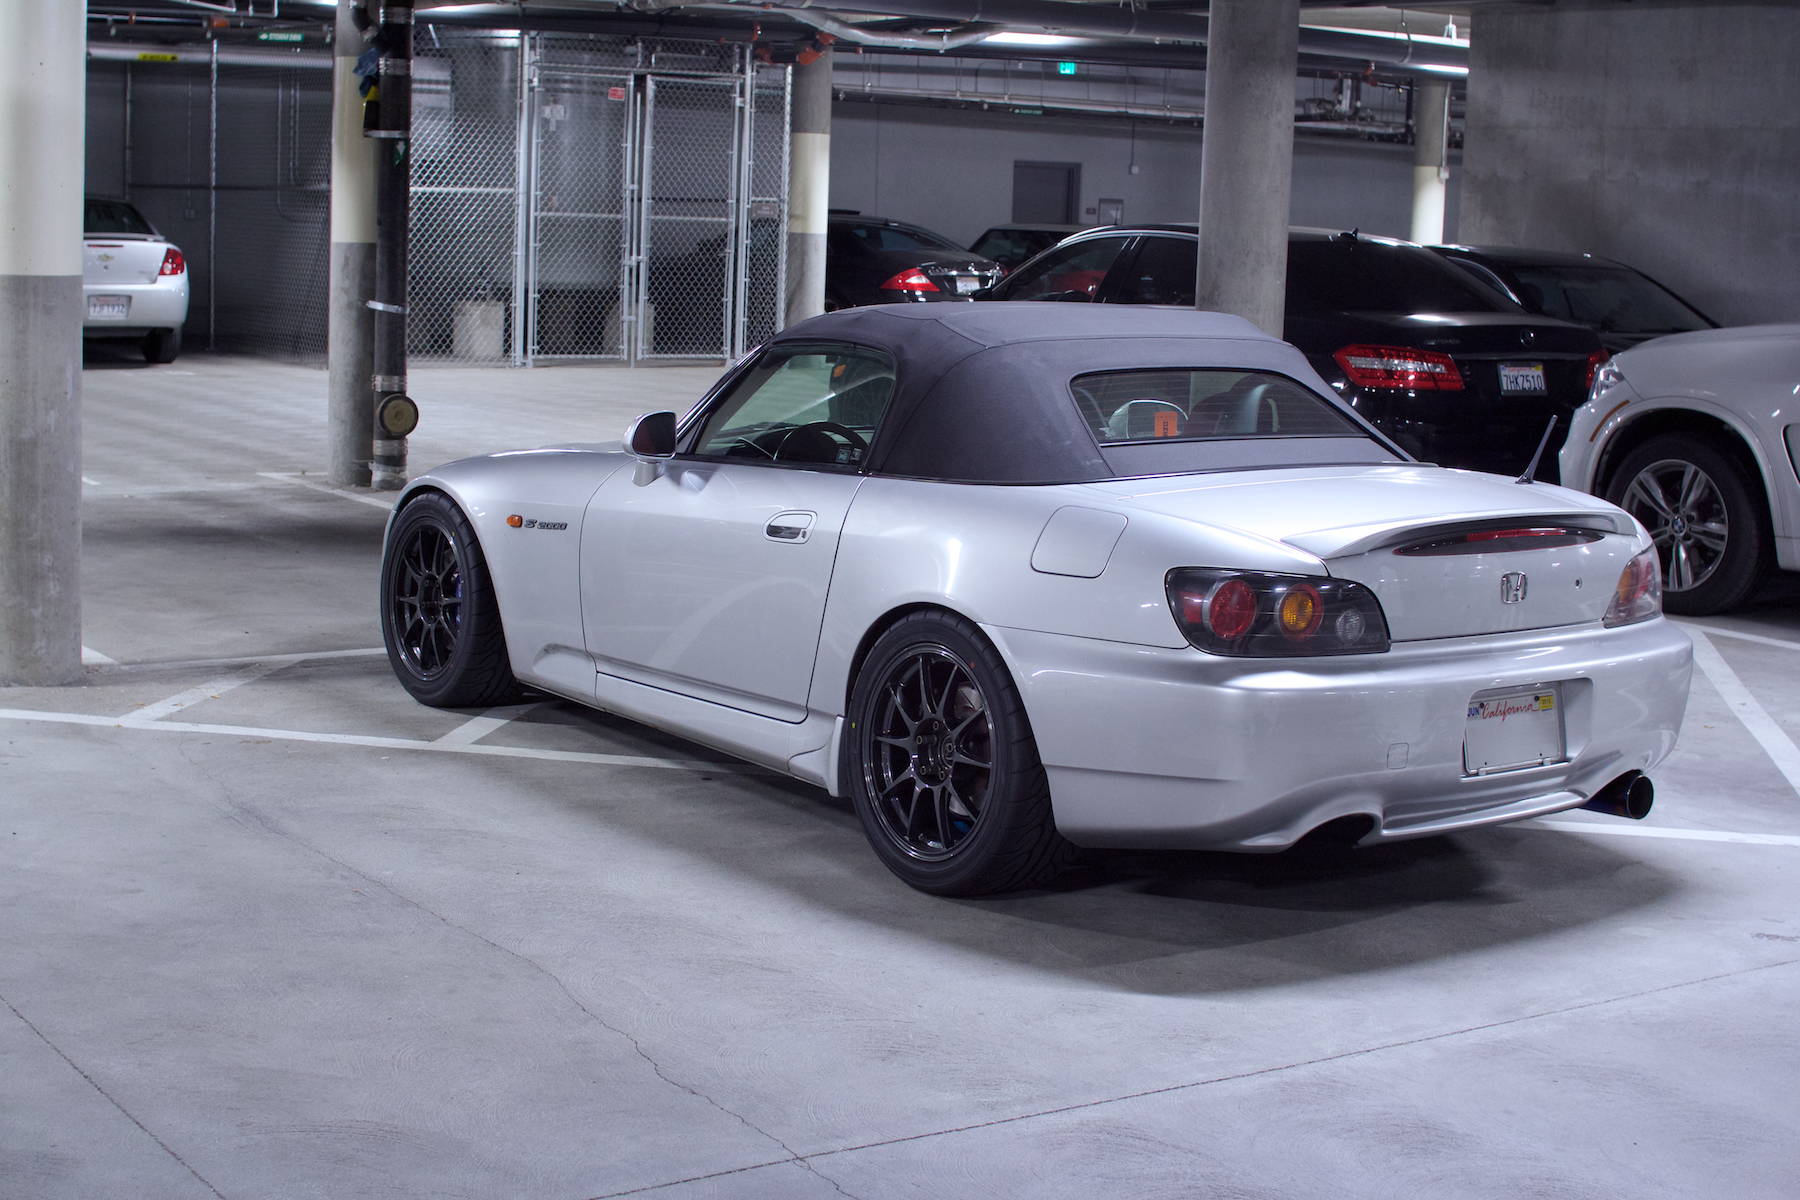
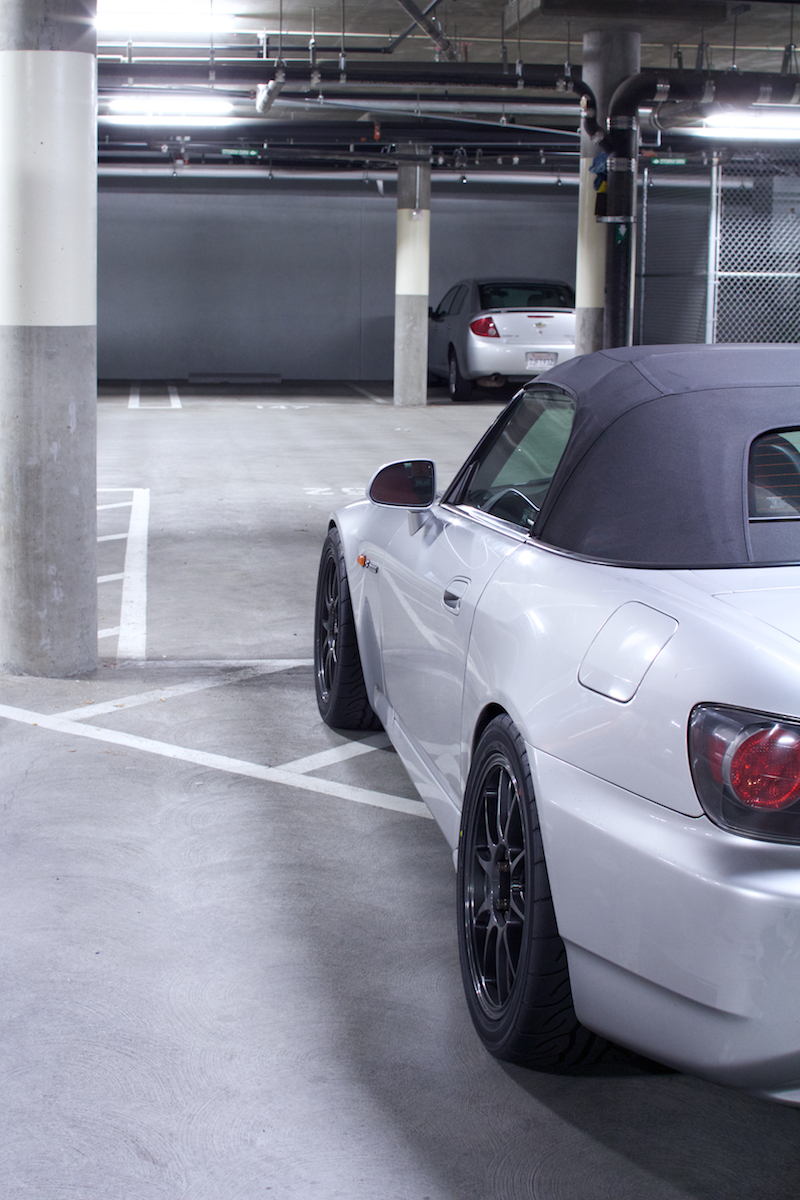
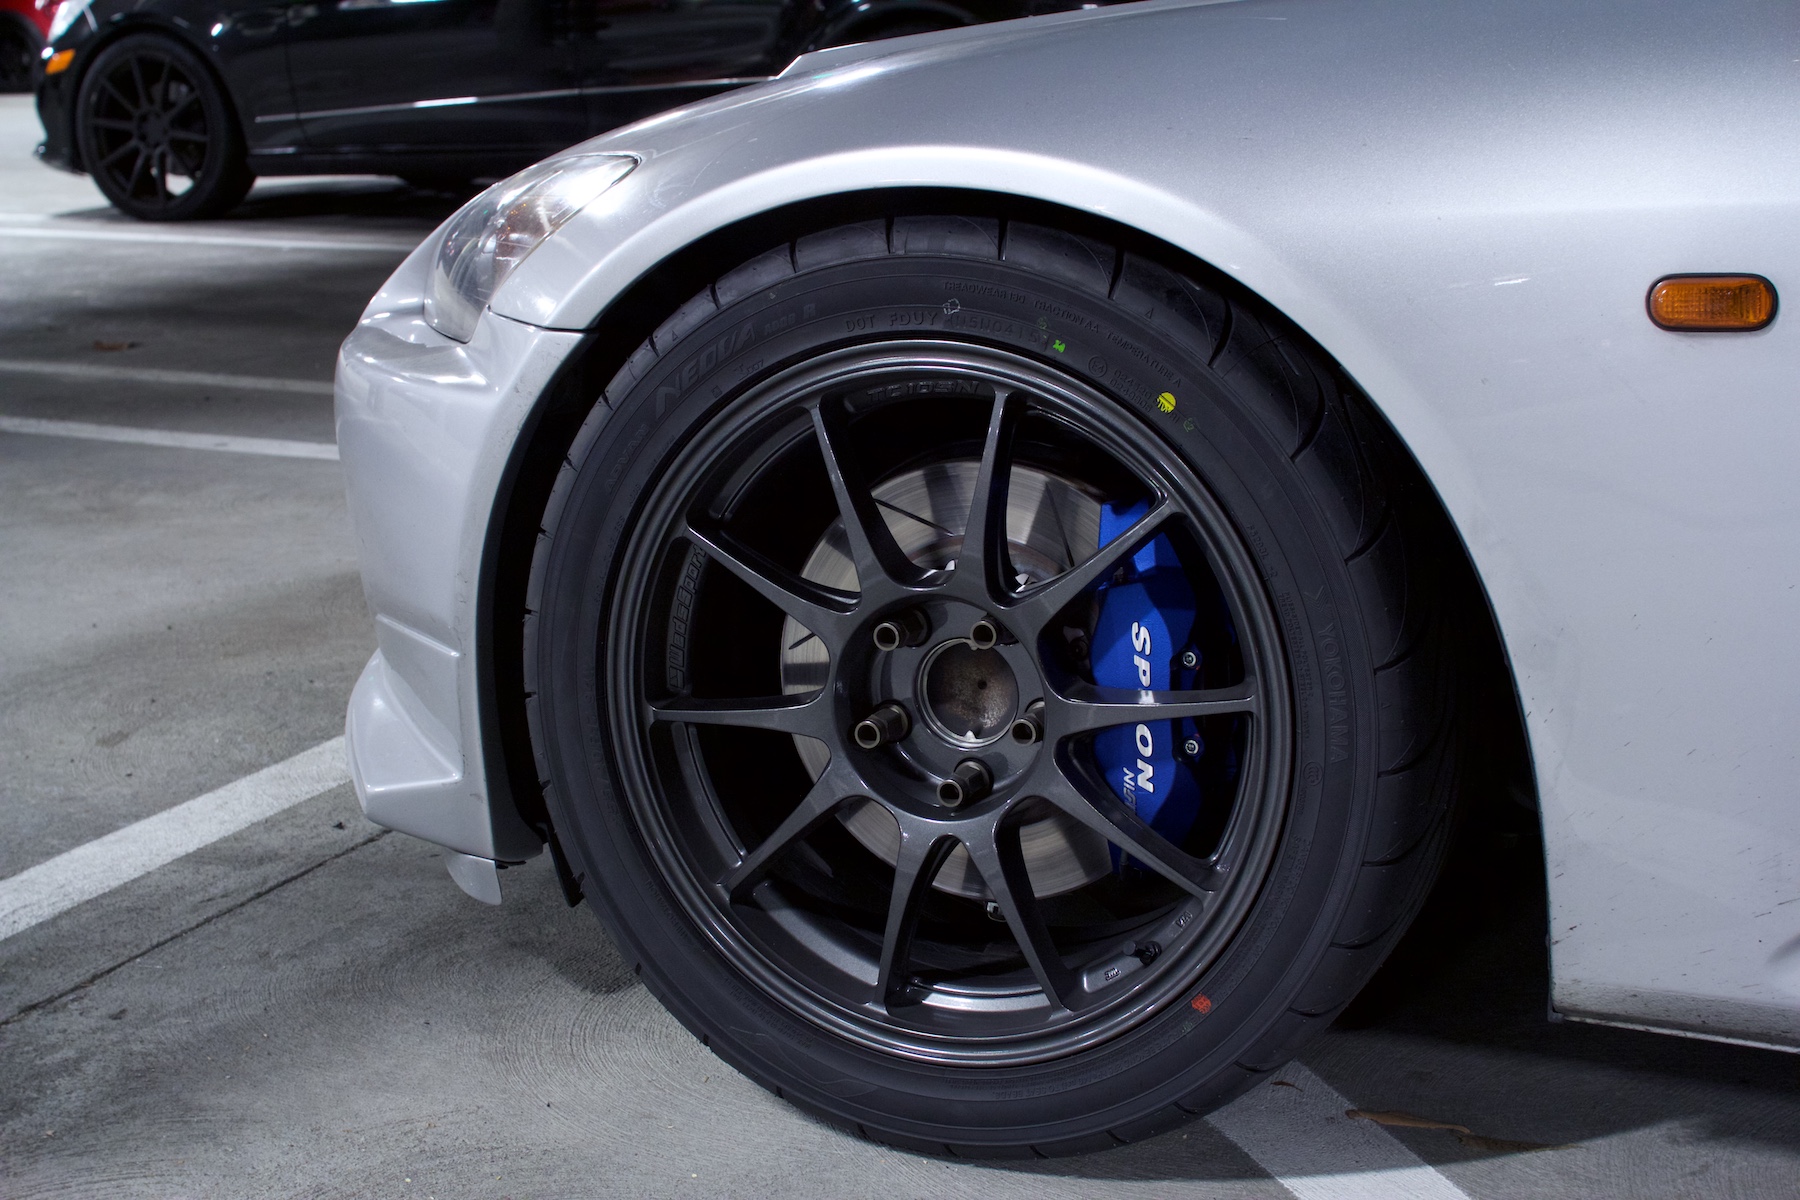
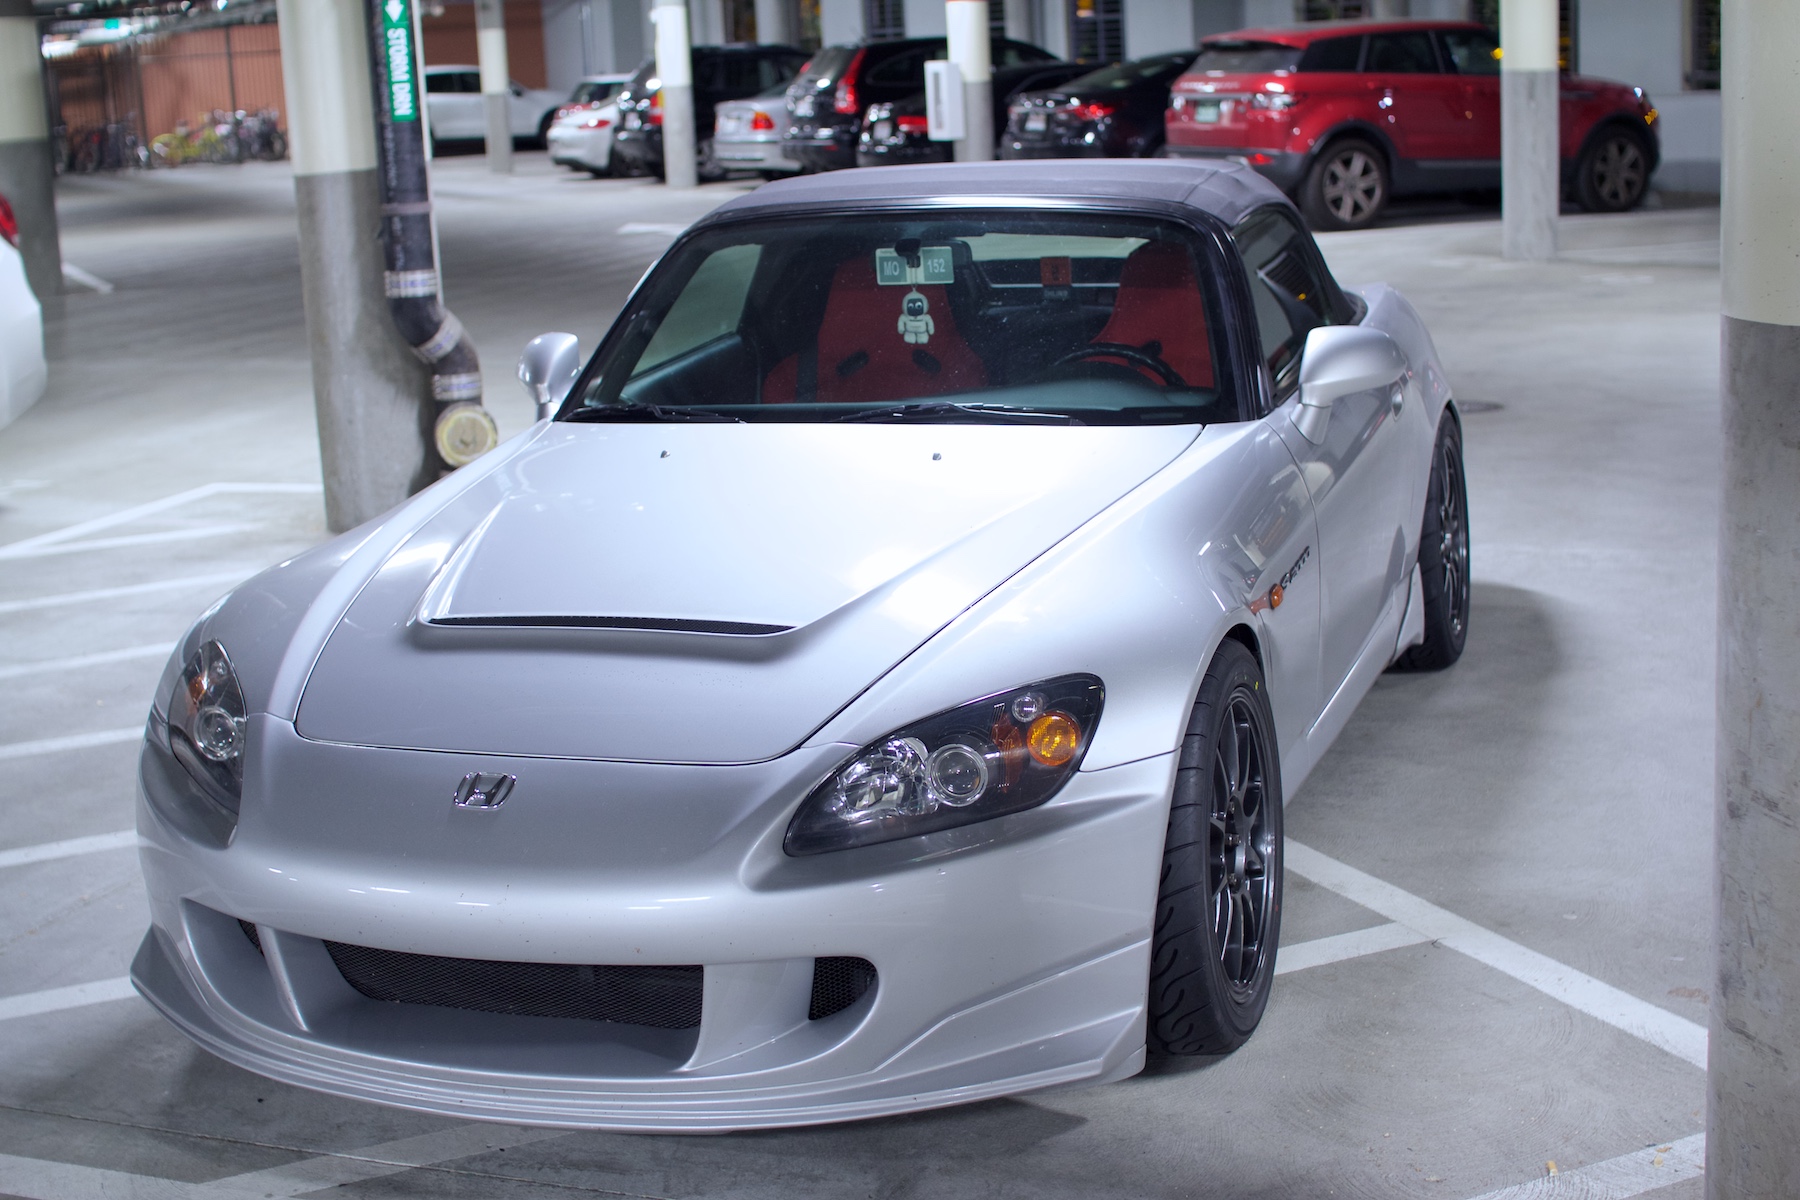
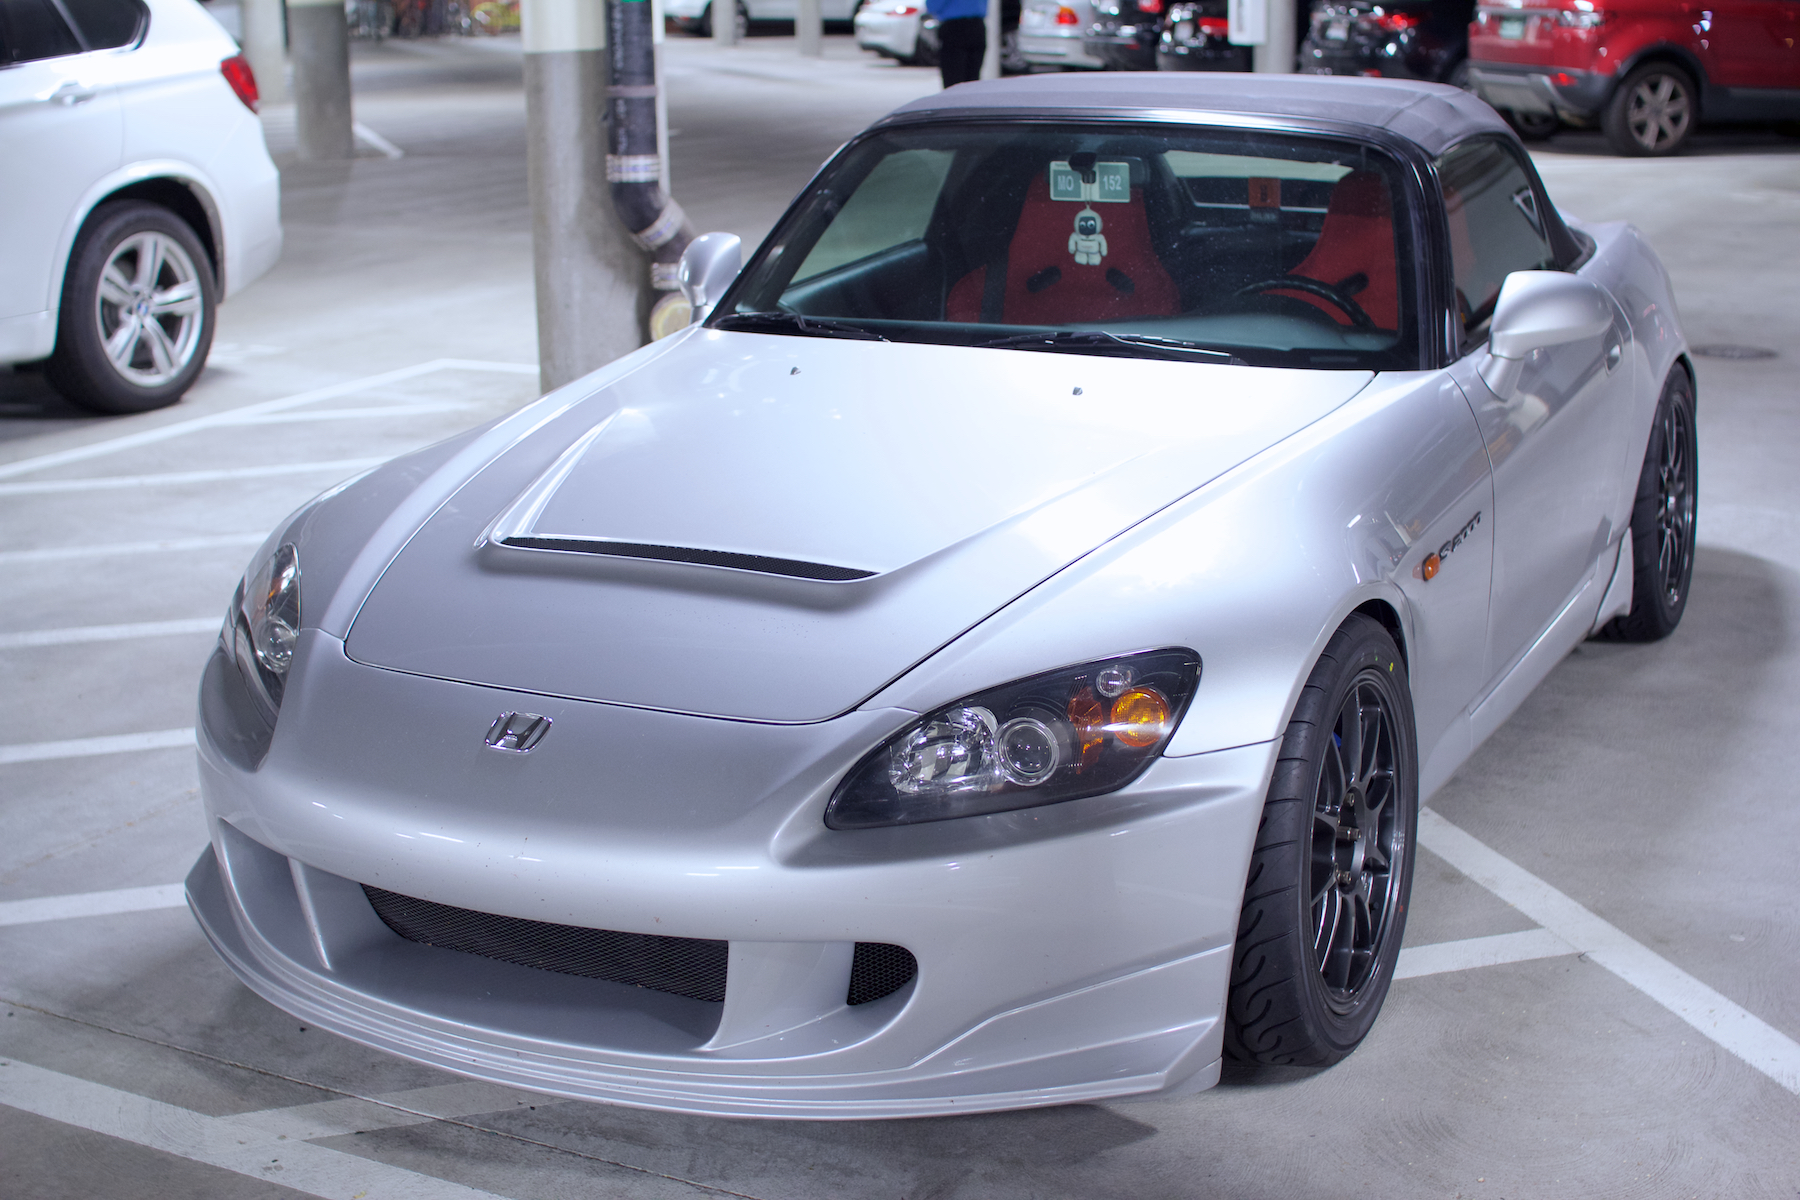
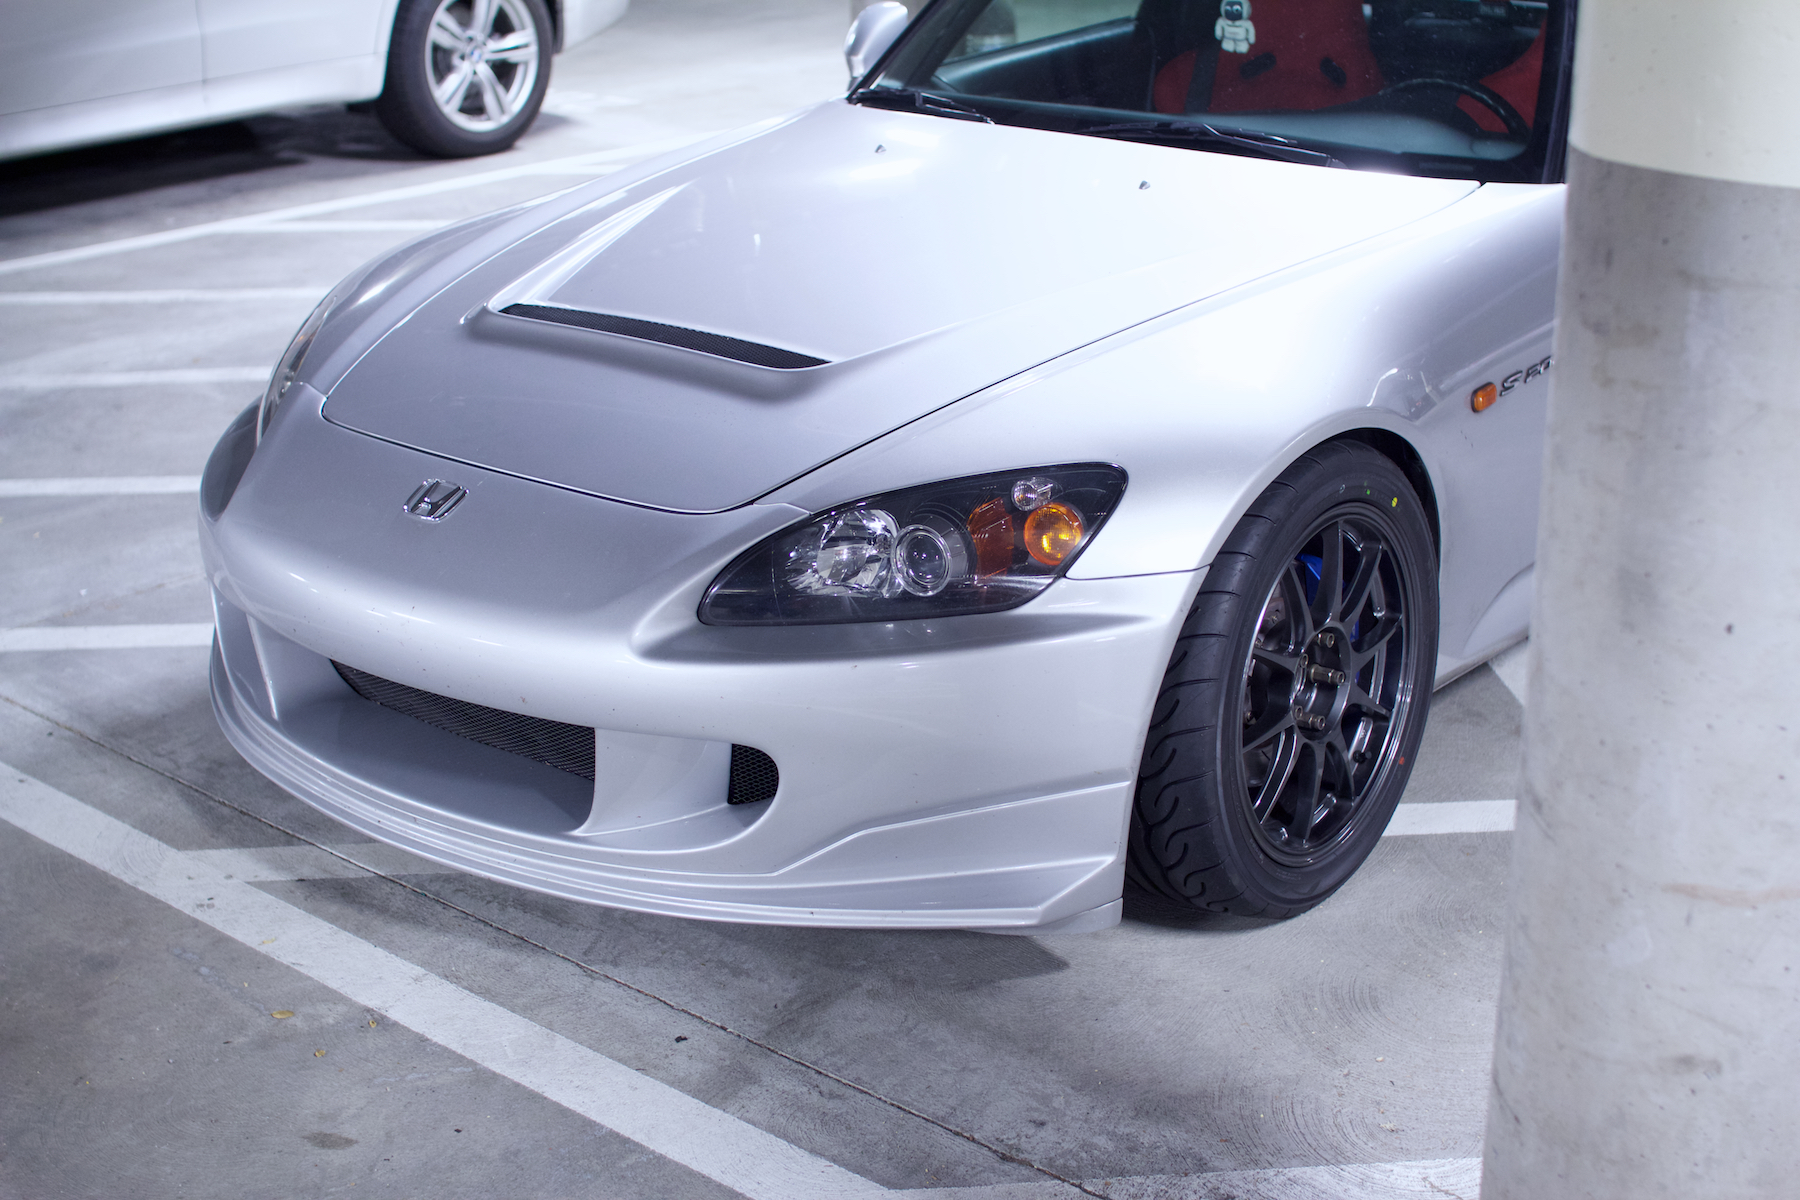
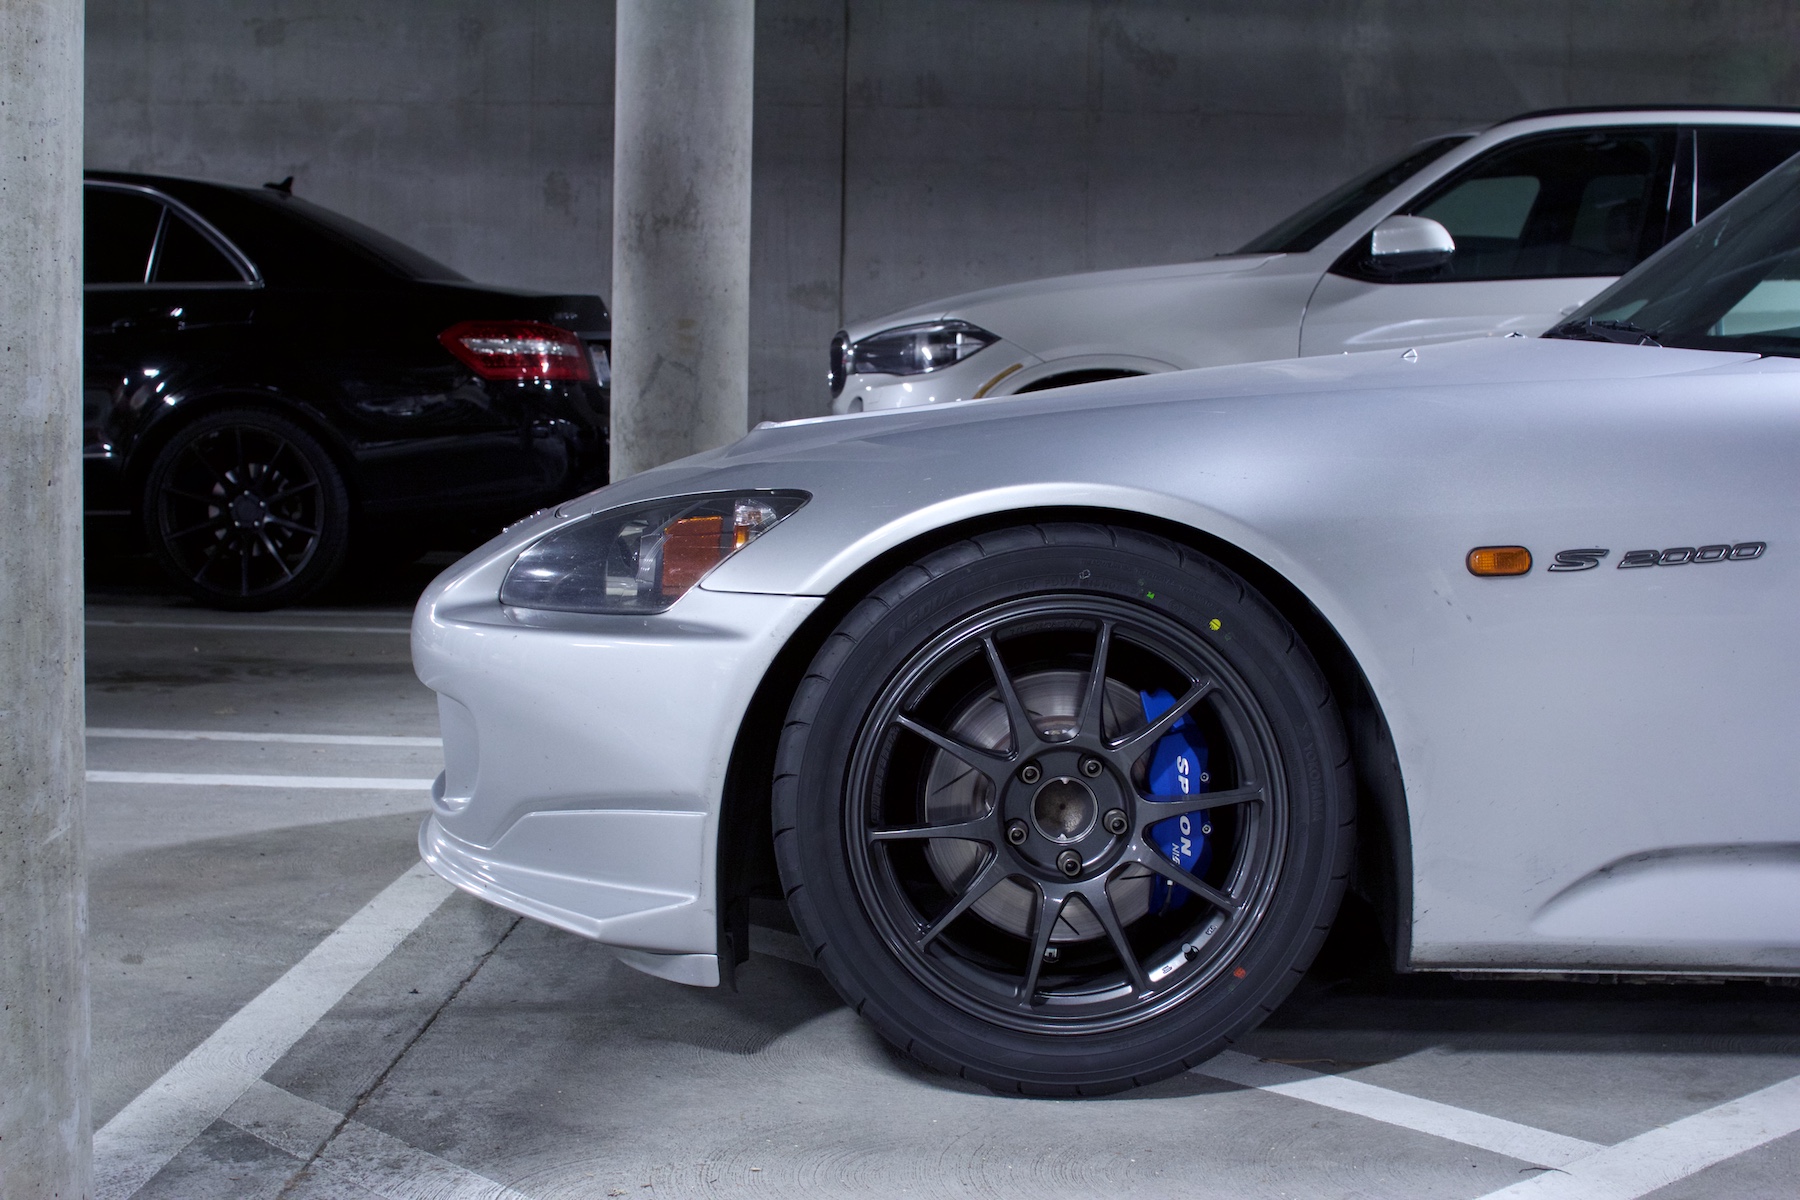
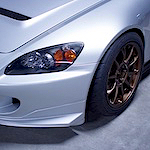
I love my parking spot. So much space to dick around.
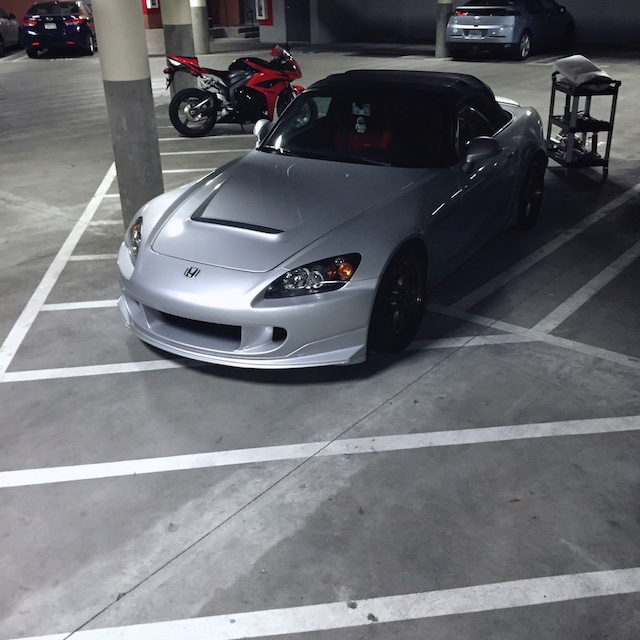
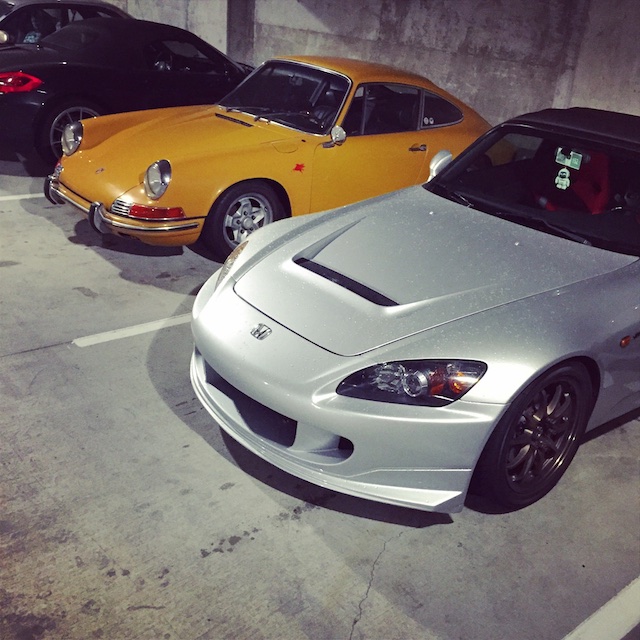
I decided to park my car underground at work today since it was rainy and windy and ended up next to a nice older 911 and a few S2000s nearby.
Mugen intake sound check:
The Mugen intake adds some low end punch back into the sound, with the stock intake and Amuse hood the mechanical engine noise was starting to drown out the induction noise. If you aren't listening on some decent headphones or speakers with some low end don't bother, you might not hear any difference. Again I am surprised at how much the intake changed the sound. It's not really louder it just sounds better. With the OEM intake and hood there was more valve noise so when up close to walls the sound could be a bit weird. Now it has got that low end roar back and better than I ever would have hoped.
I have driven cars with stock exhaust, hood, and K&N intake, the VTEC change over was more of a clear punch in terms of sound than it is with the Mugen, although I do have my VTEC changeover smoothed out from the FlashPro tune, it is definitely a different frequency that the Mugen intake brings out compared to the K&N.
I know people are always clamoring to find a Ver. 1 Mugen intake with the snorkel that goes down in front of the radiator, but I greatly prefer the Ver. 2. Particularly today driving to work in pouring rain. I also think Ver. 2 just looks better in the engine bay. When my bumper was off I actually got some ideas of ways direct more incoming fresh air up through the top of the mouth of the bumper without adding an ugly intake duct on the front. No hurry to mess around with that though.