o_O S2000 | Mk I — Stage II

Permission to engage...

User avatar

andrewhake
Admin
Posts: 580
Joined: Oct 2016
Location: Mt. __________
Contact: YouTube IG
United States of America
#76

03-06-2014

Hello there beautiful..

Authentic Amuse R1 front bumper with custom S-factor splitter. Big thanks again to juntsky for making this available to me and packaging it extremely well. And of course thanks to FISH22 for picking this up initially from GoTuning. :thumbup:

Image

Image

Image

I will be running the bumper without the splitter initially, which comes with support bars that attach the front of the splitter to the center of the bumper. Consider the splitter a sneak peak into stage III, it is very nicely made. I think I should be able to get it the bumper painted and installed in about a month or so. Can't wait!
o_O S2000 | Mark I Stage II...

That’s thirty minutes away. I’ll be there in ten.
User avatar

Topic Author
andrewhake
Admin
Posts: 580
Joined: Oct 2016
Location: Mt. __________
Contact: YouTube IG
United States of America
#77

03-10-2014

Operation grill mesh tabs is going well so far.

Found some stainless cable ties that can be bent:

Image

Trimmed them to a similar size that I have seen on the R1:

Image

And started attaching them with Loctite epoxy:

Image

Image

They seem to be holding pretty well so far. Going to finish the center section of the grill and see how they will hold up. I am sure my body shop can reenforce them a bit if necessary. I am going to talk to the Wasp Composite guys to see if I can get some brake ducts made similar to their AP2 ducts, so I might wait on the side grill tabs for now so the mesh can be properly mounted with the ducts. The mesh is definitely important for brake ducting. Makes it much easier to tape them up to bed-in new brake pads, and I have seen ducting pickup lots of rubber and other debris sending it right to the center of the rotor.
o_O S2000 | Mark I Stage II...

That’s thirty minutes away. I’ll be there in ten.
User avatar

Topic Author
andrewhake
Admin
Posts: 580
Joined: Oct 2016
Location: Mt. __________
Contact: YouTube IG
United States of America
#78

03-11-2014

2006 Honda S2000. 90,000 gentle miles. Has only seen about 8 track days in the past year. Only 15,000 or so touge miles. Has only been lightly jumped 15-20 times...

Image

Not for sale. :LOL:
o_O S2000 | Mark I Stage II...

That’s thirty minutes away. I’ll be there in ten.
User avatar

Topic Author
andrewhake
Admin
Posts: 580
Joined: Oct 2016
Location: Mt. __________
Contact: YouTube IG
United States of America
#79

03-12-2014

Stage II is too much fun...

Image

Image

Image

Image

Image

Image

Image

Image

Got really lucky with this one. This was a part high on my list of things I wanted to do next, and it popped up locally at a good price. Picked it up tonight, drove right to my friends shop and had it installed. It's nice to finally have an engine bay that doesn't look completely stock anymore. Beautifully made part.

Did a quick drive and brake pad bed-in cycle and I am definitely pleased with the changes in steering feel. Once I went past -2 front camber, there was a noticeable softening of the steering feel. It was very apparent after a short drive that the ASM bar has brought that back and then some. Feels more crisp on initial turn in and I have an even better idea of what the front tires are doing. The increase in negative camber up front is absolutely worth that initial loss in steering feel, because the grip increase is dramatic, it is great that there are parts like these that help bring back that feel and even improve upon it. It is less important but something I really like is when just cruising around slowly the steering no longer has a sort of softened initial turn in at low speeds. Those fine adjustments feel direct again like they did on an OEM alignment.

:thumbsup:
o_O S2000 | Mark I Stage II...

That’s thirty minutes away. I’ll be there in ten.
User avatar

Topic Author
andrewhake
Admin
Posts: 580
Joined: Oct 2016
Location: Mt. __________
Contact: YouTube IG
United States of America
#80

03-19-2014

Still editing organizing and editing video, but not this one. :)

Honda Tuning Cup! 5 lap battle.

o_O S2000 | Mark I Stage II...

That’s thirty minutes away. I’ll be there in ten.
User avatar

Topic Author
andrewhake
Admin
Posts: 580
Joined: Oct 2016
Location: Mt. __________
Contact: YouTube IG
United States of America
#81

03-20-2014

Here is my fastest lap of 13CW from Sunday:


Nice and cool in the first two morning sessions. Way too hot in the afternoon to set any faster laps. You will notice that I lift massively after phil hill to let a friend by so lost a ton of time on this lap. Will be shooting for a 2'05 on my next visit to Buttonwillow. The car is SIGNIFICANTLY easier to drive here with the new suspension setup. On Saturday we ran 1CCW and I ran the dampers at 10 clicks, on Sunday I switched to my usual 8 clicks and the car felt much better this way. Buttonwillow is completely covered in nasty high speed bumps, and it gets worse each time I visit it seems. Adequate high speed rebound becomes very important, but I wouldn't exactly call it a good overall testing ground for dampers. Chunking and massive dips at every apex aren't really the norm at any other track. I honestly don't understand how it has become such a popular destination for time attack. The track is changing all the time, and the weather lap time variance is absolutely massive. It is an excellent layout and is always really fun but using it as a benchmark for a car is a total crap shoot. It is much more about how much seat time a driver has at the track and how much they have learned to properly use the awful track surface to their advantage. Very similar to touge driving, which I can do every weekend for free. When I take the time and money to visit a track I want to be able to put the car to the test, not so much myself.

It is still always a lot of fun. But I am almost certain Thunderhill West is going to to be a much better testing ground once it is completed and will be much better maintained and more consistent. I understand why people love it, it is the same reason I spend so much time in the mountains, but driving 3.5 hours to a track in the middle of nowhere with a terrible surface, no real elevation change, and hot weather is a hard sell when I can head to the mountains every weekend in 15 minutes and have just as much fun on much more interesting roads. All that said I am sure I will be back later this year. :)
o_O S2000 | Mark I Stage II...

That’s thirty minutes away. I’ll be there in ten.
User avatar

Topic Author
andrewhake
Admin
Posts: 580
Joined: Oct 2016
Location: Mt. __________
Contact: YouTube IG
United States of America
#82

03-21-2014

Some great photos from Buttonwillow taken by Bill Wang.

Image

Accidentally left my wheel caps on for my first session on Saturday, promptly removed them so they didn't get toasted and risk them flying off on the track, but man they look good.

Image

Image

Slidey, slidey...

Image

Image

Image

Image

Image

Image

Image

Image

Image

Image

Image

Image

Image

Image

Image

Image

Image

Image

Image

Image

Image

Image
o_O S2000 | Mark I Stage II...

That’s thirty minutes away. I’ll be there in ten.
User avatar

Topic Author
andrewhake
Admin
Posts: 580
Joined: Oct 2016
Location: Mt. __________
Contact: YouTube IG
United States of America
#83

03-21-2014

o_O S2000 | Mark I Stage II...

That’s thirty minutes away. I’ll be there in ten.
User avatar

Topic Author
andrewhake
Admin
Posts: 580
Joined: Oct 2016
Location: Mt. __________
Contact: YouTube IG
United States of America
#84

03-21-2014

One of a kind (at the moment) APR pre-preg carbon fiber brake duct inlets! These things are beautifully made. Sized for a slightly larger stop tech rotor but should still work well on OEM sized rotors. The inlet does direct air onto the face of the rotor but it also directs a massive amount of air to the center of the rotor. Much more than any other inlets. These also still retain most of the appropriate balljoint shielding that the OEM dust shield provided.

Image

Image

Image

Image

Image

Just need to finish working out a ducting solution for the R1 front bumper now. I think I am going to wait to go to the body shop until have a ducting solution made, I think. :)
o_O S2000 | Mark I Stage II...

That’s thirty minutes away. I’ll be there in ten.
User avatar

Topic Author
andrewhake
Admin
Posts: 580
Joined: Oct 2016
Location: Mt. __________
Contact: YouTube IG
United States of America
#85

03-27-2014

Oh you learned how to do donuts in your S2000? That's cute..

Image

This is how I say hello to my touge friends. We do the dance of our native people.
o_O S2000 | Mark I Stage II...

That’s thirty minutes away. I’ll be there in ten.
User avatar

Topic Author
andrewhake
Admin
Posts: 580
Joined: Oct 2016
Location: Mt. __________
Contact: YouTube IG
United States of America
#86

04-04-2014

S2000 doing some pole dancing..

Image
o_O S2000 | Mark I Stage II...

That’s thirty minutes away. I’ll be there in ten.
User avatar

Topic Author
andrewhake
Admin
Posts: 580
Joined: Oct 2016
Location: Mt. __________
Contact: YouTube IG
United States of America
#87

04-13-2014

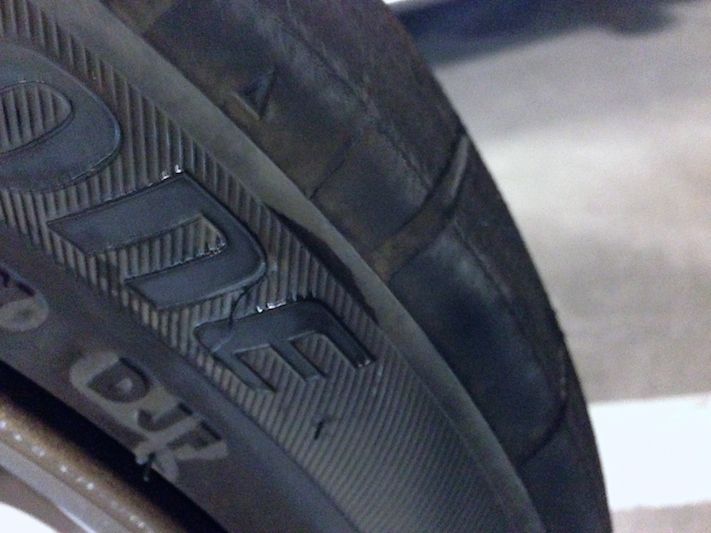
After my many miles in the mountains, I finally managed to get a puncture. Crazy foggy night when I came around a corner and there was a nice sharp rock in the road which I managed to miss with my front tire but just clipped with my left rear. It punctured the sidewall enough to completely put the tire out of commission but luckily no damage at all to the wheel. :)

Image

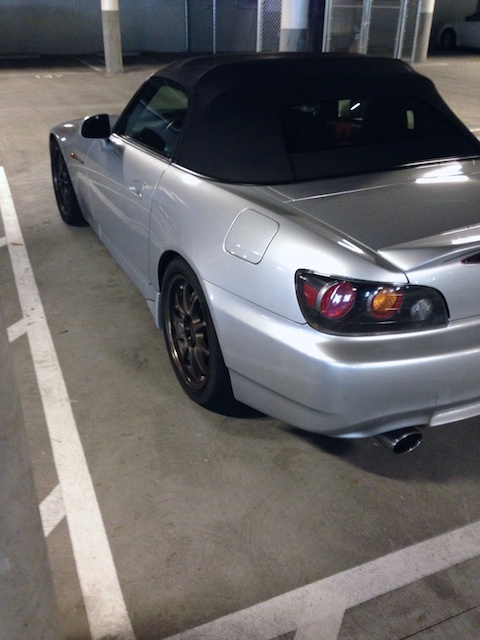
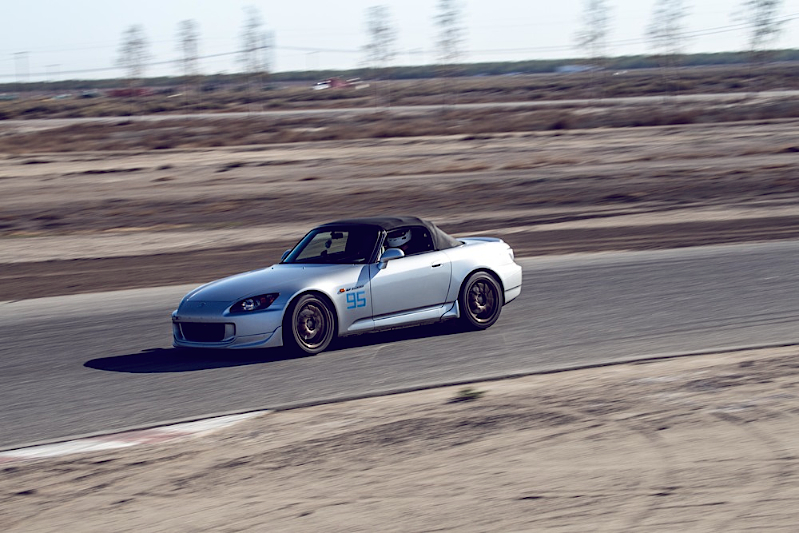
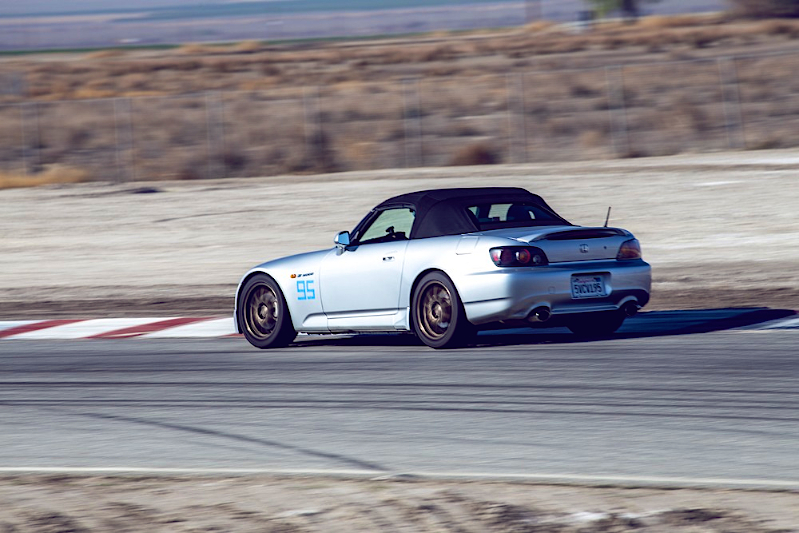
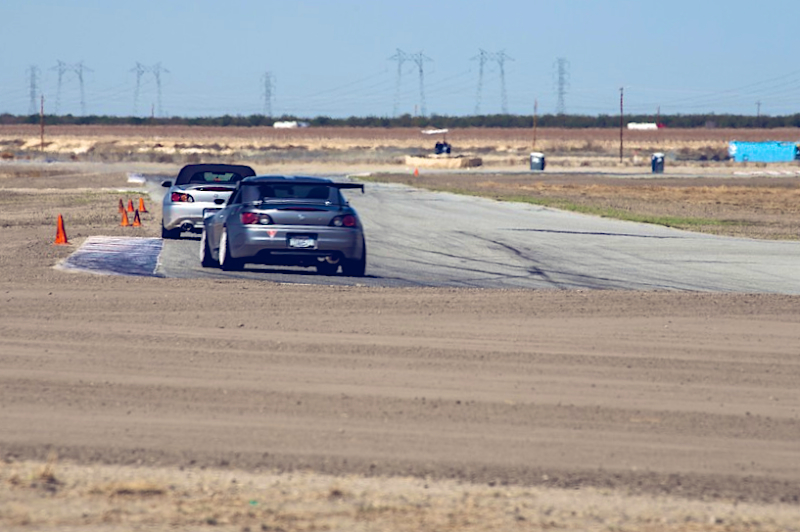
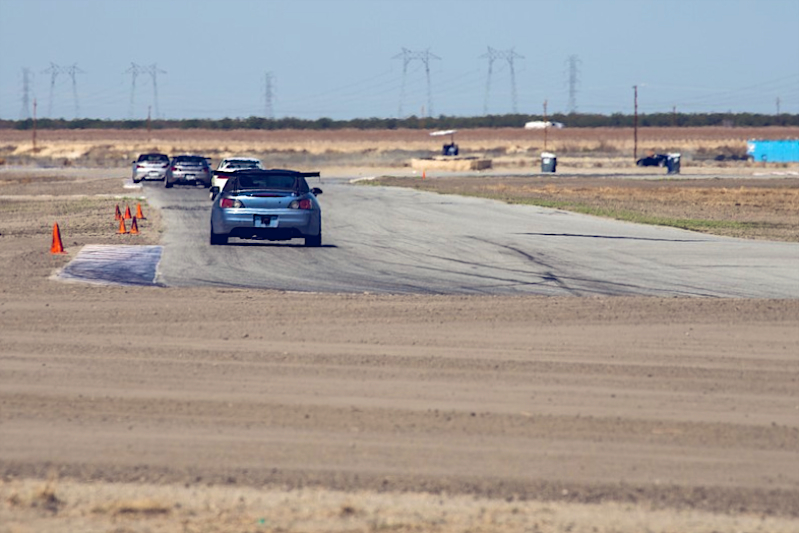
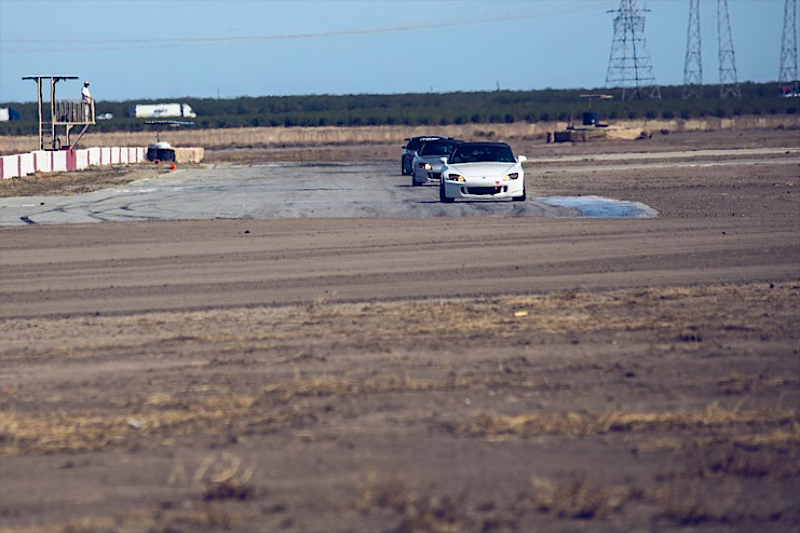
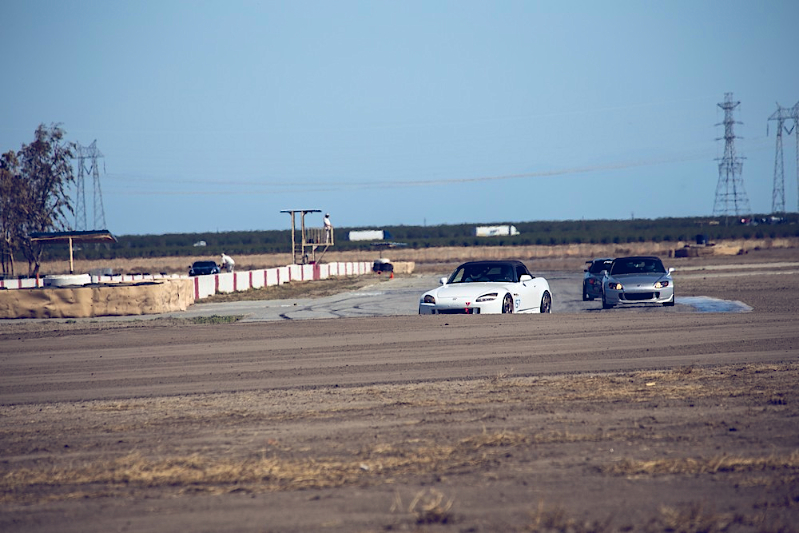
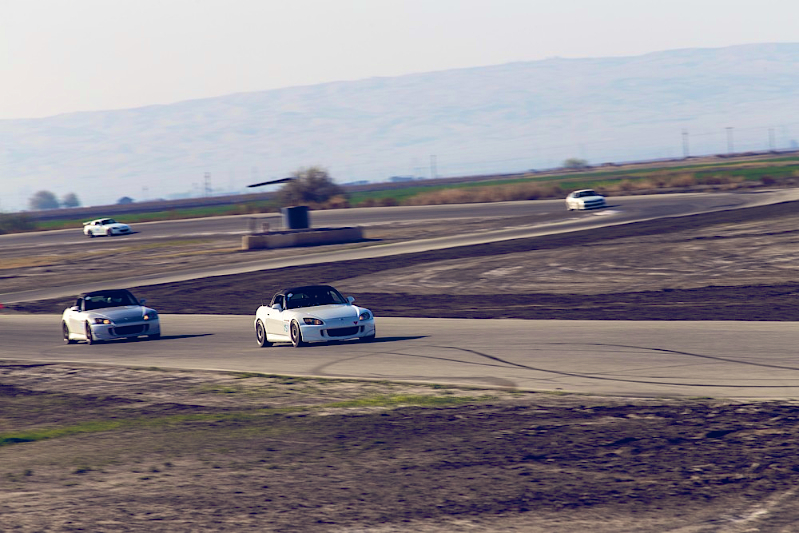
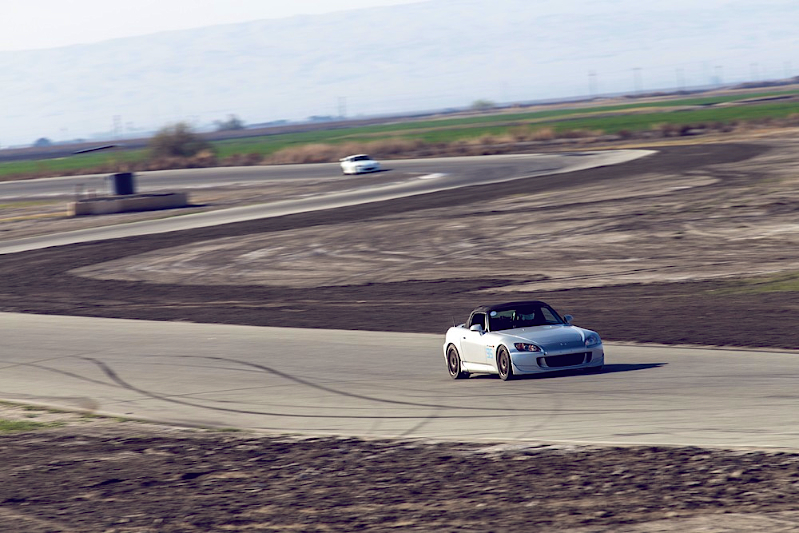
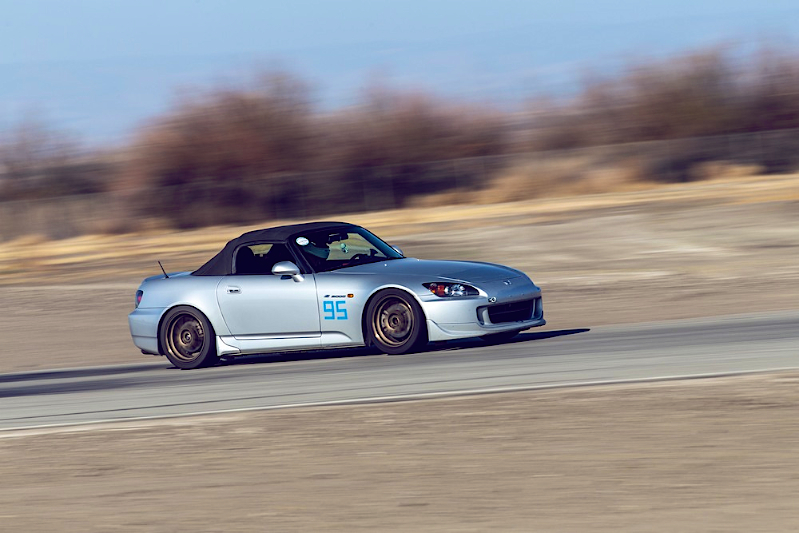
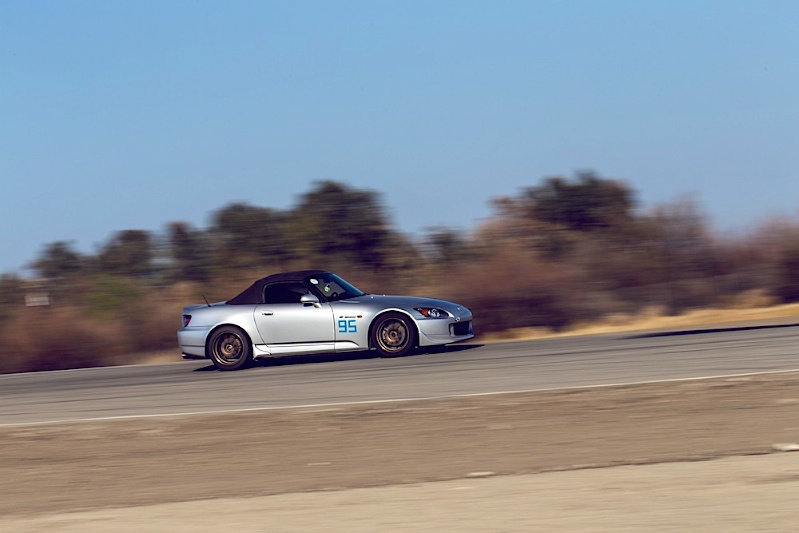
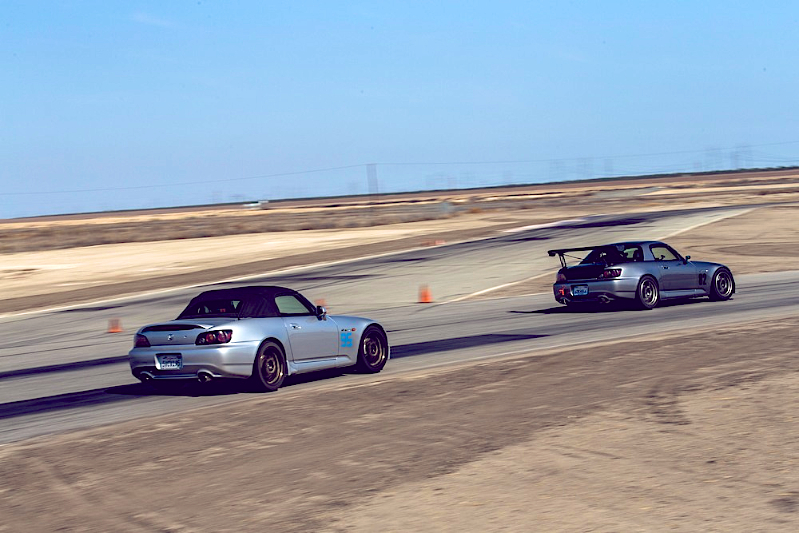
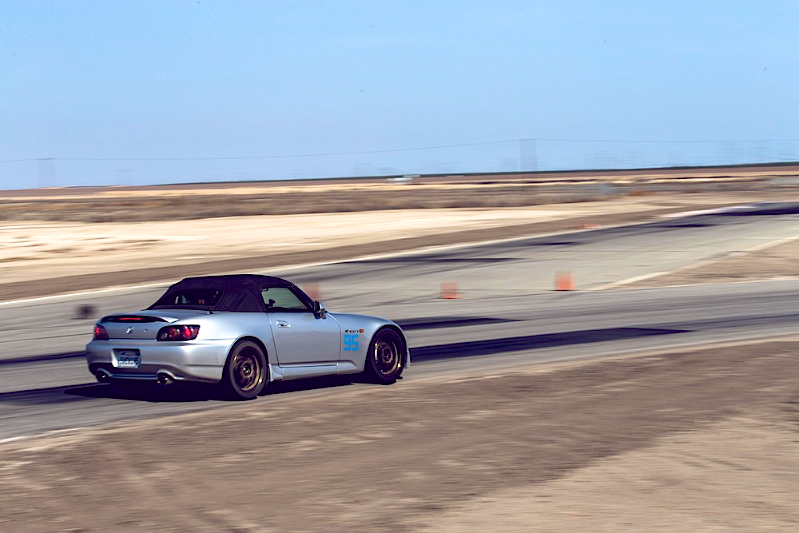
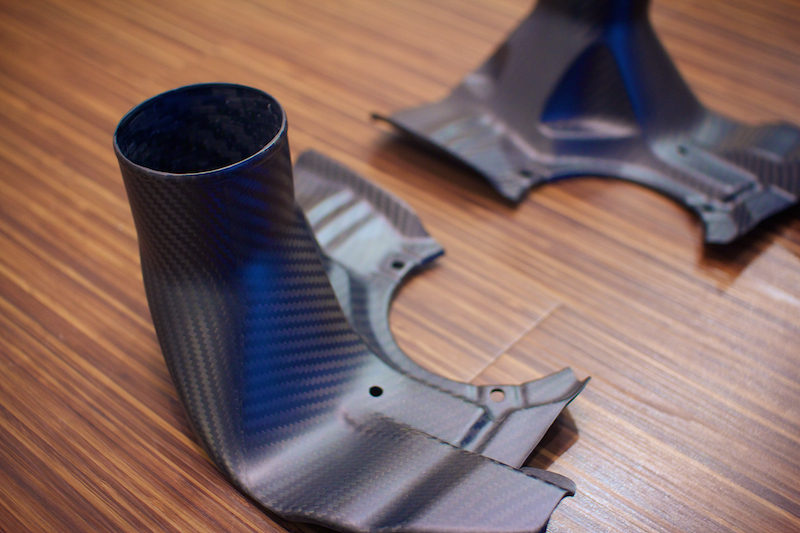
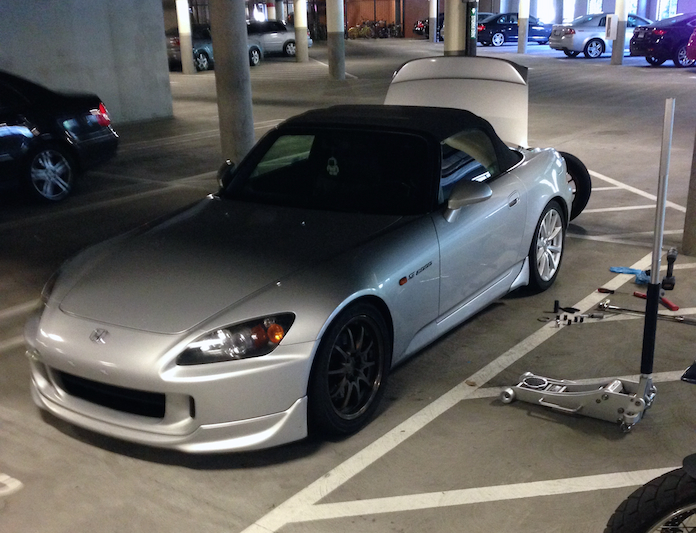
Mixed and matched time attack mode!

Image

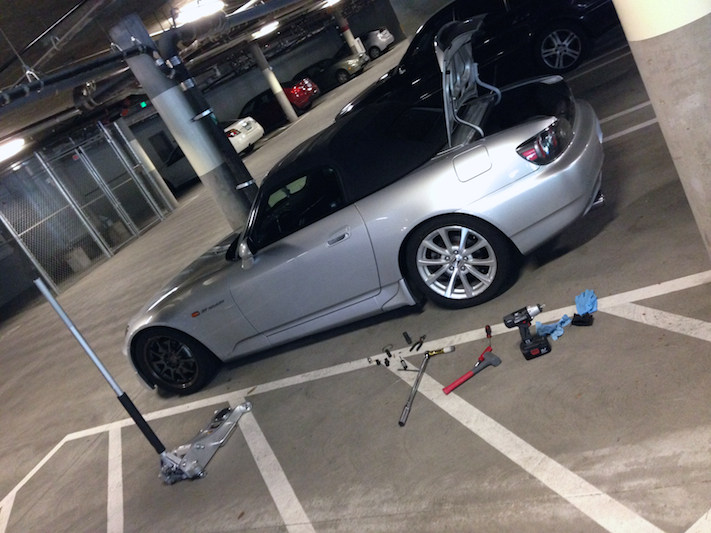
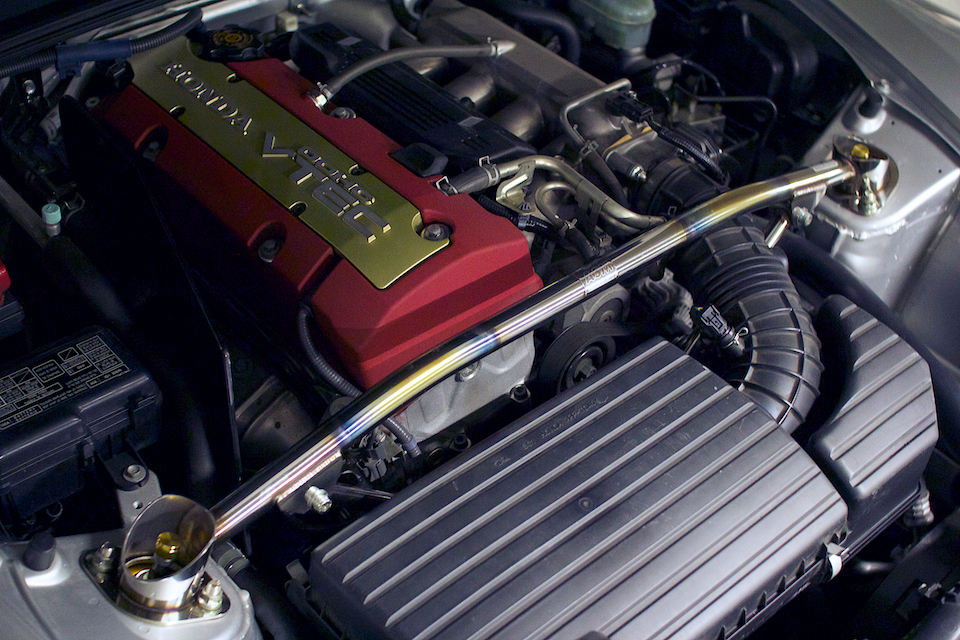
Some advice for anyone else that uses aluminum hub rings with their wheels, a little high temp caliper pin grease on the ring, a butter knife, a flat head screwdriver, and a rubber mallet will make removing them very easy. :thumbup:

I will be getting the tire on the OEM wheel swapped over to the CE28N tomorrow most likely. The tires on the OEM wheel are a little more worn but not drastically different.

Image

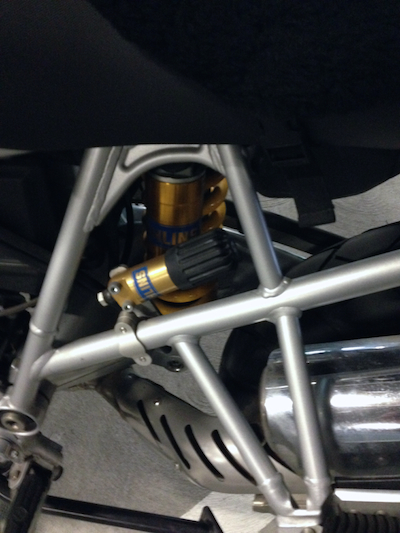
BMW motorcycle parked next to me having an Ohlins meet in the parking garage.

Image

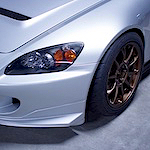
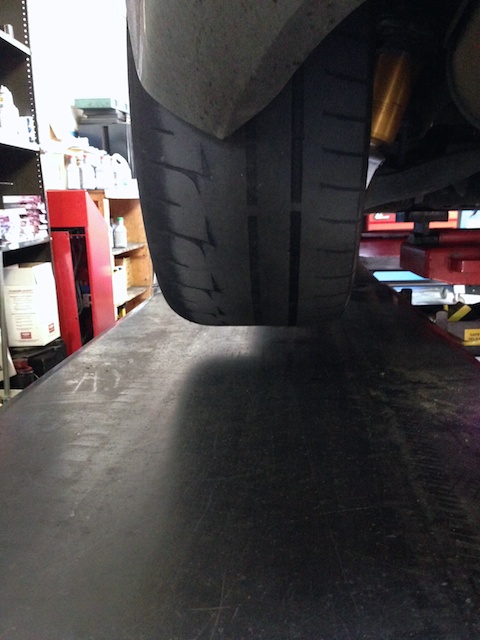
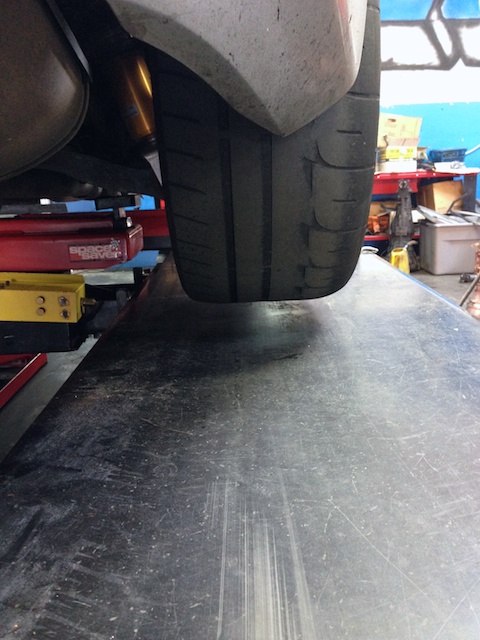
Old RE-11A from OEM wheel swapped onto CE28N. Somehow I managed to get lucky and the wear on the older tire was almost identical to the tires currently on the car so no worries about alignment or the car doing weird things under acceleration or anything.

Left tire is the old one that was swapped over from my OEM wheel.

ImageImage

Car was smogged today as well so time to start having some fun for the next 2 years. :D

Image
o_O S2000 | Mark I Stage II...

That’s thirty minutes away. I’ll be there in ten.
User avatar

Topic Author
andrewhake
Admin
Posts: 580
Joined: Oct 2016
Location: Mt. __________
Contact: YouTube IG
United States of America
#88

04-14-2014

Amuse R1 mesh anchors installed and test fit:

Image

Image

Image

Image

Image

Very happy with how all this turned out. The Loctite epoxy is STRONG. I did a couple of layers on each anchor and made sure the base of each was fully surrounded by the epoxy. I think the grill could take some pretty serious hits and just stay put. I don't think I am going to wait on getting brake ducts made so hopefully this will be going on the car soon! If anyone reads this and decides they want to do something similar. Make sure to take some time using painters tape to place all the anchors and use some more tape to make little pockets around them so you don't have epoxy going everywhere. This is what I did and it made the job very easy. Also the epoxy dries very quick once it mixes with the hardener so you need to have everything setup before you start securing it down.

I was thinking I could actually just use the WASP composite ducts I have for the AP2 front bumper for now actually, just mounted behind the mesh. Including the extra lip on the Wasp ducts to mount to the AP2 bumper, they are almost the exact same size as the opening on the R1, so it might actually be a pretty good solution. The APR inlets are 3" and the wasp ducts are smaller, but that shouldn't be much of an issue.
o_O S2000 | Mark I Stage II...

That’s thirty minutes away. I’ll be there in ten.
User avatar

Topic Author
andrewhake
Admin
Posts: 580
Joined: Oct 2016
Location: Mt. __________
Contact: YouTube IG
United States of America
#89

04-16-2014

Shorai LFX36L3-BS12 Lithium Iron battery and Kinetic Custom Machine battery tray:

http://www.s2ki.com/s2000/topic/1077564 ... y-package/

Image

Image

This arrived today and I got it installed. The tray is beautifully designed and incredibly well built. It really is one of those parts that feels like the high quality motorsports goodness you see on works race cars. Excellent instructions included explaining the ins and outs of the battery, and detailing each part of the very straightforward install. Really impressed by the quality of everything, even down to the hardware. I had been planning on picking up this battery after seeing many other s2ki members use it for extended periods with no issues, and was going to look into have a custom tray made, and this one was already being developed. :thumbup:

Here is the current battery:

Image

And the Shorai:

Image

Image

If you are looking to save a little weight this is a very cost effective (and beautiful) way to do it. Around 23lbs saved in total, my car continues to slowly lose weight.
o_O S2000 | Mark I Stage II...

That’s thirty minutes away. I’ll be there in ten.
User avatar

Topic Author
andrewhake
Admin
Posts: 580
Joined: Oct 2016
Location: Mt. __________
Contact: YouTube IG
United States of America
#90

05-03-2014

Image

Still waiting on some other bits that go with this so for now I will only post a very obvious teaser image. :)
o_O S2000 | Mark I Stage II...

That’s thirty minutes away. I’ll be there in ten.

Return to “Projects”